You've been watching those creamy, cafe-style lattes on Instagram and thinking, “I could never make that at home — I don't have an espresso machine.” Here's the thing: you don't need one. Frothing milk at home is way easier than it looks, and you probably already have everything you need sitting in your kitchen right now.
In this guide, we'll walk you through four simple methods for frothing milk without any fancy equipment. Whether you use a mason jar, a French press, a whisk, or a handheld frother, you'll have creamy, cafe-worthy foam in under a minute. No barista training required.
By the end, you'll know exactly how to froth milk at home — and which method works best for the kind of drinks you want to make.
You can froth milk without an espresso machine using a mason jar (shake it), a French press (pump the plunger), a whisk (whip it on the stove), or a handheld frother (the easiest option). Heat your milk to 140–150°F first for the best foam. Whole milk froths the richest, but any milk — including oat and almond — works.
What You'll Need
The beauty of frothing milk at home is that you don't need much. Here's what to grab depending on which method you choose:
- Milk — any kind works. Whole milk gives the creamiest foam. 2% is a great middle ground. Oat milk is the best plant-based option for frothing. Use about 1/2 to 3/4 cup per drink.
- A way to heat it — microwave or small saucepan on the stove. You want it warm, not boiling (aim for 140–150°F).
- Your frothing tool — a mason jar with a lid, a French press, a hand whisk, or a handheld milk frother.

If you're thinking about picking up a handheld frother, they're surprisingly cheap — most good ones cost between $10 and $20. We recommend the Zulay Kitchen Milk Frother as a great beginner option. It's battery-powered, easy to clean, and gets the job done in about 15 seconds.
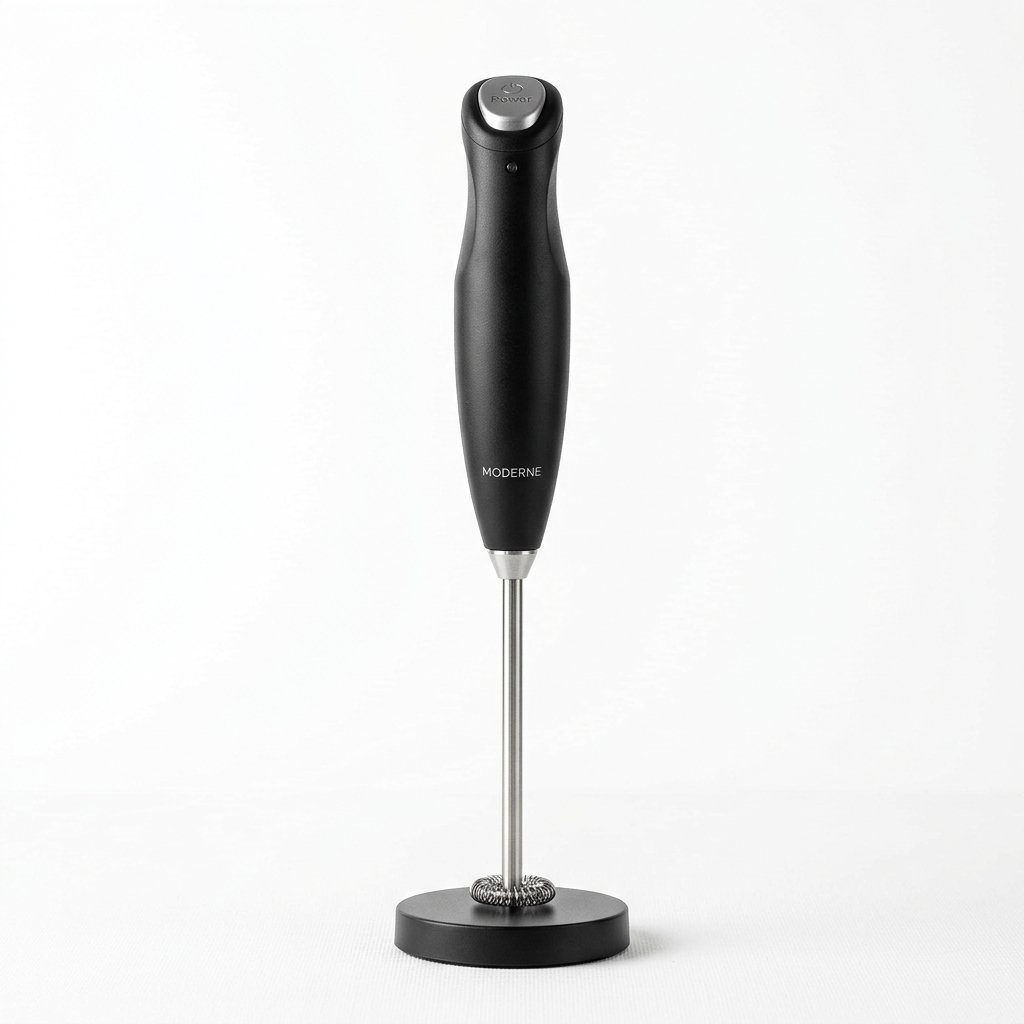
Our Pick for Beginners
Zulay Kitchen Handheld Milk Frother
Battery-powered, lightweight, and froths milk in about 15 seconds. One of the best-selling frothers on Amazon — and it costs less than two coffee shop lattes.
Check Price on Amazon →Before You Start — Quick Tips for Success
No matter which method you choose, these three things make the biggest difference:
- Start with cold milk. It sounds backwards, but cold milk takes in more air and gives you more time to work it before it gets too hot. You'll heat it after frothing (or during, depending on the method).
- Don't overfill your container. Milk roughly doubles in volume when frothed. If you fill your jar or French press more than halfway, you'll have a mess on your hands.
- Hit the right temperature. Aim for 140–150°F. If you don't have a thermometer, heat it until it's steaming and warm to the touch — but not boiling. Overheated milk won't froth well and tastes scorched.
Whole milk gives the richest, creamiest foam because of its fat content. But if you're dairy-free, oat milk (especially “barista edition” oat milk) froths beautifully. Almond milk works too, but the foam is lighter and disappears faster.
Step-by-Step: Four Ways to Froth Milk at Home
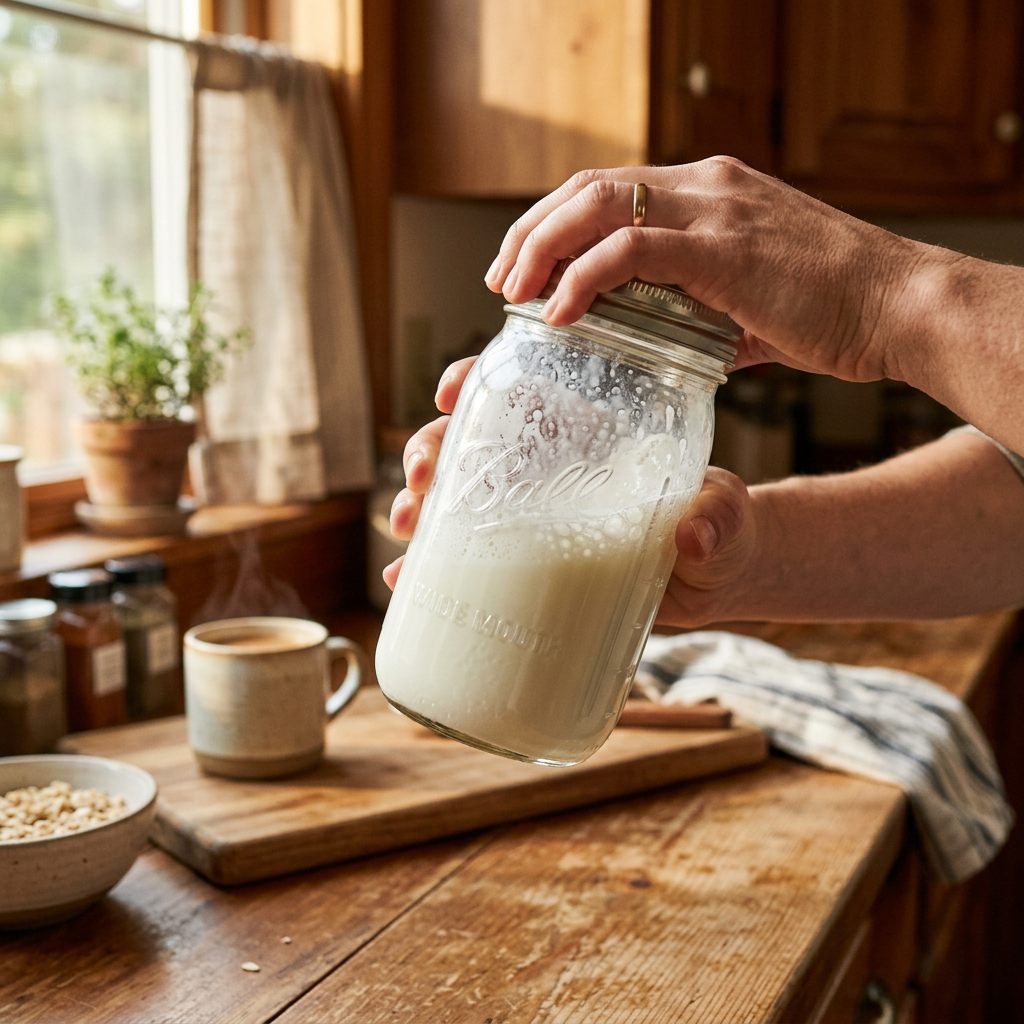
Method 1: The Mason Jar Method (Easiest — No Equipment Needed)
This is the method we recommend if you're frothing milk for the first time and don't want to buy anything. You probably have a jar with a lid in your kitchen right now.
Step 1: Pour milk into a jar. Use a mason jar or any jar with a tight-fitting lid. Fill it no more than one-third full — the milk needs room to expand.
Step 2: Screw the lid on tight and shake. Shake vigorously for 30 to 60 seconds. You'll feel the milk getting thicker and foamier. When it looks like it's roughly doubled in volume, you're done.
Step 3: Heat it. Remove the lid and microwave the jar for 30 seconds. The heat stabilizes the foam so it holds its shape instead of deflating immediately. Be careful — the jar will be warm.
Step 4: Pour and enjoy. Spoon the foam onto your coffee, or pour the whole thing in for a creamy, frothy drink.
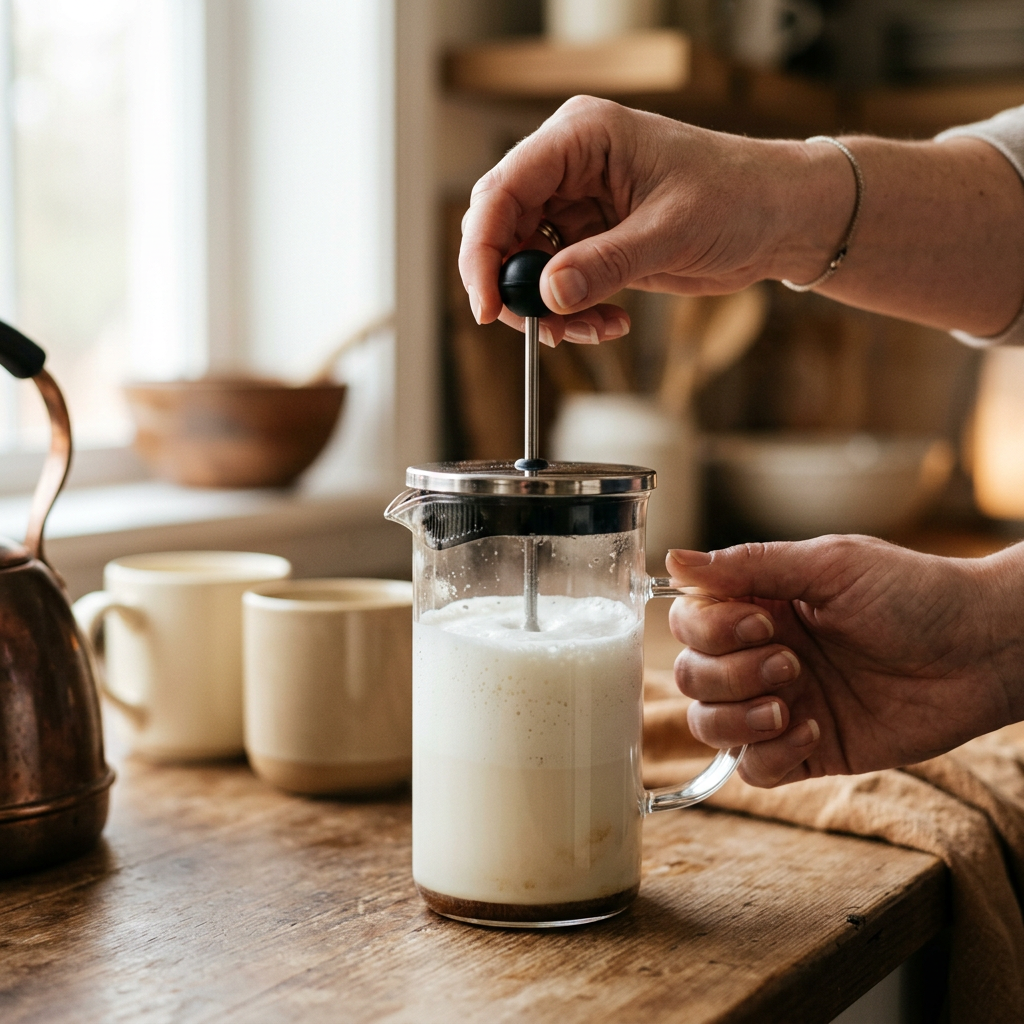
Method 2: The French Press Method (Best Foam Quality)
If you already own a French press, you've got one of the best milk frothers money can buy — and you didn't even know it. The mesh plunger pushes air into the milk and creates a thick, velvety microfoam that rivals what you'd get from a cafe.
Step 1: Heat your milk first. Warm it on the stove or in the microwave to about 140–150°F. Don't boil it.
Step 2: Pour into the French press. Fill it no more than halfway — the milk will expand as you froth it.
Step 3: Pump the plunger. Place the lid on and pump the plunger up and down vigorously for 20 to 30 seconds. You'll see the milk expand and get creamy.
Step 4: Pour it out. Tilt the French press and pour the frothed milk right into your coffee. Use a spoon to hold back the foam, then scoop it on top.
Make sure your French press is clean and doesn't have leftover coffee oils in it — they'll affect the taste of your frothed milk. Give it a good wash with hot soapy water before using it for milk. Some people keep a separate French press just for frothing.
Method 3: The Whisk Method (Works in a Pinch)
No jar? No French press? A regular kitchen whisk — or even better, an electric hand whisk — gets the job done.
Step 1: Pour milk into a small saucepan. Use about 1/2 to 3/4 cup of milk. Turn the heat to medium-low.
Step 2: Whisk vigorously. As the milk warms, whisk it in quick circular motions. Tilt the pan slightly so the whisk can pull in air. Keep going for about 30 to 60 seconds — you'll see bubbles forming and the milk starting to foam up.
Step 3: Watch the temperature. Once the milk is steaming and the foam looks thick, take it off the heat. Don't let it boil.
Step 4: Pour or spoon the foam onto your coffee.
The whisk method produces a lighter, less stable foam compared to the French press or a handheld frother. It works in a pinch, but if you're frothing regularly, you'll probably want to upgrade.
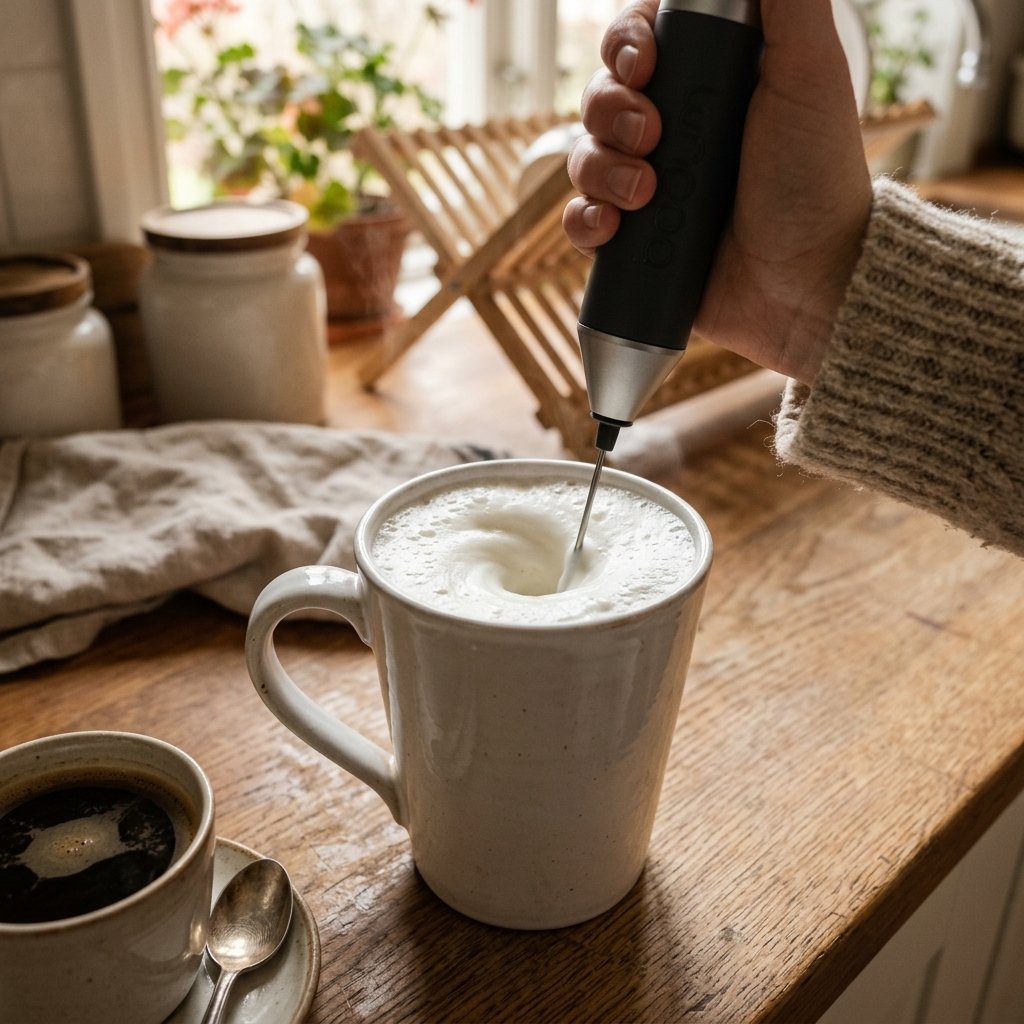
Method 4: The Handheld Frother Method (Fastest and Most Consistent)
This is our favorite method for everyday use. A handheld milk frother is a small, battery-powered wand that spins a tiny whisk at high speed. It's the fastest way to get consistent, creamy foam — and it takes about 15 seconds.
Step 1: Heat your milk. Warm it in the microwave or on the stove to 140–150°F. Pour it into a tall mug or pitcher (tall sides help contain the splashing).
Step 2: Submerge the frother. Place the whisk end into the milk at a slight angle. Make sure it's fully submerged before you turn it on — otherwise, you'll get splattered.
Step 3: Turn it on and move it around. Move the frother up and down slowly, keeping the whisk just below the surface. This pulls in air and creates a vortex that froths the milk evenly. About 15 to 20 seconds is all it takes.
Step 4: Pour and enjoy. You'll have thick, creamy foam that holds its shape on top of your coffee.
How to Know If You Did It Right
Good frothed milk should look and feel like this:
- Volume: The milk should have roughly doubled in size from where you started.
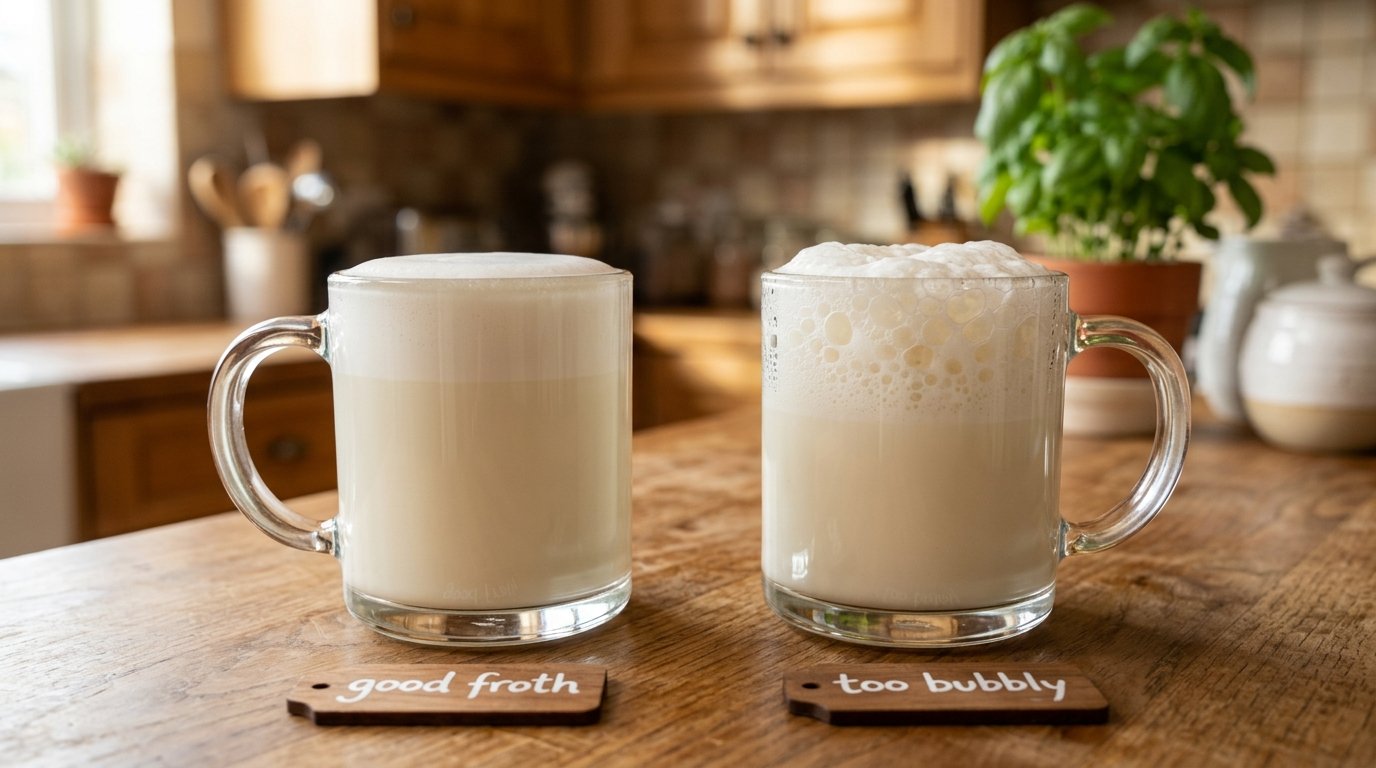
- Texture: It should look smooth and creamy — not bubbly like dish soap. Big bubbles mean you need to froth a little longer or at a different angle.
- Taste: Properly frothed warm milk tastes slightly sweet and velvety. If it tastes scorched or flat, your milk was too hot.
- Hold: When you spoon foam onto coffee, it should sit on top for at least a minute or two without immediately dissolving.
Don't stress about getting it perfect the first time. Even cafe baristas took a while to learn. The more you practice, the better your foam will get.
Troubleshooting — If Something Went Wrong
My foam disappeared immediately. You probably didn't heat the milk enough (or at all). Warm milk holds foam much better than cold. Try microwaving it for 30 seconds after frothing.
The milk won't foam at all. Check two things: Is the milk too hot? Milk over 160°F loses its ability to hold foam. Also, ultra-pasteurized milk (common in shelf-stable cartons) sometimes doesn't froth as well. Try a fresh carton from the fridge section.
My foam is too bubbly. Big, soapy bubbles usually mean the whisk or frother was too high in the milk. Keep your frothing tool fully submerged and close to the surface — not sticking out of the milk. You can also tap the container on the counter a few times to pop large bubbles.
It tastes burnt or weird. Your milk got too hot. Next time, pull it off the heat sooner. Remember: steaming, not boiling. A kitchen thermometer helps if you want to be precise — aim for 140–150°F.
- You don't need an espresso machine to froth milk — a jar, French press, whisk, or handheld frother all work great.
- Heat your milk to 140–150°F for the best foam. Don't boil it.
- Fill your container no more than one-third to one-half full — frothed milk doubles in volume.
- Whole milk gives the creamiest foam, but oat milk is the best dairy-free option.
- A handheld frother is the fastest and most consistent method — and they cost less than $15.
What to Make With Your Frothed Milk
Now that you know how to froth milk without an espresso machine, here's what you can make with it:
- Cafe au lait: Brew a strong cup of drip coffee and top it with your frothed milk.
- Faux latte: Use a strong brew from a French press or AeroPress as your base, then pour frothed milk over it.
- Cappuccino-style: Brew a concentrated coffee and add equal parts steamed milk and foam on top.
- Iced option: Froth cold milk (skip the heating step) and pour it over iced coffee for a lighter, refreshing version.
The key is using a strong coffee base. Regular drip coffee can taste watery when you add a lot of milk. Try using a higher coffee-to-water ratio than you normally would.
Frothing milk at home is one of those small upgrades that makes your morning coffee feel a little more special — without spending five dollars at a cafe. Pick whichever method works for you, practice a few times, and you'll be making creamy, frothy drinks like a pro in no time.
Disclosure: This article contains affiliate links. If you purchase through our links, we may earn a small commission at no extra cost to you. We only recommend products we genuinely believe are right for beginners. Full disclosure here.
☕ About the Author
Greg Rathbone is the founder of HomeCoffeeBeginner.com. He started this site after finding that most coffee advice online assumed you were already an expert. Every guide here is written for total beginners — tested in his own kitchen in Oklahoma, with zero snobbery.