
If you love cold brew but hate making a new batch every two days, concentrate is the answer. Cold brew concentrate is just a stronger batch of cold brew that you dilute with water or milk one glass at a time. One jar can last you most of a week, it saves money versus the coffee shop, and it takes the same five minutes of hands-on effort as a regular batch.
Here's exactly how to make it, how strong to make it, and how to pour the perfect glass from it.
To make cold brew concentrate, steep coarse-ground coffee and cold water at a 1:4 ratio (for example, 1 cup of grounds to 4 cups of water) for 12–18 hours, then strain. To drink, mix the concentrate about 1:1 with water, milk, or ice — adjust to taste.
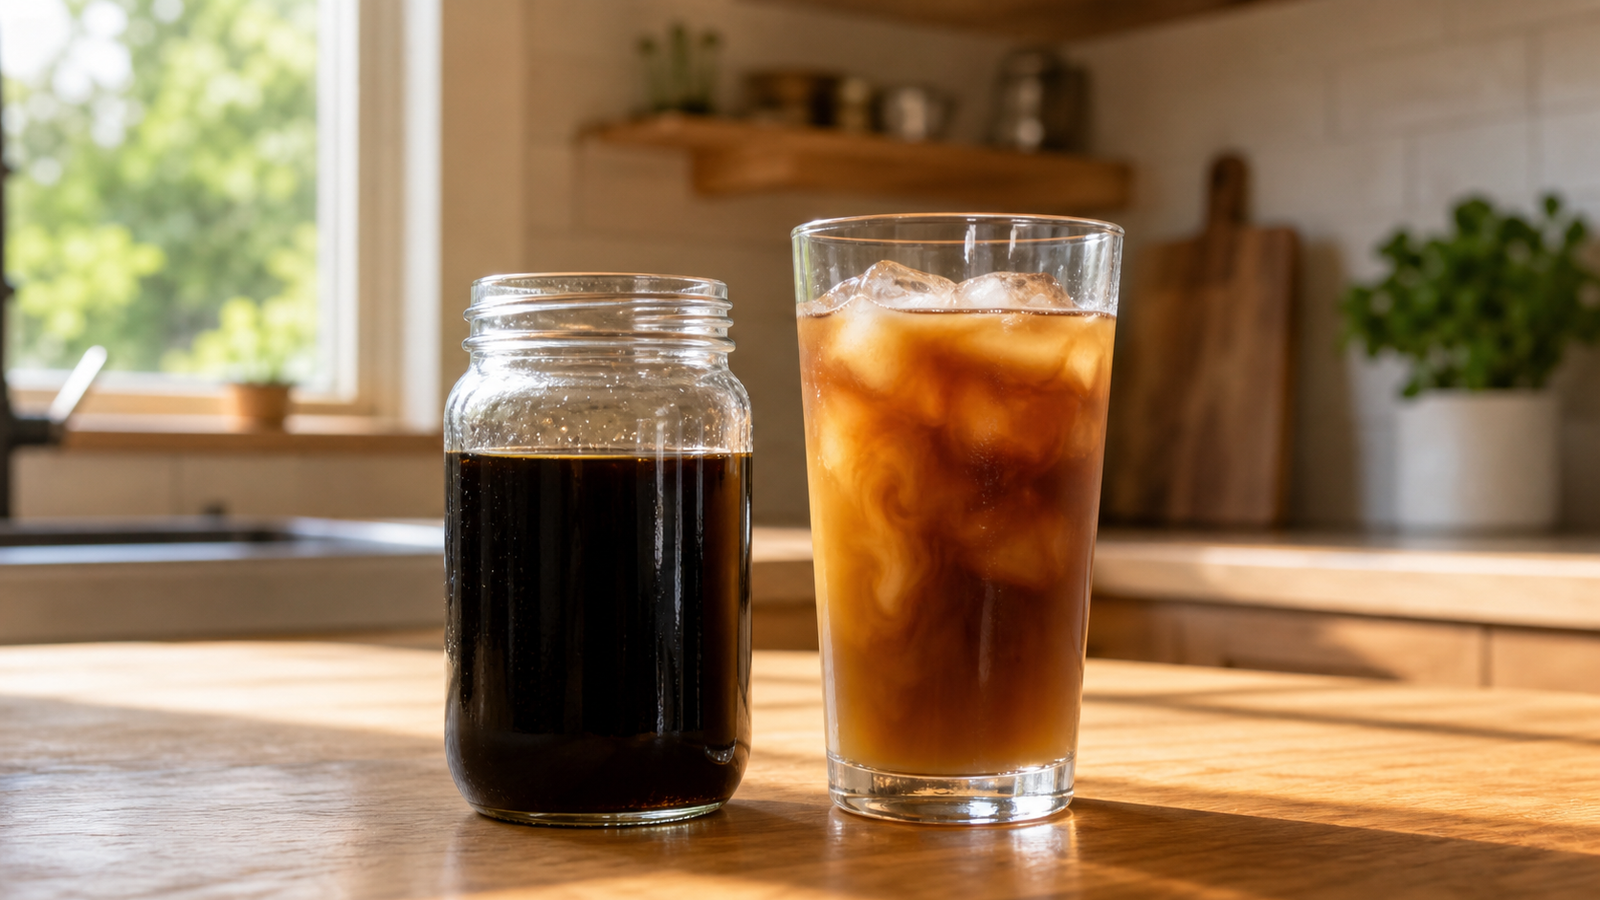
Concentrate vs. regular cold brew: what's the difference?
It's the same process — coffee and cold water, steeped slow, no heat. The only difference is the ratio. Regular ready-to-drink cold brew uses a lot of water (around 1 part coffee to 8 parts water), so it's ready to sip straight from the jar. Concentrate uses far less water (around 1:4), so it comes out strong and you water it down later.
Why bother with the stronger version? Three reasons: it takes up less fridge space, it stays fresh longer, and it's flexible — you can make it as strong or as light as you want, glass by glass, and use it for iced coffee, lattes, or even a quick hot coffee in a pinch.
New to cold brew entirely? Start with our step-by-step cold brew guide for the full basics, then come back here when you're ready to batch it.
What you'll need
- Coarse-ground coffee — coarse like raw sugar or breadcrumbs (more on grind below)
- Cold or room-temperature water — filtered if your tap water tastes off
- A jar or pitcher — a 1-quart (1-liter) jar is perfect for a first batch
- A way to strain — a fine mesh sieve plus a coffee filter or thin towel, or a dedicated cold brew maker with a built-in filter
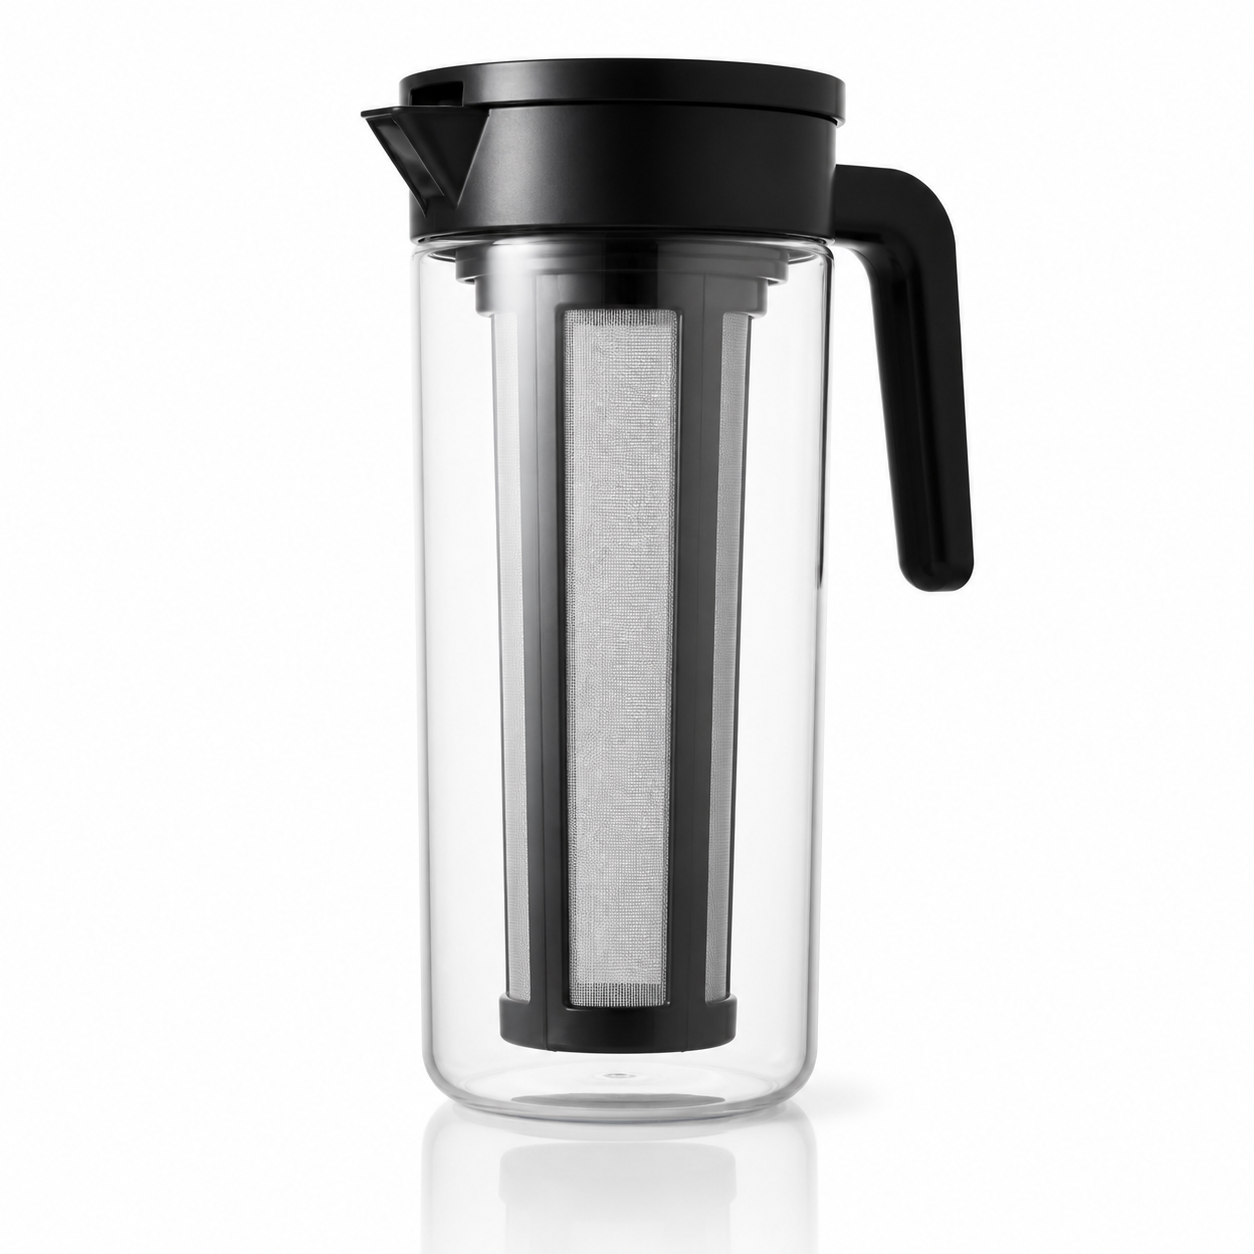
A simple pitcher with a built-in mesh filter means no straining mess — just fill, steep, and pour. It's the easiest way to make concentrate on repeat, and it lives neatly in your fridge door.
The concentrate ratio (and how to scale it)
The magic number for concentrate is 1:4 — one part coffee to four parts water by volume. You don't need a scale; measuring cups work fine.
| Coffee (coarse ground) | Cold water | Makes about |
|---|---|---|
| ½ cup | 2 cups | 2–3 servings |
| 1 cup | 4 cups (1 quart) | 5–6 servings |
| 1½ cups | 6 cups | 8–9 servings |
Prefer to weigh it? That's roughly 1 gram of coffee for every 4 grams (4 ml) of water. For a deeper look at every cold brew strength, see our cold brew ratio guide.
How to make cold brew concentrate, step by step
Step 1 — Grind coarse
Use a coarse grind, like raw sugar or coarse sea salt. Too fine and your concentrate turns muddy and over-extracted (bitter). If you grind your own, that's the setting to aim for; if you buy pre-ground, ask for “cold brew” or “coarse / French press” grind.
Step 2 — Combine coffee and water
Add your grounds to the jar, then pour in the cold water. Give it a gentle stir so every ground gets wet — dry clumps floating on top won't extract evenly. The mixture will look thick and dark. That's right.
Step 3 — Steep 12–18 hours
Cover it and leave it on the counter or in the fridge. Twelve hours makes a smooth, balanced concentrate; eighteen makes it bolder. Going past about 18–20 hours can start to taste woody, so don't leave it for two days. (More on timing in our complete cold brew guide.)
Step 4 — Strain well
Pour the concentrate through a fine mesh sieve to catch the grounds, then a second time through a paper coffee filter or thin cloth to catch the fine silt. If you used a cold brew maker with a built-in filter, just lift the filter basket out — you're done. Strained concentrate should look clean, not cloudy.
Step 5 — Store it
Keep the finished concentrate in a sealed jar in the fridge. It stays fresh and tasty for about up to two weeks — much longer than diluted cold brew, which is best within a few days.
Label the jar with the date. It's easy to lose track, and “is this still good?” is a question you never want to guess on at 6 a.m.
How to pour the perfect glass
Start with a 1:1 mix — equal parts concentrate and water (or milk). Fill a glass with ice, pour it half concentrate, half water, taste, and adjust. Want it stronger? Use less water. Like it milky? Swap the water for milk or oat milk. For a hot coffee, mix the concentrate 1:1 with hot water.
Because you control the dilution at the glass, the same jar can make a light afternoon iced coffee and a punchy morning latte. That flexibility is the whole point of concentrate.
- Concentrate is just cold brew at a stronger 1:4 ratio that you dilute later.
- Steep coarse grounds 12–18 hours, strain twice, refrigerate.
- Dilute about 1:1 with water or milk, then adjust to taste.
- Concentrate keeps up to two weeks — far longer than ready-to-drink cold brew.
Frequently asked questions
How long does cold brew concentrate last?
Stored sealed in the fridge, concentrate stays good for up to two weeks. Diluted cold brew is best enjoyed within 3–4 days.
What's the best ratio for cold brew concentrate?
1:4 (one part coffee to four parts water) is the beginner sweet spot. Dilute the finished concentrate about 1:1 when you drink it.
Can I make concentrate with regular drip-ground coffee?
You can, but a coarse grind tastes much better and strains cleaner. Fine grounds make it muddy and can turn bitter.
Is cold brew concentrate stronger in caffeine?
Per ounce, yes — it's concentrated. But once you dilute it to drink, a normal glass lands in the same ballpark as regular coffee. It only tastes (and hits) stronger if you drink it barely diluted.
Disclosure: Home Coffee Beginner is a participant in the Amazon Services LLC Associates Program. If you buy through links on this page, we may earn a small commission at no extra cost to you. We only recommend gear we'd be happy to hand a friend who's just getting started.
☕ About the Author
Greg Rathbone is the founder of HomeCoffeeBeginner.com. He started this site after realizing most coffee advice online assumes you're already an expert. Every guide here is written for total beginners and tested in his own kitchen — no jargon, no snobbery.