
You bought a coffee scale (or you are about to), and now you are wondering what those little buttons actually do. Good news: using a coffee scale is genuinely easy — you will have it figured out in about five minutes. Once you do, your coffee gets more consistent almost overnight, because you are finally measuring instead of guessing.
Here is exactly how to use a coffee scale, from the mysterious “tare” button to timing your pour and hitting the right ratio.
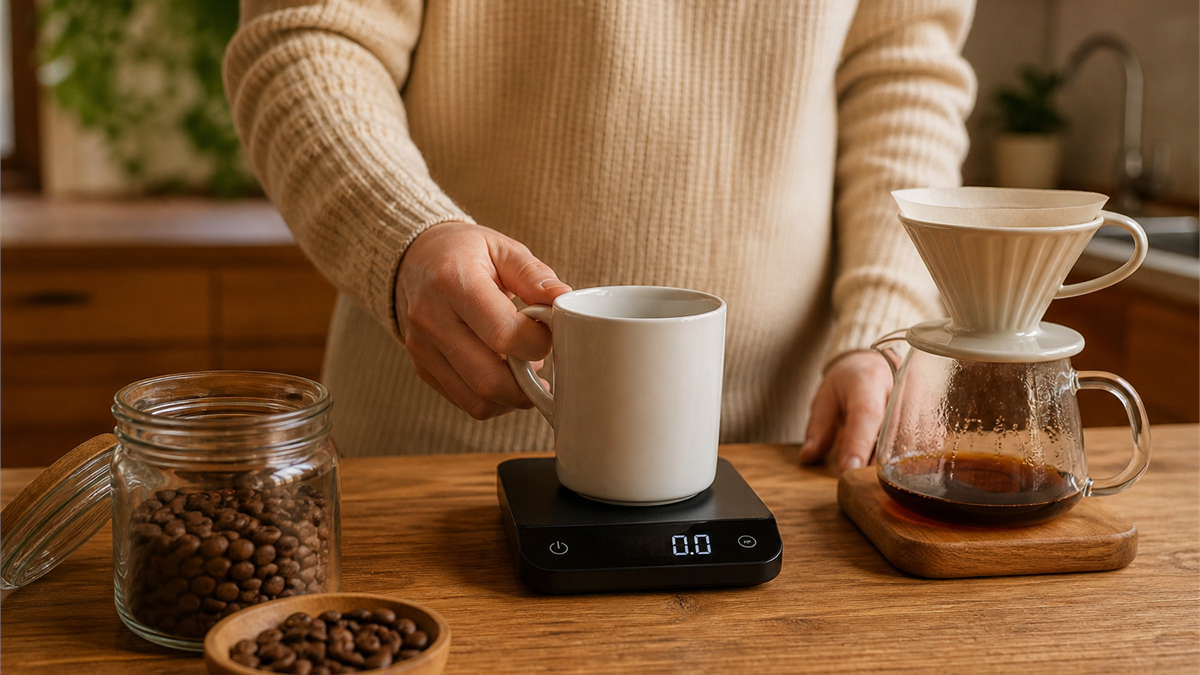
To use a coffee scale: place your empty cup or brewer on it, press tare to reset the display to zero, add your coffee and note the weight, tare again, then pour water while watching the weight (and the timer). Weighing both coffee and water is how you brew the same great cup every time.
First, what does “tare” mean?
“Tare” is the button you will use the most, and it sounds more technical than it is. Tare simply means “reset the scale to zero.” It tells the scale to ignore whatever is currently on it and start counting from there.
Say you put an empty mug on the scale and it reads 320 grams. Press tare, and the display drops to 0 — the scale is now ignoring the mug. When you add coffee, it only counts the coffee, not the mug. That is the whole trick, and you will use it several times per brew.
On most coffee scales, the same button is labeled “Tare” or “Zero” (sometimes “T/Zero”). If you see two buttons, one is usually power/tare and the other starts the timer. A quick press tares; a long press often turns the scale on or off.
How to use a coffee scale, step by step
This works for almost any brewing method — French press, pour-over, drip, or Moka pot. We will use pour-over as the example.
- Turn it on and pick your units. Make sure the scale is set to grams (not ounces). Coffee recipes are almost always in grams, and grams are more precise for small amounts.
- Weigh your coffee beans. Place your empty cup or grinder catch on the scale, press tare to zero it, then add beans until you hit your target — for one cup, around 15–18 grams. Write that number down or remember it.
- Grind, then set up your brewer. Put your dripper, filter, and grounds on the scale. Press tare again so the display reads 0 with everything in place.
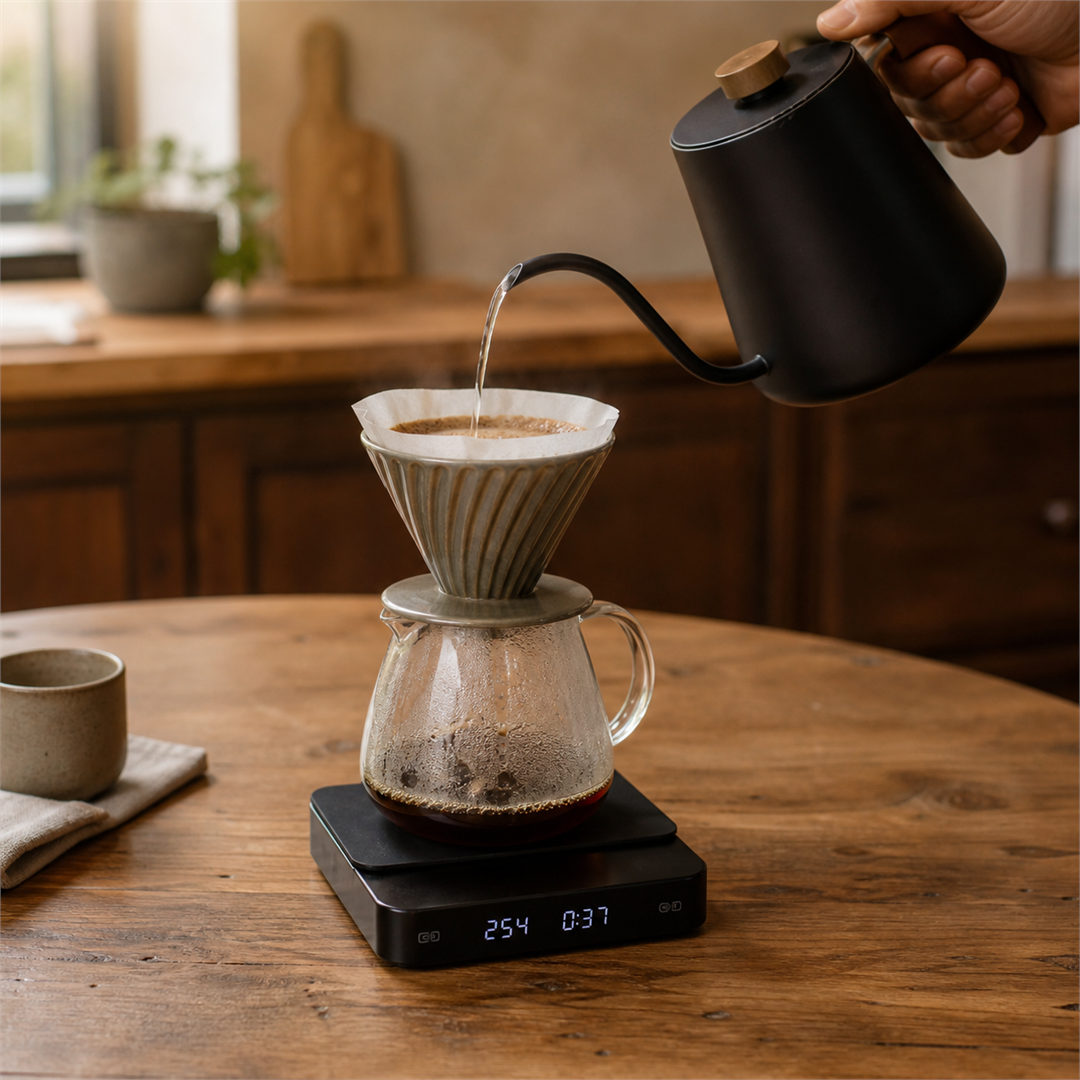
- Start the timer and pour. Begin pouring water slowly. Watch the weight climb — this is how you measure water without a separate measuring cup. Stop when you reach your target water weight.
- Use the timer to stay consistent. Note how long your brew takes. Next time, aim for the same time and the same weights, and your coffee will taste the same (in a good way).
The part that makes it click: ratios
The reason we weigh both coffee and water is so we can use a ratio — the relationship between the two. A common beginner ratio is 1:16, meaning 1 gram of coffee for every 16 grams of water.
So if you use 20 grams of coffee, you would pour 320 grams of water (20 × 16 = 320). Want it stronger? Use less water, like 1:15. Weaker? Use more, like 1:17. Because you are weighing everything, you can adjust on purpose and repeat exactly what you liked. We break down the numbers for every method in our coffee-to-water ratio guide.
Grams of water, not milliliters, keeps things simple — but they are basically the same thing (1 gram of water = 1 mL). So if a recipe says “320 mL of water,” you can just pour to 320 grams on your scale. No need to convert.
A few habits that make it effortless
- Tare often. Any time you add something new to the scale, tare first. It keeps every number clean.
- Keep a note of your best brew. Coffee weight, water weight, and time. When you nail a cup, you will want to make it again.
- Wipe up spills quickly. Water on the scale is normal; just dry it so the buttons and display stay happy.
- Leave the scale out. If it lives on the counter, you will actually use it. Weighing takes ten extra seconds and pays you back in every cup.
Don't have a scale yet?
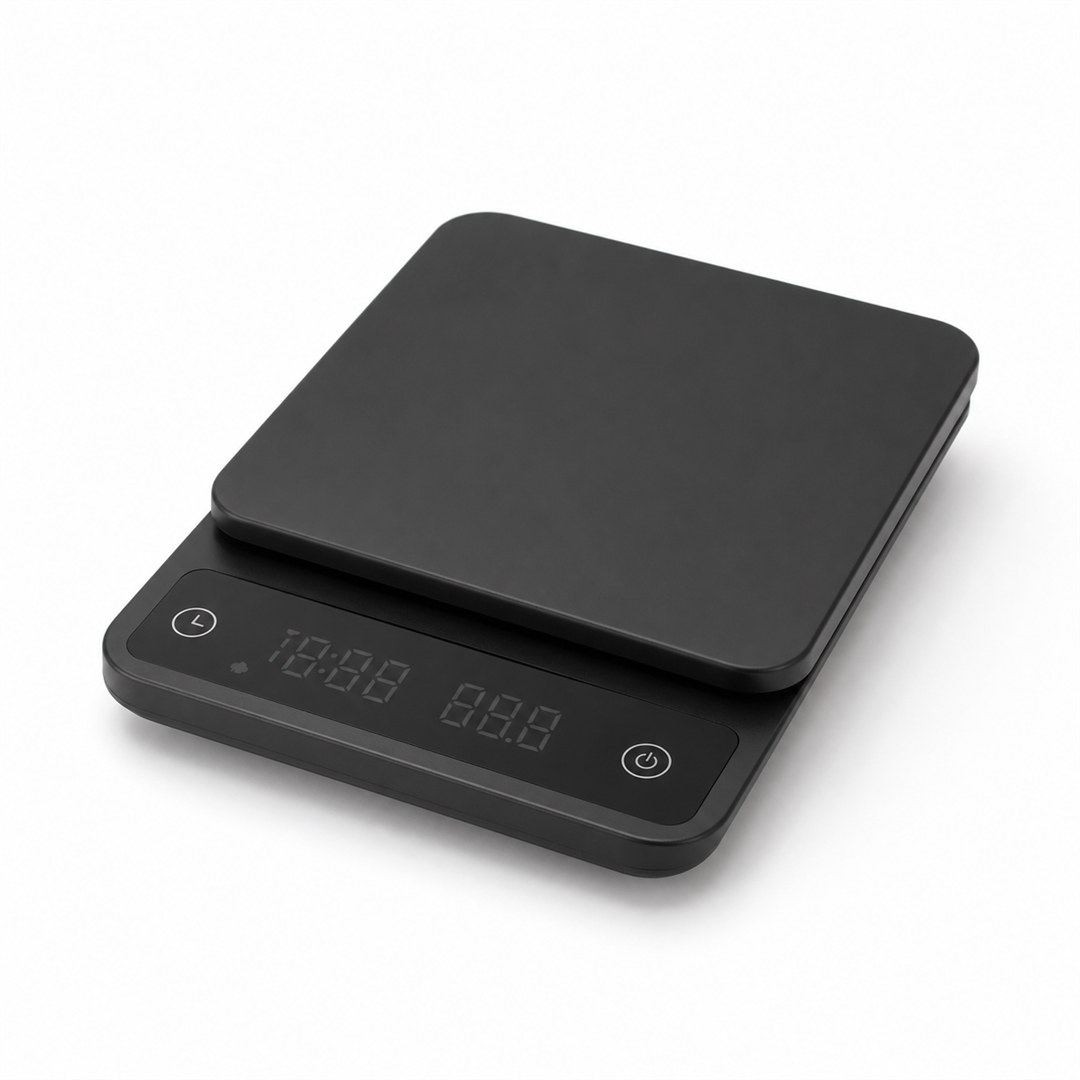
Any accurate scale with a timer will do. If you want a simple, cheap one that just works, our top pick for beginners is the Greater Goods Coffee Scale — 0.1-gram accuracy, a built-in timer, and a spill-resistant cover for under $30.
Our Pick for Beginners
Greater Goods Coffee Scale with Timer
Accurate, spill-resistant, and simple — the easy-to-use scale we recommend for anyone just getting started weighing their coffee.
- “Tare” just means reset the scale to zero — you will use it constantly.
- Weigh your coffee, tare, then pour water to weight while the timer runs.
- Ratios (like 1:16) let you dial in strength and repeat your best cup.
- Grams of water = mL of water, so there is nothing to convert.
Want the full picture on why this small habit matters so much? Read why you need a scale to make good coffee, then put it into practice with our ratio chart.
Disclosure: This article contains affiliate links. If you purchase through our links, we may earn a small commission at no extra cost to you. We only recommend products we genuinely believe are right for beginners. Full disclosure here.