If you've just started brewing with a moka pot, congratulations — you picked one of the friendliest little coffee makers out there. But once the coffee is in your cup, a fair question comes up: how do you actually clean the thing without wrecking it?
Here's the good news. Cleaning a moka pot is quick, it doesn't take fancy products, and most of the “rules” come down to a few simple do's and don'ts. The trick is knowing which habits keep your pot brewing great coffee for years — and which ones quietly ruin it.
We'll walk you through both, step by step, so you never have to second-guess yourself at the sink again.
To clean a moka pot, let it cool, take it apart, and rinse every piece with warm water — no soap on aluminum. Dump the used grounds, wipe out the funnel, and let all parts air dry fully before storing them loosely stacked. Descale with a water-and-vinegar mix every few weeks, and check the rubber gasket now and then.
What You'll Need
You almost certainly have everything already. No special cleaners required.
- Warm water
- A soft sponge or dishcloth (nothing abrasive — skip steel wool)
- White vinegar (for occasional descaling)
- A soft, dry towel for drying
- An old toothbrush or small brush (handy for the filter plate, optional)
That's it. The most important “tool” is actually a habit: cleaning your pot soon after it cools, before old coffee oils have time to settle in.
Everyday Cleaning: After Each Brew
This is the routine you'll do most often, and it takes about a minute.
First, let the pot cool down. A moka pot gets hot, and the metal handle can stay warm longer than you'd expect, so give it a few minutes before you handle it.
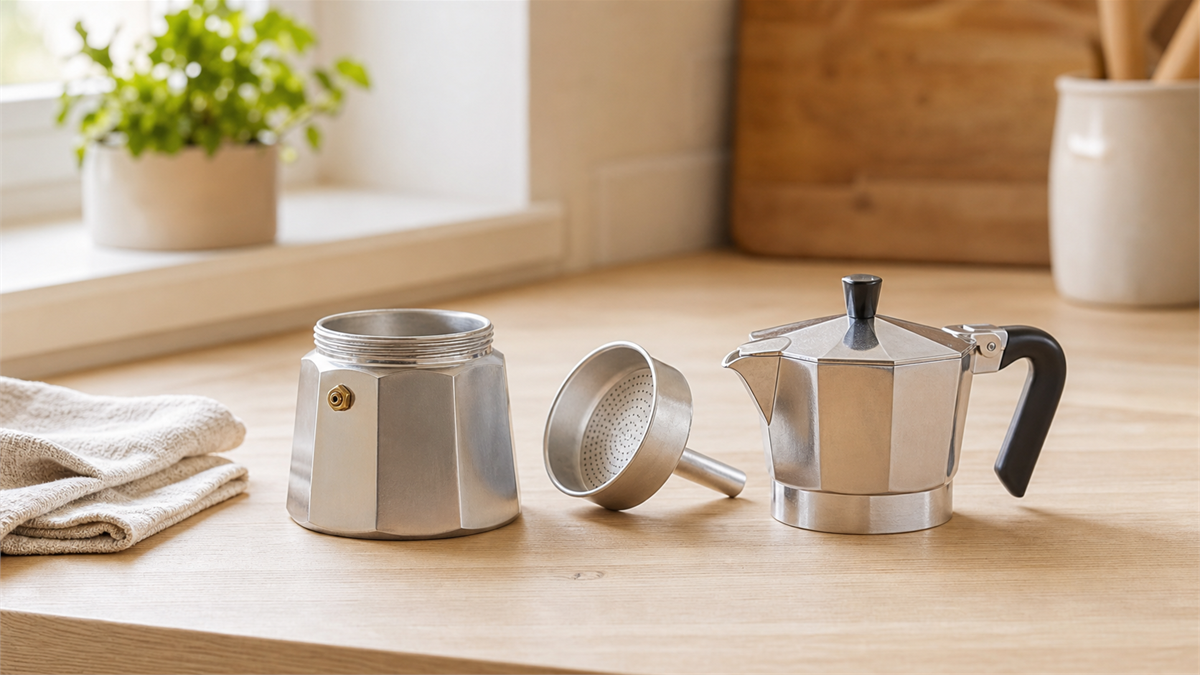
Once it's cool enough to touch, unscrew the top from the bottom and lift out the funnel (the little basket that holds your coffee grounds). Tap the used grounds into the trash or compost.
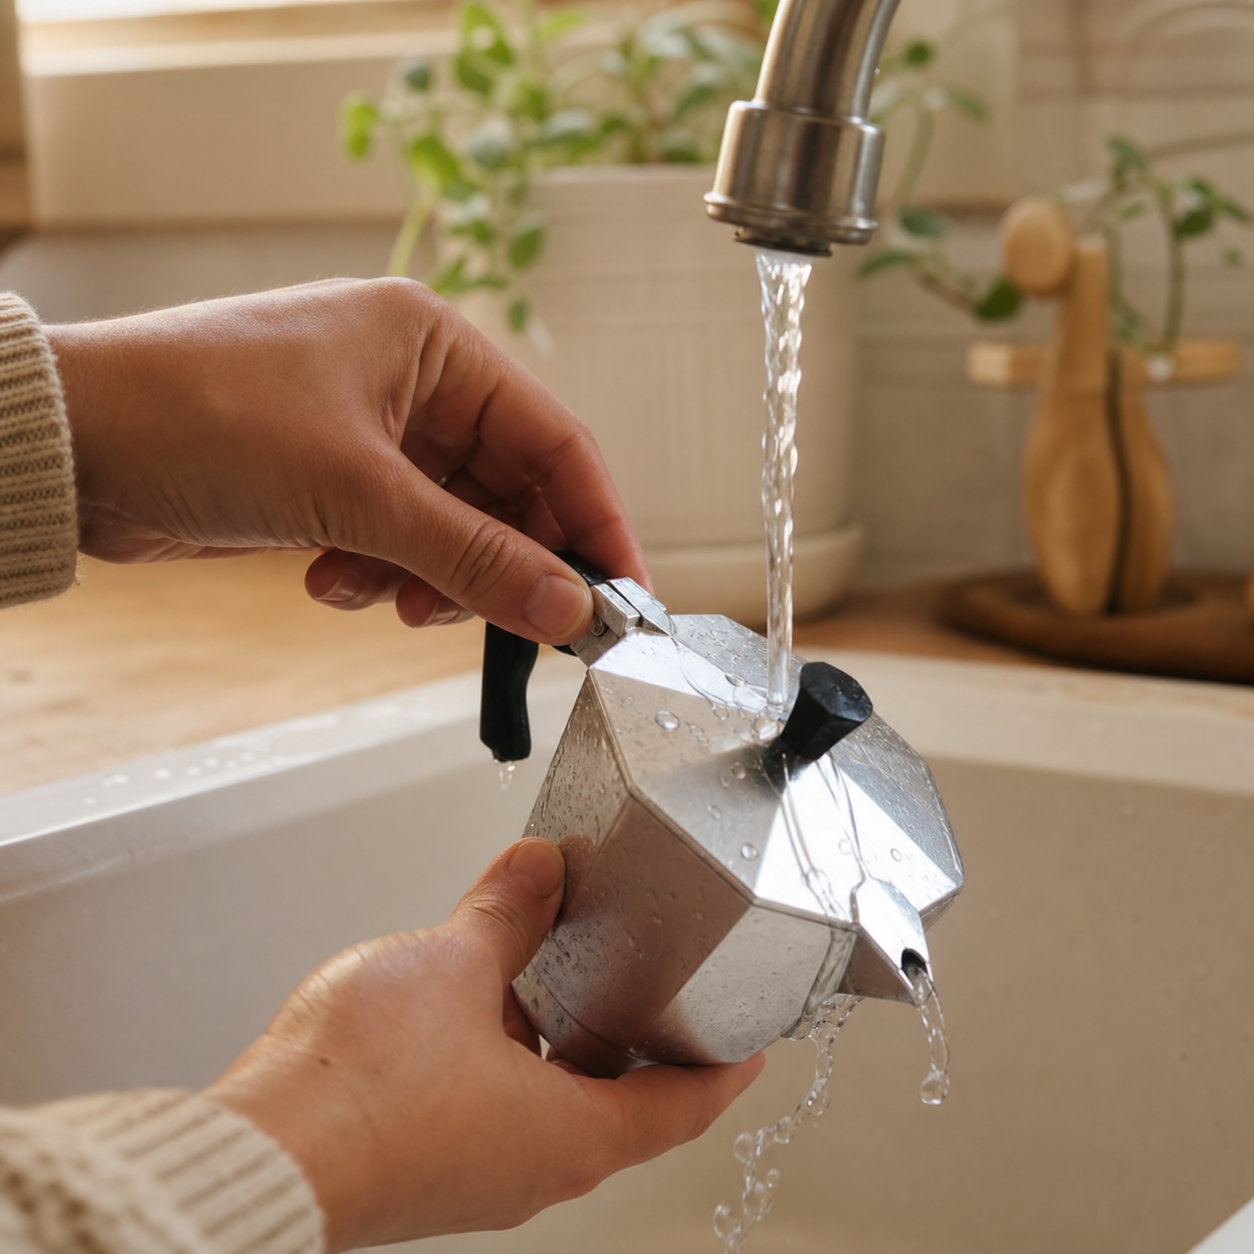
Now rinse all three parts — the bottom water chamber, the funnel, and the top — under warm running water. Use your fingers or a soft sponge to wipe away any coffee residue. For most everyday brewing, warm water alone does the job.
Give every piece a good shake, then set them out to air dry. We'll explain why drying matters so much in a moment.
Don't reach for the dish soap, and never put an aluminum moka pot in the dishwasher. Bialetti and most makers say hand-wash only. Soap and harsh detergents strip away the thin coffee “seasoning” that builds up inside and actually improves your brew over time. The dishwasher's heat and detergent can also leave dull white spots (oxidation) on the aluminum and damage the rubber seal.
Deep Cleaning & Descaling (Every Few Weeks)
Over time, minerals from your water leave a chalky buildup called limescale, and old coffee oils can start to taste a little stale. A gentle descale every few weeks (or monthly, if you brew less often) keeps things fresh. Here's how.
- Take the pot fully apart and rinse each piece with warm water to clear out loose grounds and residue.
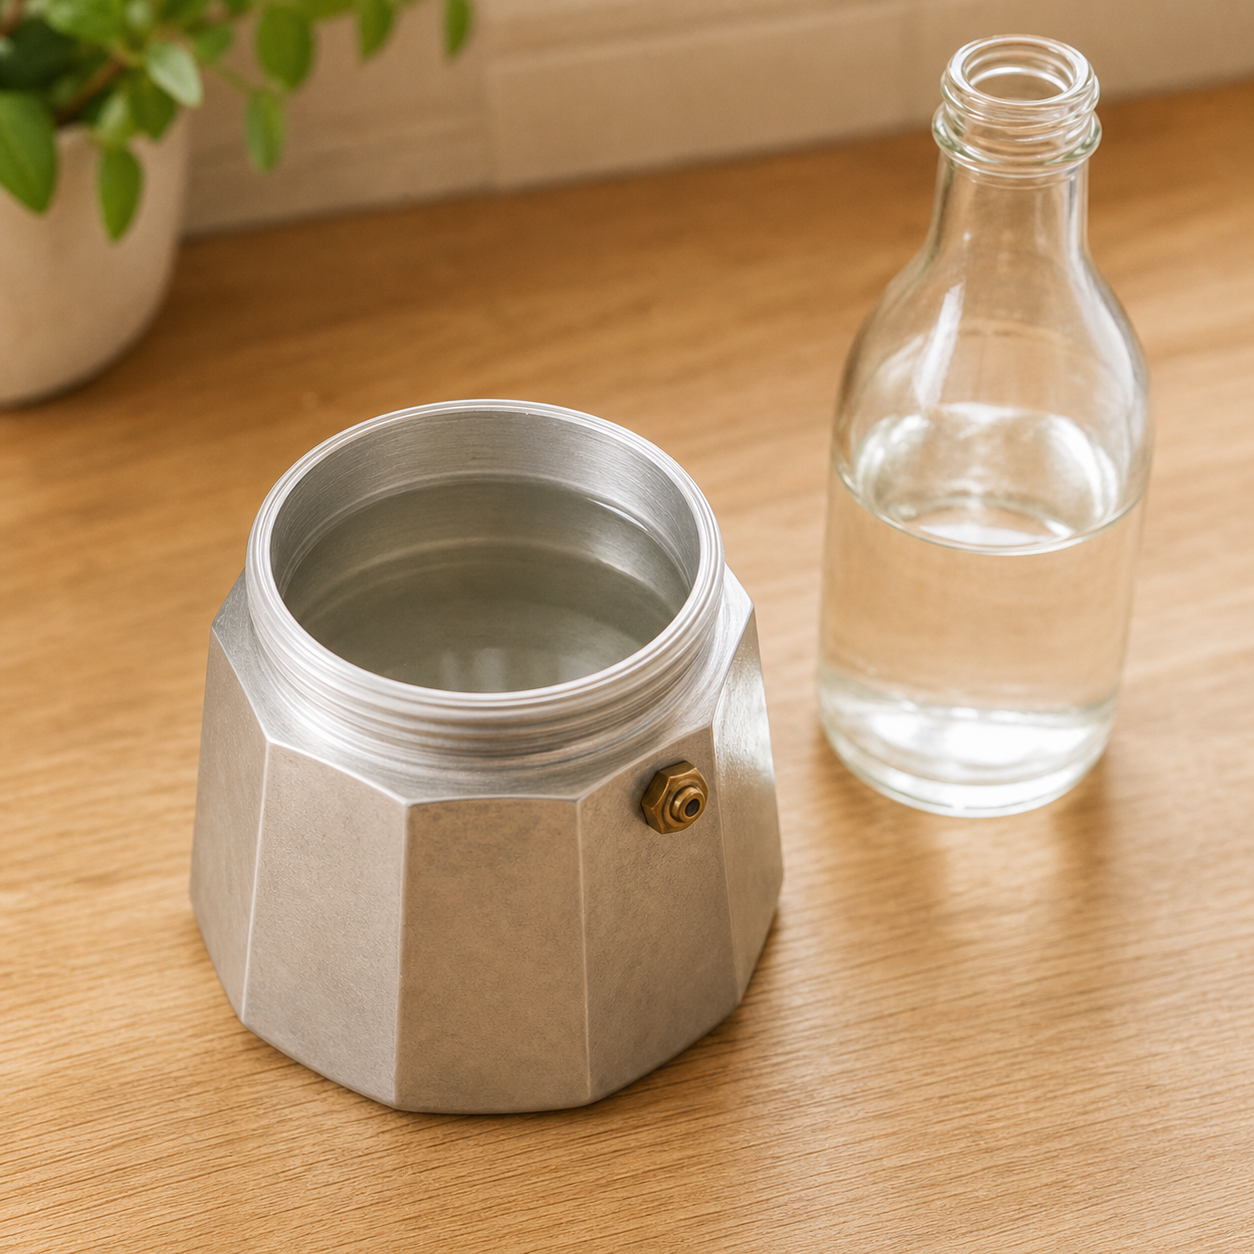
- Mix your descaling solution. A common, gentle ratio is about two parts water to one part white vinegar.
- Fill the bottom chamber with the water-and-vinegar mix, up to (but not over) the safety valve.
- Assemble the pot as if brewing — but leave the funnel empty. No coffee grounds this time.
- Run it on the stove like a normal brew so the solution travels up and cleans the inside.
- Discard the liquid, then run one or two batches of plain water through the same way to rinse out any vinegar taste.
- For stubborn buildup, you can let parts soak in the diluted vinegar — but keep it short. Don't soak aluminum parts longer than about 30 minutes, or the surface can pit and discolor.
Notice white, chalky spots and want them gone for good? Switch to filtered water for brewing. Most limescale comes straight from hard tap water, so filtering it means far less buildup — and fewer descaling sessions down the road.
Caring for the Gasket and Filter
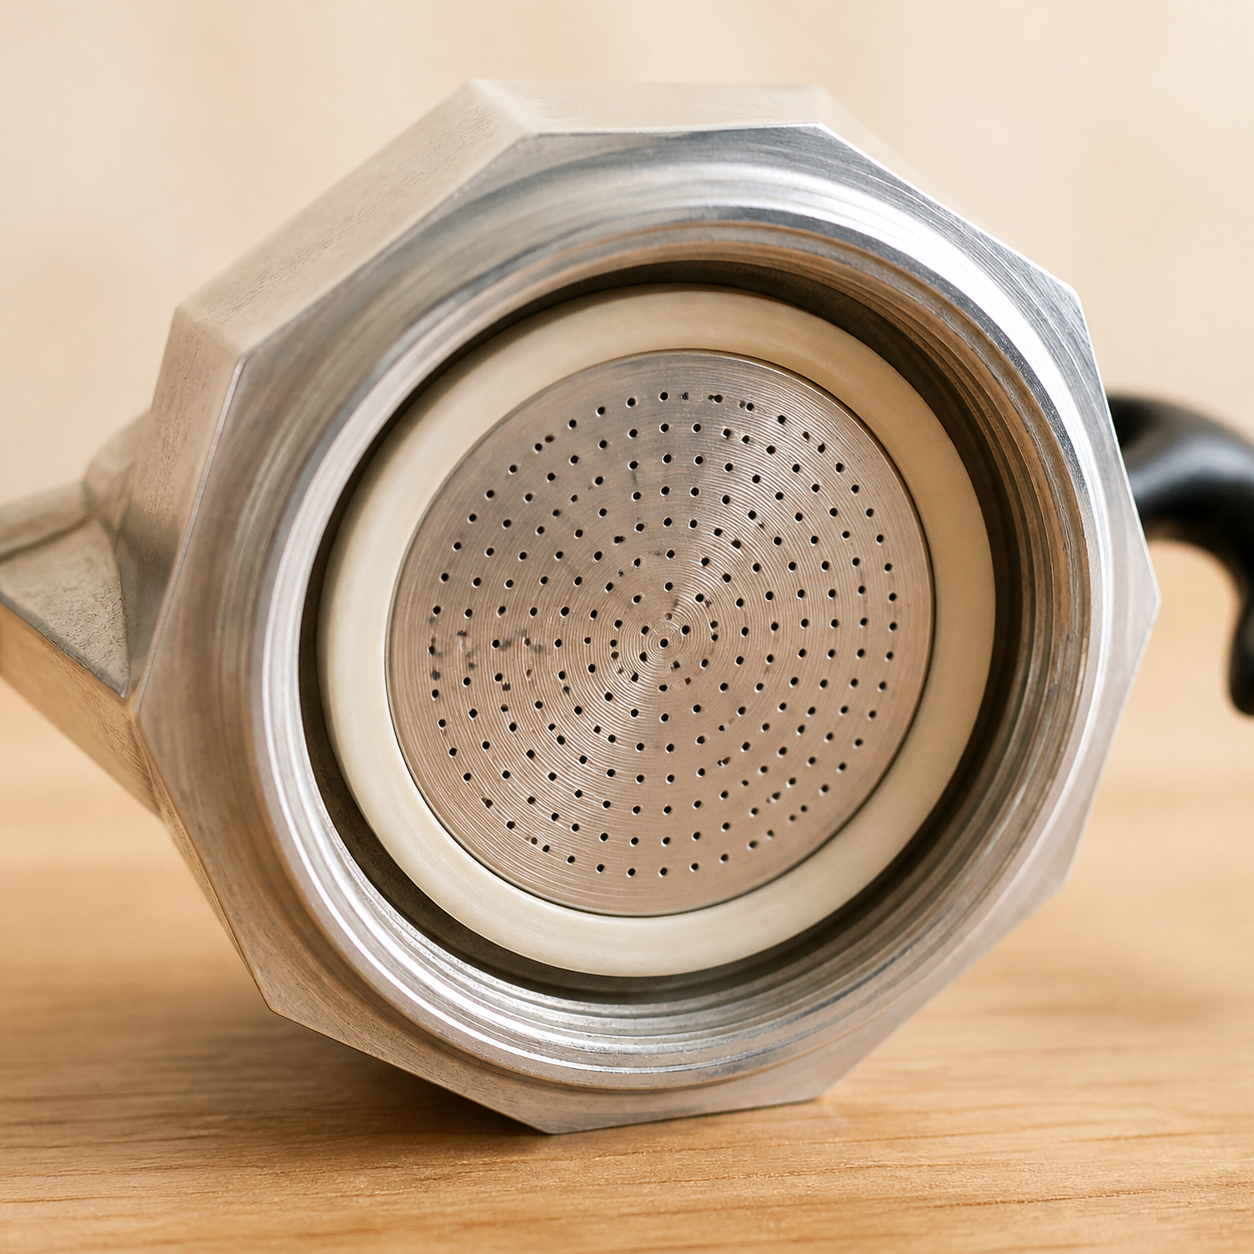
Two small parts do a lot of quiet work: the gasket (the rubber ring that seals the pot) and the filter plate (the round metal disc that sits against it).
Old coffee oils love to hide here, and a tired gasket can make your pot leak steam or struggle to build pressure. A little attention goes a long way.
- Rinse and wipe both during your regular cleaning. An old toothbrush is perfect for clearing grounds out of the filter's tiny holes.
- Check the gasket now and then. If it looks cracked, hardened, or brittle, it's time for a fresh one. Most pots use an inexpensive, easy-to-find replacement.
- Plan to replace the gasket periodically — sources vary from every 6 months to every couple of years, depending on how often you brew. [VERIFY] A good rule of thumb: if it no longer feels soft and springy, swap it.
- Seat a new gasket flat in its groove, pressing it in evenly so it seals without gaps.
If you've ever wondered why your brew tastes off or your pot sputters, the gasket and filter are often the first place to look. For more on flavor troubleshooting, see our guide on why moka pot coffee turns bitter or burnt.
How to Know It's Clean (and Common Mistakes to Avoid)
A clean, well-kept moka pot has a few tells: no gritty grounds left behind, no sour or stale smell, a gasket that's still soft, and a brew that tastes clean rather than musty.
Here are the slip-ups that trip up most beginners — and what to do instead.
| Common Mistake | Do This Instead |
|---|---|
| Scrubbing the inside until it's shiny | Leave the thin coffee patina — it helps flavor. Just rinse with warm water. |
| Using dish soap on aluminum | Warm water only; soap leaves residue and strips seasoning. |
| Running it through the dishwasher | Hand-wash; the dishwasher causes oxidation and damages the seal. |
| Storing it sealed and damp | Dry every part fully, then store loosely so air can circulate. |
| Ignoring the gasket until it leaks | Check it regularly and replace it when it hardens or cracks. |
Drying deserves one more mention, because it's the easiest thing to skip. Aluminum that's left wet can develop those dull white oxidation spots, and a sealed-up pot can trap moisture and turn musty. So dry each piece, then store the pot taken apart — or just resting together without screwing it tight.
- After each brew: cool, disassemble, dump grounds, rinse with warm water, air dry. No soap on aluminum, ever.
- Deep clean every few weeks with a 2-parts-water, 1-part-vinegar descale — keep aluminum soaks under 30 minutes.
- Skip the dishwasher; it strips seasoning, causes oxidation, and wears out the gasket.
- Check the rubber gasket regularly and replace it once it hardens, cracks, or stops sealing.
- Dry everything fully and store the pot loosely to prevent oxidation and musty smells.
That's really all there is to it. Keep the routine light, skip the soap, and your moka pot will reward you with better coffee the longer you own it — that little seasoned layer inside is part of the magic.
Want to keep leveling up your moka pot skills? Next, read: How to Use a Moka Pot, Step by Step for a refresher on dialing in a great brew, or browse our full moka pot beginner's guide. New to the brewer entirely? Here's why a moka pot is a great place to start.