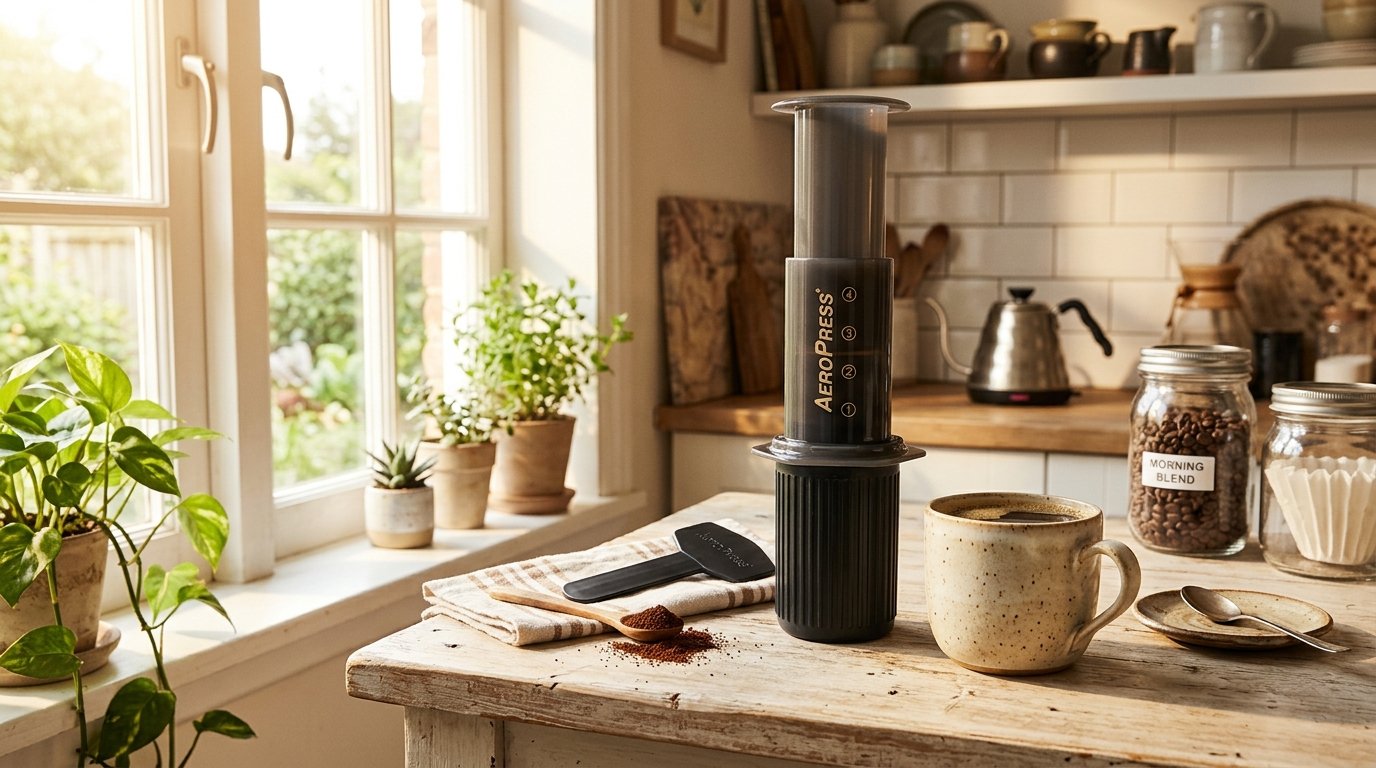
If you've been brewing with a basic drip machine and wondering what else is out there, the AeroPress might be the perfect next step. It's small, affordable, practically indestructible, and makes a surprisingly smooth cup of coffee in about two minutes. No complicated settings, no expensive equipment — just you, hot water, and a simple press.
The AeroPress is one of the most popular manual brewers in the world, and there's a good reason for that. It's forgiving enough for complete beginners but flexible enough to grow with you as your taste develops. Whether you want a clean, smooth cup or something closer to espresso-style concentrate, this little brewer can do it all.
In this guide, we'll walk you through exactly how to brew your first cup with an AeroPress — step by step, with no jargon and no guesswork. By the end, you'll have a delicious cup of coffee and a new favorite way to brew.
Want the bigger picture first? Our full AeroPress Coffee: The Complete Beginner's Guide covers grind size, ratios, troubleshooting, and how the AeroPress compares to other brewers. Start there if you want a complete overview before brewing your first cup.
To brew with an AeroPress: add a paper filter to the cap, place it on your mug, add one scoop (about 17 grams) of medium-fine ground coffee, pour hot water (around 200°F) to the top, stir for 10 seconds, insert the plunger, wait one minute, then press down gently for about 30 seconds. Total brew time: roughly two minutes from start to sip.
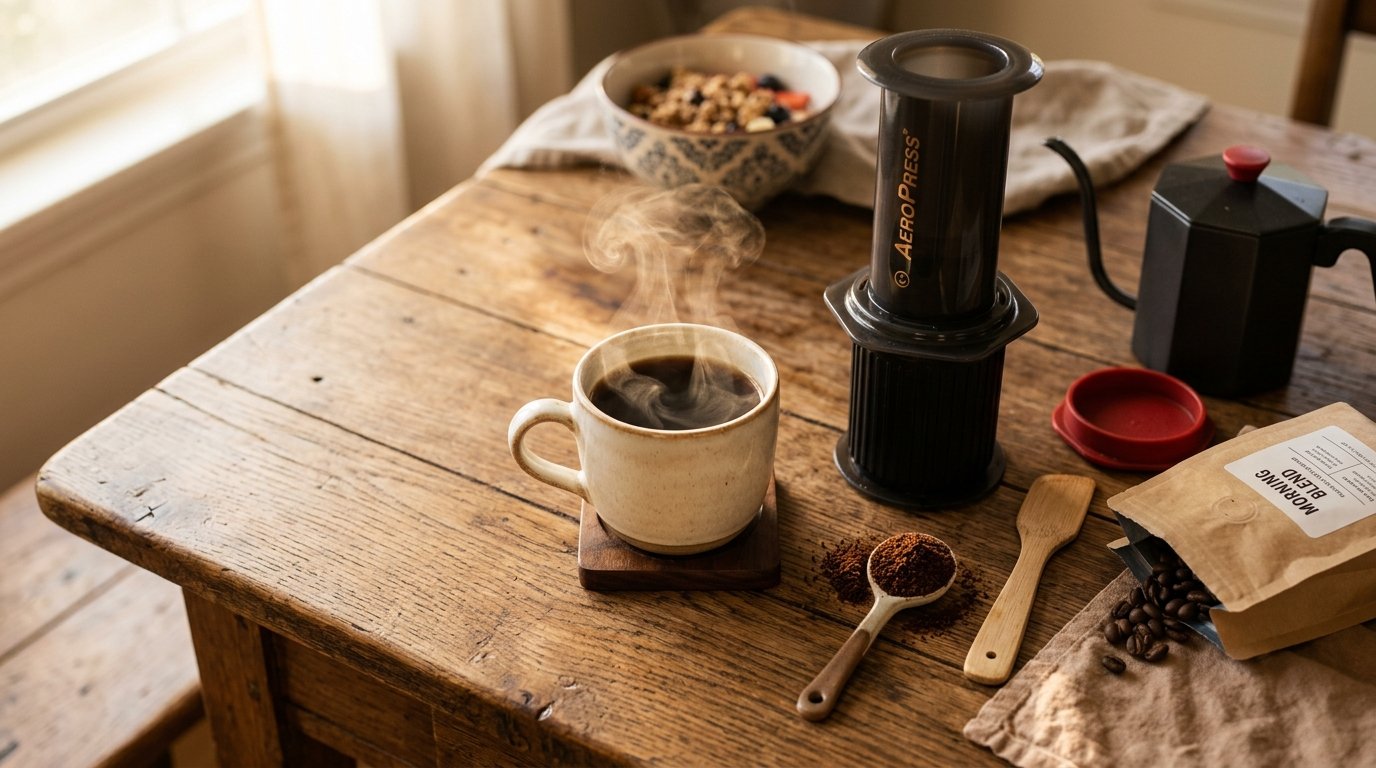
What You'll Need
One of the best things about the AeroPress is how little you need to get started. Here's your complete equipment list:
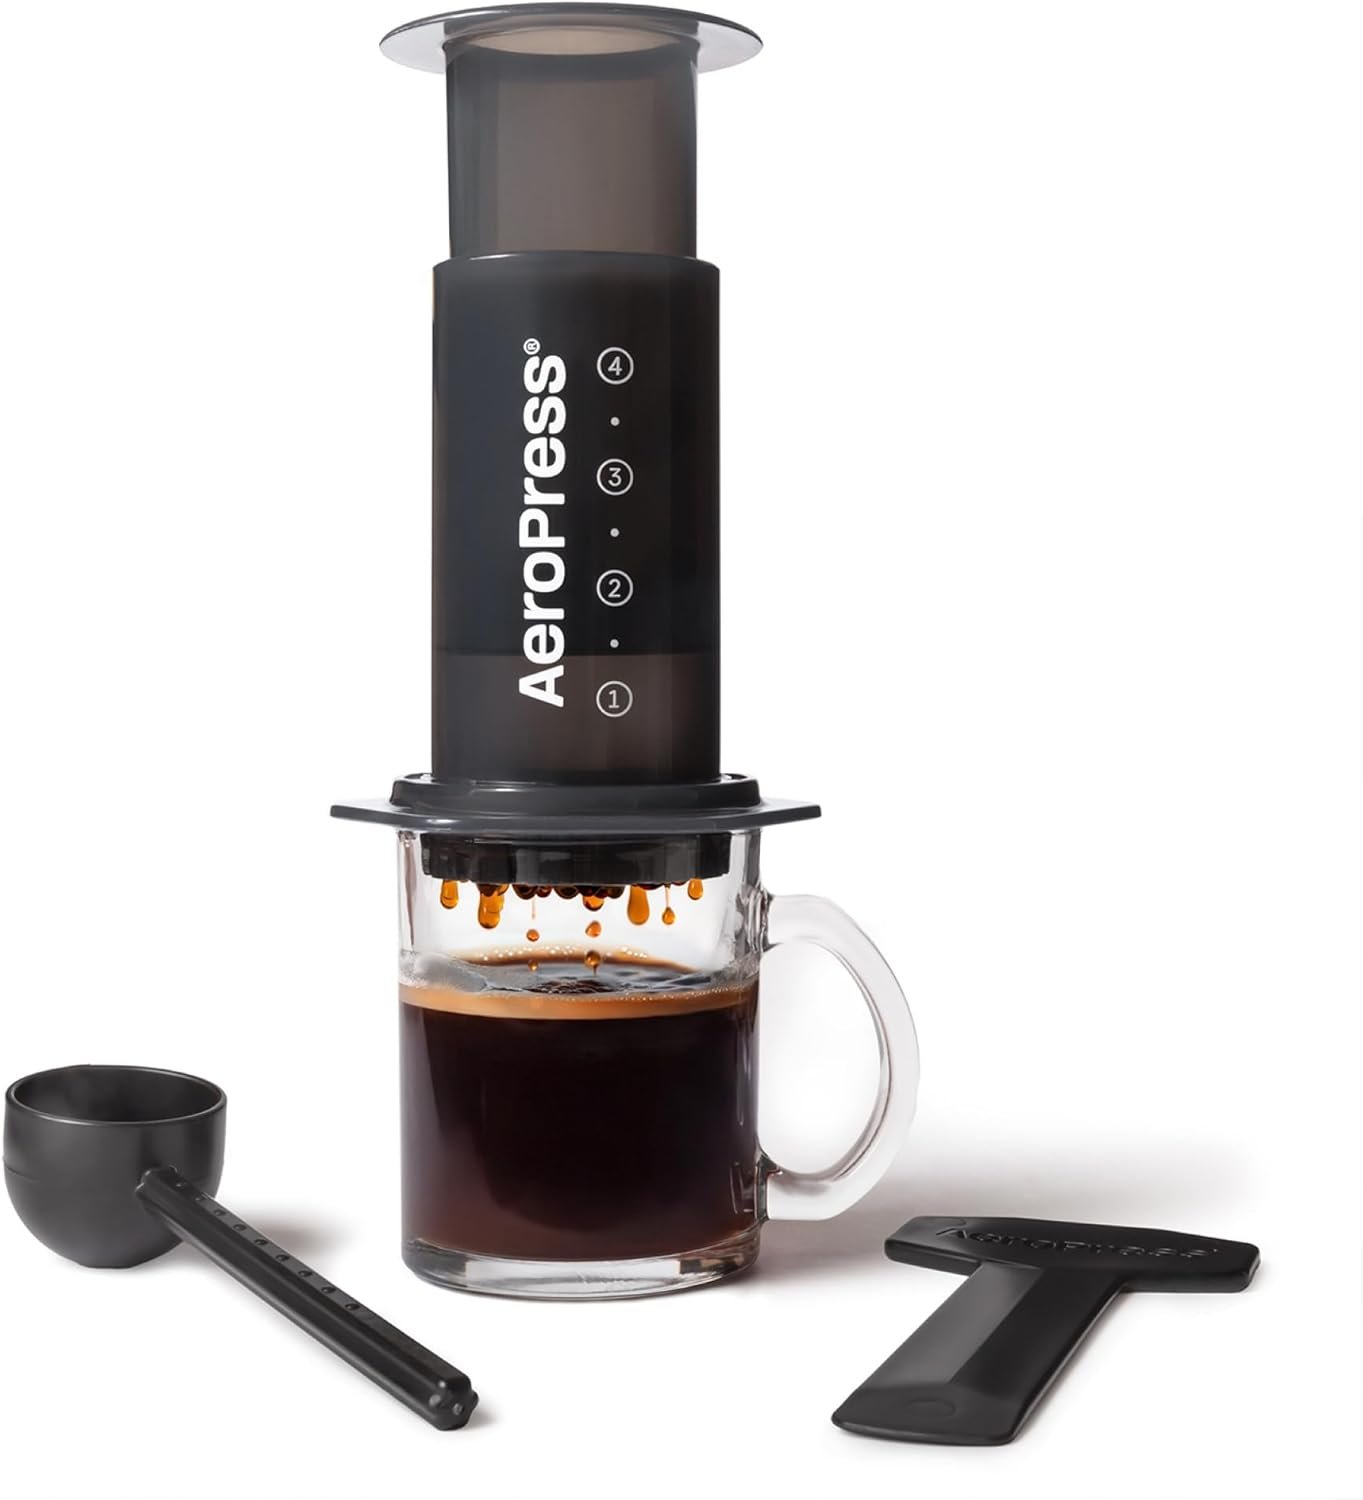
- AeroPress coffee maker — The Original AeroPress (around $40) is the best option for home use. It comes with everything you need: the chamber, plunger, filter cap, scoop, stirrer, and a pack of paper filters. Check current price on Amazon →
- Coffee — Medium-fine ground coffee works best (similar to table salt, just slightly finer than what you'd use for drip). Start with about 17 grams or one rounded AeroPress scoop. If you're buying pre-ground, look for a bag labeled “medium” or “drip” grind — it'll work just fine.
- Hot water — You'll need about 220 ml (just under 8 oz). The ideal temperature is around 200°F (93°C). If you don't have a temperature-controlled kettle, just boil your water and let it sit for about 30 seconds before pouring.
- A sturdy mug — The AeroPress sits directly on top of your mug, so pick one that's stable and won't tip over when you press down.
- A timer — Your phone's timer works perfectly. You'll use it to track your brew time.
That's it. No gooseneck kettle required, no expensive grinder needed right away, and no special skills. If you want to learn more about which grind size works best for different brewers, we have a full guide on that.
Our Pick for Beginners
AeroPress Original Coffee Maker
Makes a smooth, rich cup in under 2 minutes. Comes with everything you need — chamber, plunger, filters, scoop, and stirrer. Around $40 and nearly indestructible.
Check Price on Amazon →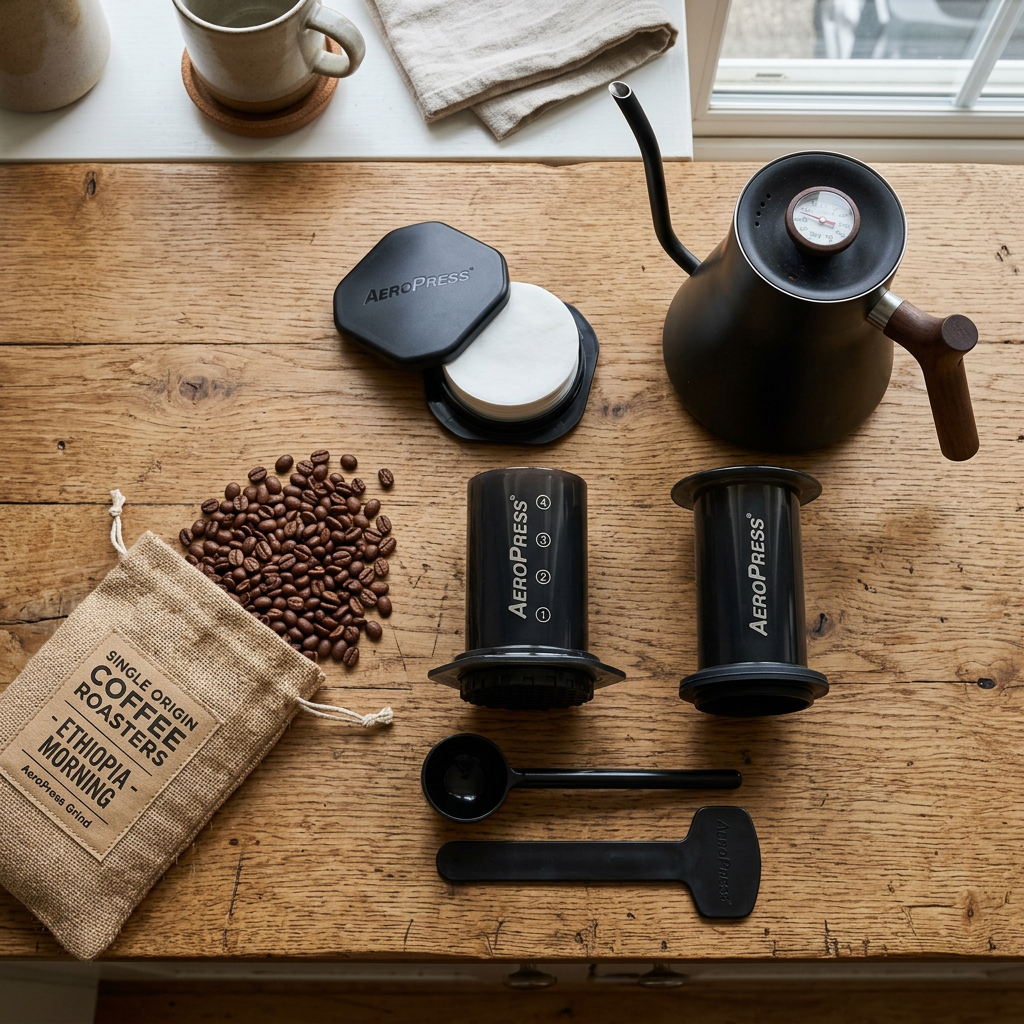
Before You Start — Quick Tips for Success
A few small things make a big difference with the AeroPress:
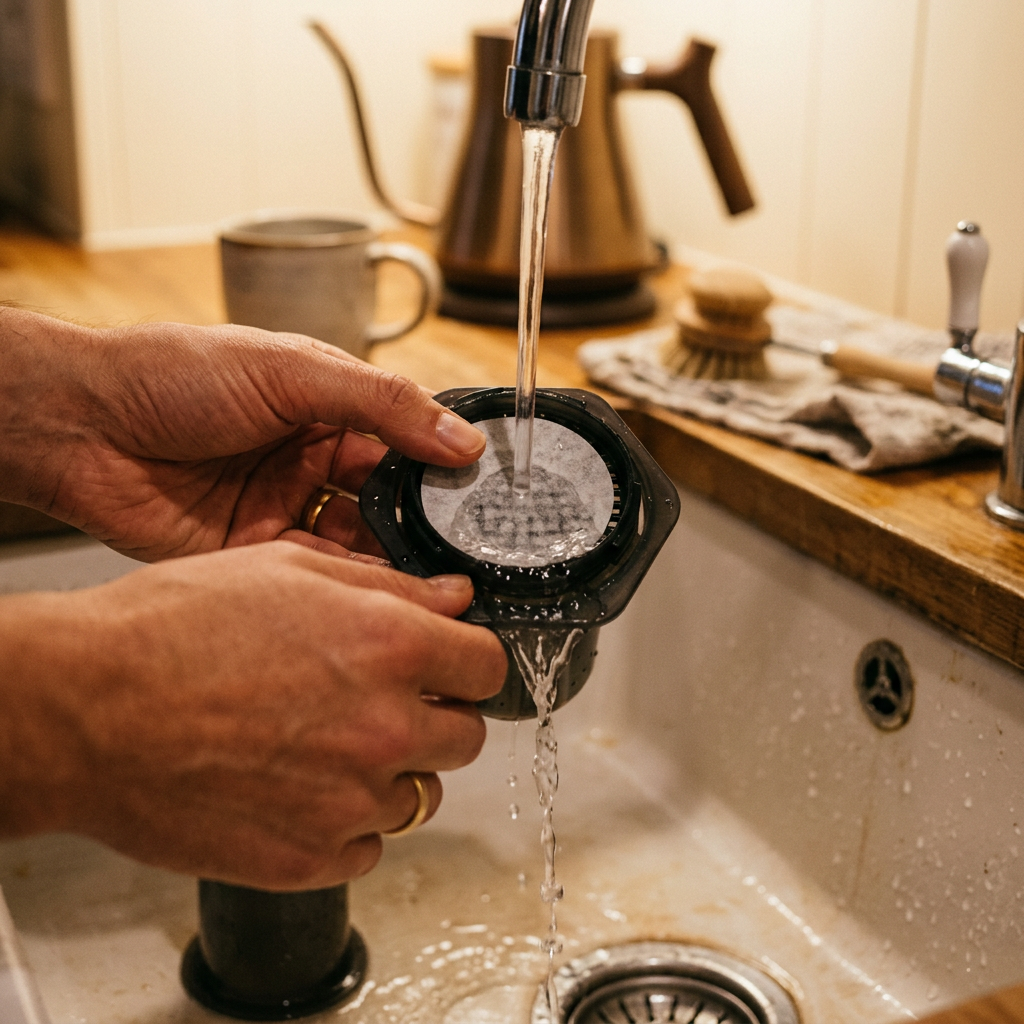
- Rinse your paper filter first. Place the filter in the cap and run a little hot water through it. This washes away any papery taste and preheats your brewer at the same time.
- Use water just off the boil. Boiling water straight from the kettle can over-extract your coffee and make it bitter. Let it cool for about 30 seconds after boiling — or aim for around 200°F if your kettle has a temperature setting.
- Don't press too hard. This is the number one beginner mistake. Gentle, steady pressure gives you the best flavor. If you're white-knuckling it, you're pressing too hard.
The AeroPress inventor, Alan Adler, says the single most important tip is to press gently. A slow, steady press (about 30 seconds) actually produces the smoothest, sweetest coffee. Rushing the plunge is the fastest way to end up with a bitter cup.
Step-by-Step: How to Brew Coffee with an AeroPress
Step 1: Heat Your Water
Bring your water to a boil, then let it sit for about 30 seconds. You're aiming for roughly 200°F (93°C). If your kettle has a temperature setting, set it there. If not, the 30-second rest after boiling gets you close enough.
Step 2: Prep the Filter
Place a paper filter inside the filter cap. Hold the cap over a sink and pour a little hot water through it to rinse the filter. This removes any paper taste and warms up the cap. Then twist the filter cap onto the bottom of the AeroPress chamber.
Step 3: Add Your Coffee
Stand the AeroPress chamber on top of your mug with the filter cap on the bottom. Add one rounded AeroPress scoop of medium-fine ground coffee (about 17 grams). If you have a kitchen scale, weighing your coffee gives you more consistent results — but the included scoop works great for getting started.
Step 4: Pour the Water
Start your timer and pour hot water slowly into the chamber, filling it to about the number 4 mark on the side. This gives you roughly 220 ml of water. Pour in a steady stream — no special technique needed.
Step 5: Stir
Use the included stirrer (or any long spoon) to give the coffee a gentle stir for about 10 seconds. This makes sure all the grounds are evenly saturated and nothing is stuck to the sides.
Don't stir aggressively or for too long. Over-stirring increases extraction and can make your coffee taste bitter. A gentle back-and-forth for 10 seconds is all you need.
Step 6: Insert the Plunger and Wait
Insert the plunger into the top of the chamber — just about half an inch in. Then pull up slightly to create a gentle vacuum seal. This stops the water from dripping through too early. Now wait. Let the coffee steep for about one minute total from when you started pouring.
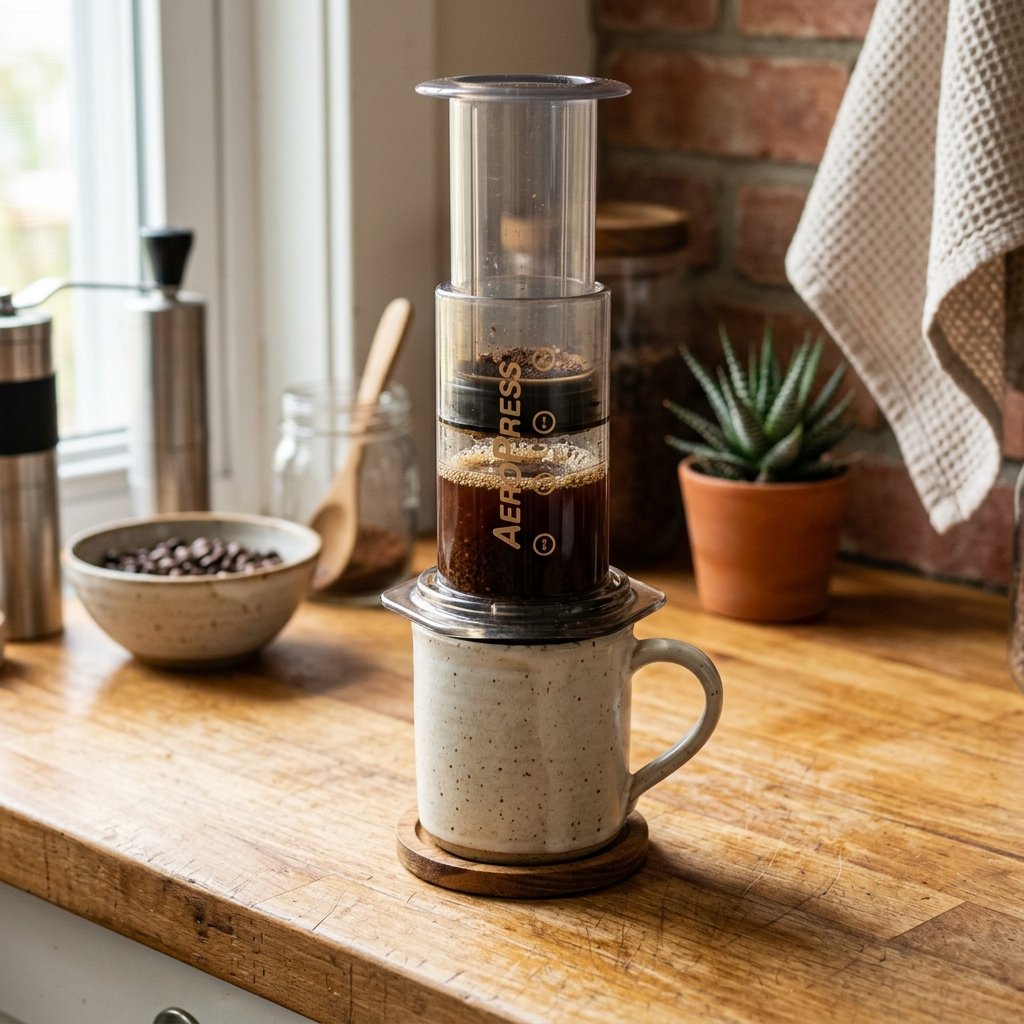
Step 7: Press Down Gently
When your timer hits one minute, press the plunger down with slow, steady pressure. The whole press should take about 20 to 30 seconds. You'll feel some resistance — that's normal. Keep pushing gently until you hear a hissing sound. That hiss means you've pushed all the water through the coffee bed and your brew is done.
Step 8: Clean Up
Twist off the filter cap over a trash can or compost bin and push the plunger to pop out the used coffee puck and filter. Rinse the plunger and chamber with water. That's it — cleanup takes about 10 seconds, which is one of the best things about this brewer.
How to Know If You Did It Right
A well-brewed AeroPress cup should taste smooth, clean, and noticeably less bitter than what you might be used to from a drip machine. The body will be medium — not as thick as French press coffee, but richer than a pour-over.
If you're using a medium roast, expect a balanced cup with some sweetness. If you're using a light roast, you might notice brighter, fruitier notes. Either way, it shouldn't taste sour (under-extracted) or harsh and bitter (over-extracted).
If your coffee tastes great on the first try — awesome, you nailed it. If it's not quite right, that's completely normal. Check the troubleshooting section below and make one small adjustment at a time.
Troubleshooting — If Something Went Wrong
| Problem | Likely Cause | Quick Fix |
|---|---|---|
| Coffee tastes bitter or harsh | Water was too hot, or you pressed too hard/fast | Let water cool a bit longer after boiling. Press more slowly and gently. |
| Coffee tastes sour or weak | Water wasn't hot enough, or grind was too coarse | Use hotter water (closer to the boil). Try a finer grind next time. |
| Coffee tastes watery | Not enough coffee, or water drained through too fast | Use a full scoop (17g). Make sure you create the vacuum seal with the plunger before waiting. |
| Hard to press down | Grind is too fine, creating too much resistance | Try a slightly coarser grind. Don't force it — if it won't budge, the grind is too fine. |
For a deeper understanding of why these things happen, check out our guide on what coffee extraction is and why it matters. Once you understand extraction, troubleshooting becomes a lot more intuitive.
- The AeroPress is one of the most beginner-friendly brewers you can buy — affordable, fast, and nearly impossible to break.
- Use medium-fine ground coffee, water just off the boil (~200°F), and press gently for about 30 seconds.
- Total brew time is around two minutes, and cleanup takes about 10 seconds.
- If something tastes off, adjust one thing at a time — water temperature, grind size, or brew time.
- Don't overthink it. The AeroPress is forgiving, and even a so-so AeroPress cup is better than most drip machine coffee.
Your Next Step
Now that you know how to brew with an AeroPress, you're well on your way to making genuinely great coffee at home. To go deeper on the AeroPress specifically, our AeroPress Coffee: The Complete Beginner's Guide is the hub for everything — grind size, ratios, troubleshooting, and product picks.
If you're still getting comfortable with the basics, our Complete Beginner's Coffee Setup Guide covers everything from choosing your first brewer to dialing in your perfect cup.
And if you're curious how the AeroPress compares to another popular beginner brewer, check out our guide to why a French press is a great start for beginners. They're both excellent choices — just different styles.
The most important thing? Just keep brewing. Every cup teaches you something, and the AeroPress makes it easy to experiment without any risk. You've got this.
Disclosure: This article contains affiliate links. If you purchase through our links, we may earn a small commission at no extra cost to you. We only recommend products we genuinely believe are right for beginners. Full disclosure here.
☕ About the Author
Greg Rathbone is the founder of HomeCoffeeBeginner.com. He started this site after finding that most coffee advice online assumed you were already an expert. Every guide here is written for total beginners — tested in his own kitchen in Oklahoma, with zero snobbery.
☕ Related AeroPress Guides