
If you want espresso at home but don't want to spend $500+ on a machine, the AeroPress is the closest thing you'll find. Real espresso requires nine bars of pressure, and the AeroPress can't generate that — but it can produce a small, intense, syrupy shot that gets you most of the way there for a fraction of the cost. That's the honest deal, and we'll walk through exactly how to brew one.
To make espresso-style coffee with an AeroPress: use 17–20 g of finely ground coffee (espresso grind), 50–80 g of hot water (around 200°F), steep 30–45 seconds, and press firmly for 20–30 seconds. The result is a concentrated, espresso-leaning shot — not real espresso (no crema), but excellent for cortados, lattes, and Americanos.
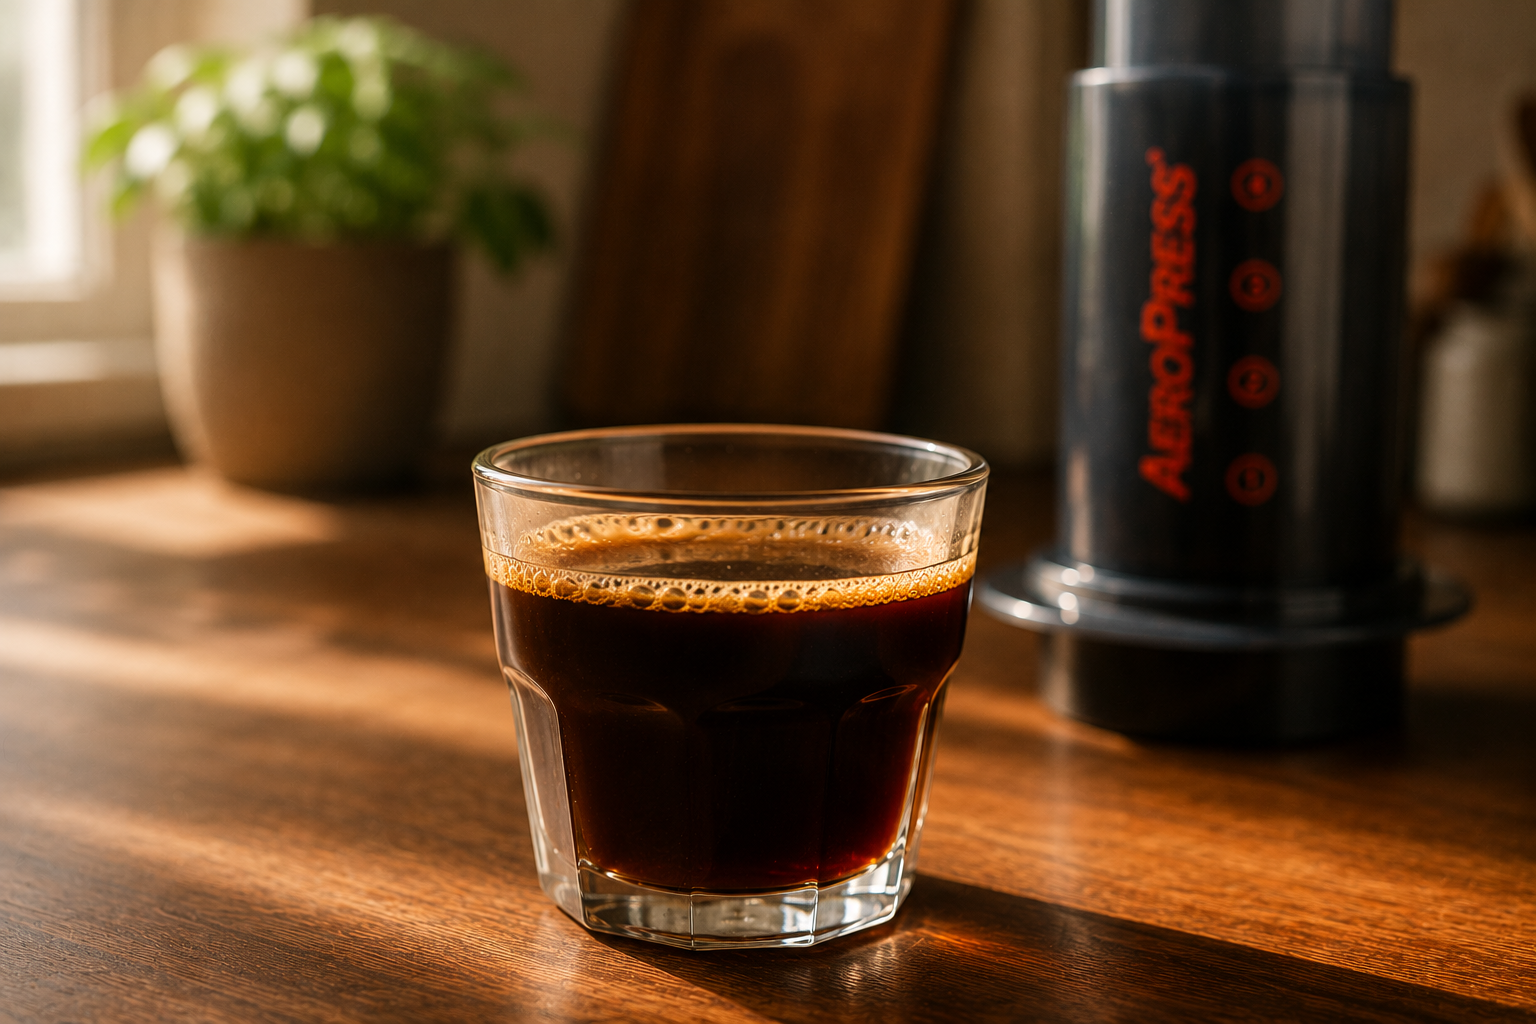
Real Espresso vs AeroPress “Espresso”
It helps to set expectations before you brew. A traditional espresso machine forces hot water through finely ground coffee at about 9 bars of pressure. That high pressure is what creates two things you can't easily replicate without a machine:
- Crema — the thin layer of caramel-colored foam on top of the shot.
- Emulsified body — the syrupy, almost oily texture of a real espresso.
The AeroPress can produce maybe 1–2 bars of pressure when you press hard. That's enough to extract a strong, concentrated shot — but it won't have true crema, and the body won't be quite as silky. What you can get is a small cup of intense, full-flavored coffee that works beautifully as the base for milk drinks like cortados, flat whites, lattes, and cappuccinos.
If a real espresso machine is out of budget right now, AeroPress espresso is the smartest in-between. We covered the broader question of espresso without a machine in the complete beginner's AeroPress guide.
What You'll Need
Gear is simple — and you may already have most of it.
- An AeroPress (Original or Go — either works).
- A finer grinder. The default home grinder setting is usually too coarse — you'll want espresso or just slightly above.
- A kitchen scale (the difference between 17 g and 22 g of coffee is the difference between bright and bitter).
- Hot water — around 200°F (just off the boil for 30 seconds).
- Paper filters (the standard AeroPress filters work fine; metal filters give a fuller body but more sediment).
If you don't yet own an AeroPress, the original is the one we recommend for beginners. It's been around since 2005, costs around $40, and it's the same model used in world AeroPress championships.
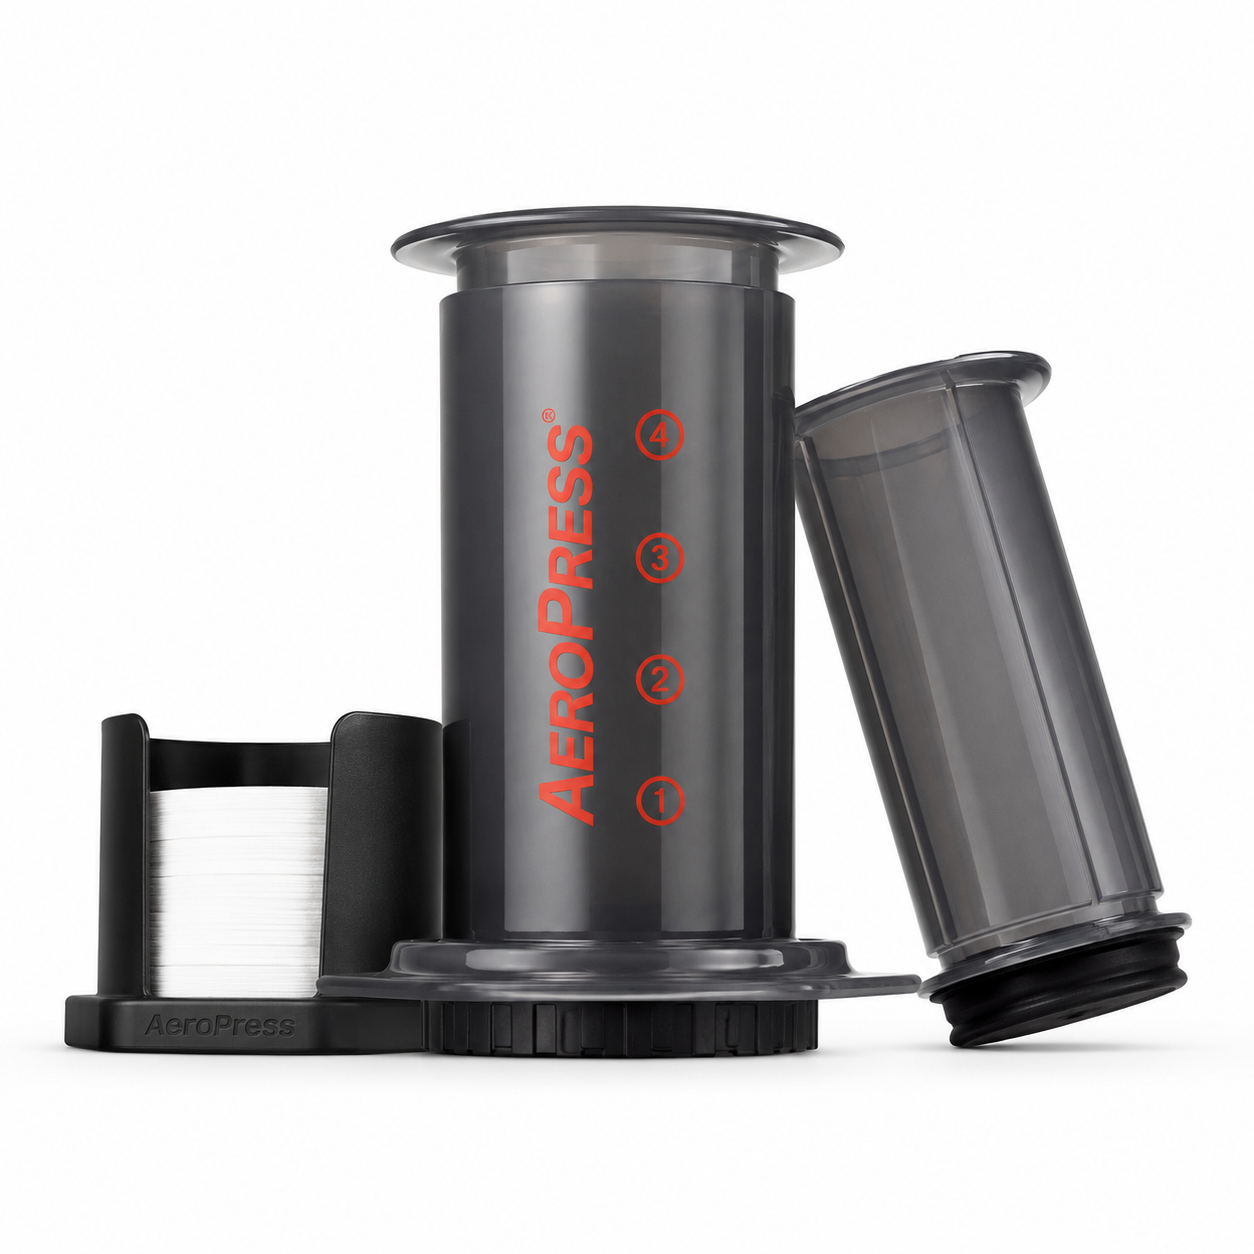
Our Pick for Beginners
AeroPress Original
The most affordable and reliable way to make espresso-style coffee at home. Nearly indestructible, simple to clean, and the same model used in world brewing competitions.
Check Price on Amazon →The AeroPress Espresso-Style Recipe
Use this recipe as a starting point. Once you brew it twice, you'll know what to tweak.
| Variable | Setting |
|---|---|
| Coffee dose | 18 g (medium roast works well) |
| Grind size | Fine — like table salt or a touch finer |
| Water | 60 g, around 200°F |
| Ratio | ~1:3.3 (concentrated) |
| Steep time | 30–45 seconds |
| Press time | 20–30 seconds, firm pressure |
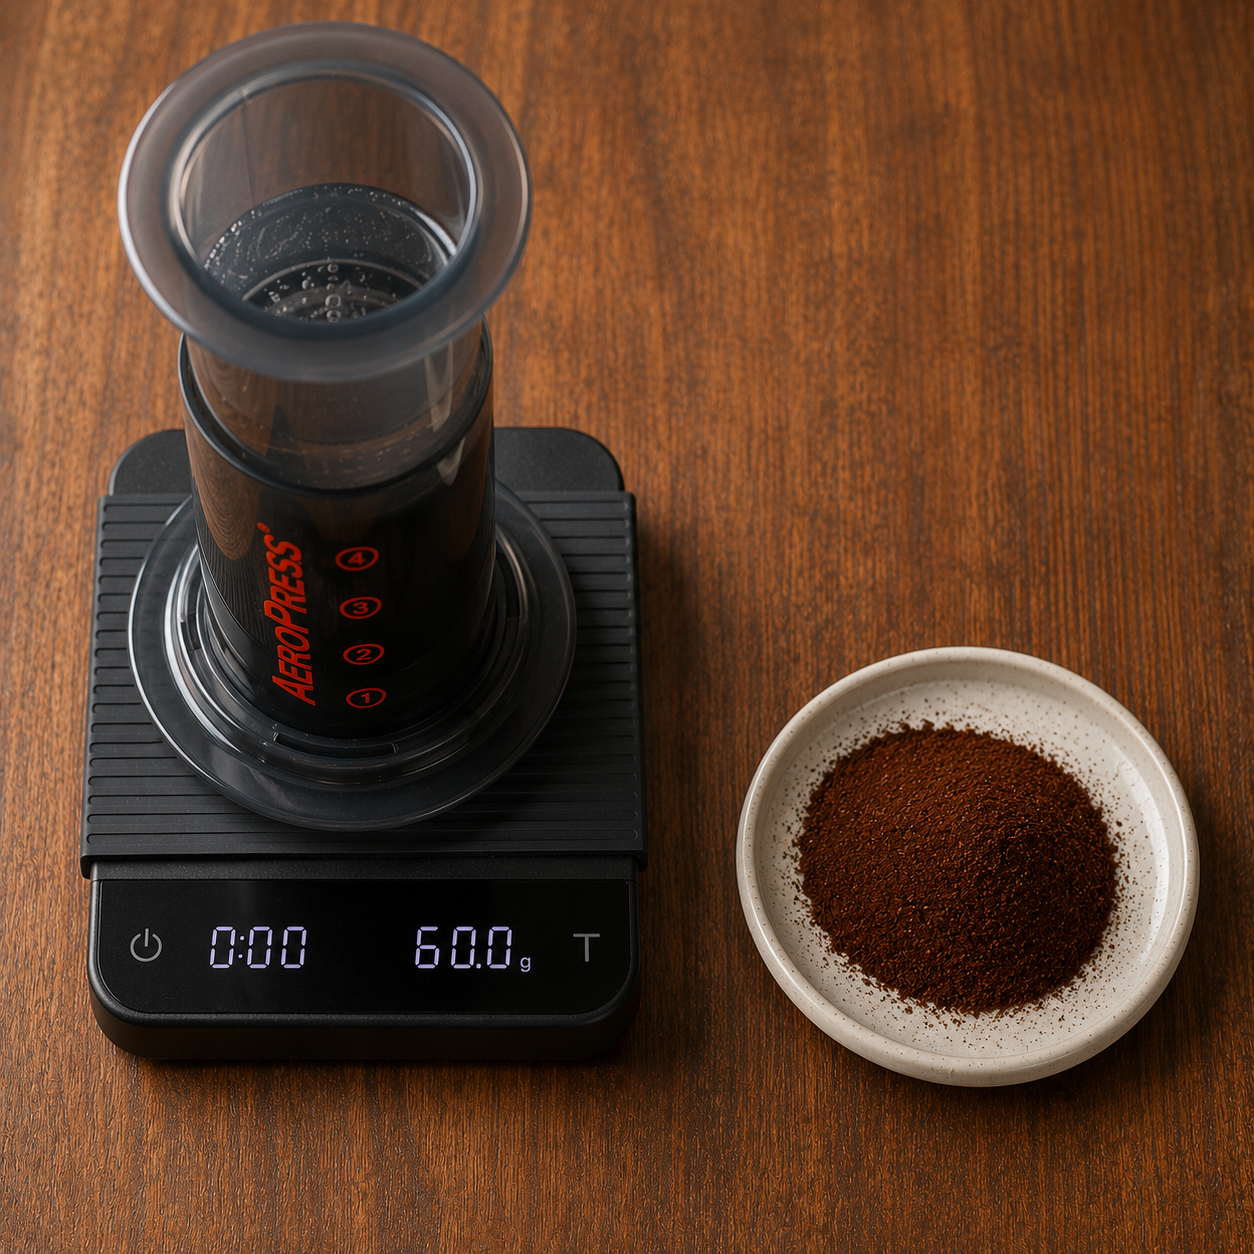
Step 1 — Prepare the AeroPress
Insert a paper filter into the filter cap and rinse it briefly with hot water. This pre-rinse removes any papery taste and warms the AeroPress.
Step 2 — Add Finely Ground Coffee
Add 18 g of espresso-fine coffee into the chamber. If you don't have a grinder fine enough, a $30 burr grinder will get you closer than a blade grinder — and grind size matters even more for espresso-style than for standard AeroPress brewing.
Step 3 — Pour Hot Water
Pour 60 g of water (around 200°F) directly onto the grounds. Aim for full saturation — pour in slow circles. Stir 3–4 times immediately to break up clumps.
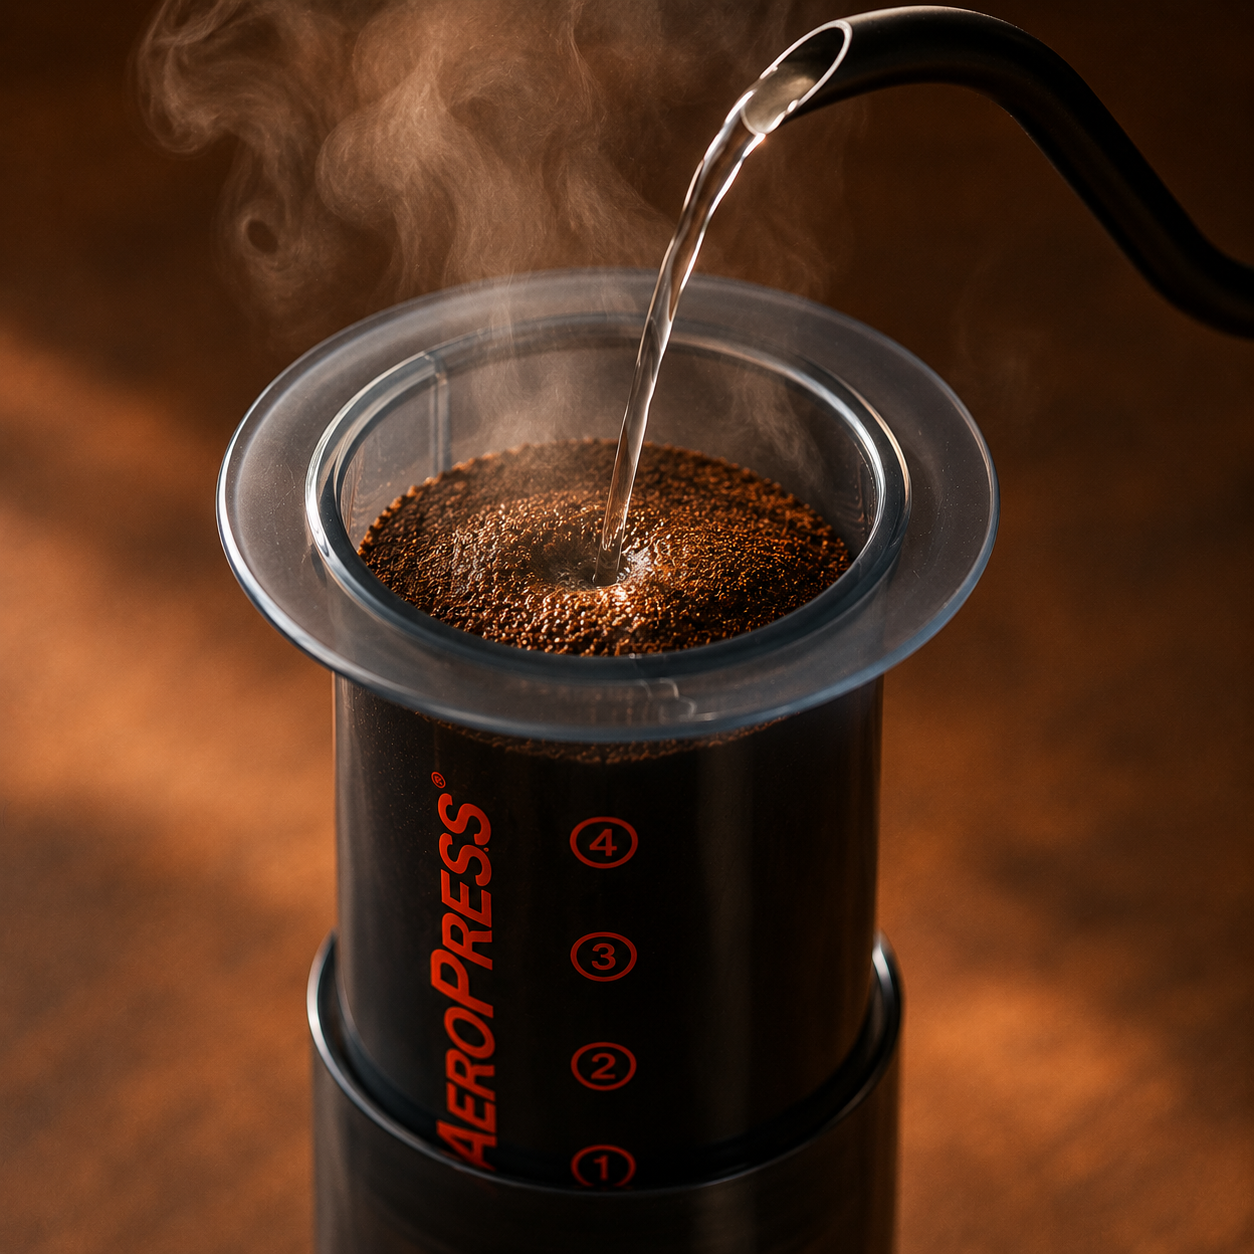
Step 4 — Steep 30–45 Seconds
Cap with the filter screwed on and start a timer. Aim for 30 seconds for a brighter, more acidic shot, or 45 seconds for a fuller, sweeter shot.
Step 5 — Press Firmly
Press down with steady, firm pressure. Unlike standard AeroPress brewing, you actually want to press a little harder here — that's where the pressure (and most of the body) comes from. Stop the moment you hear the hissing sound.
If the press feels easy and the shot finishes in under 15 seconds, your grind is too coarse. If you can barely press at all and the shot stalls, your grind is too fine. Fine-tune one notch at a time.
Building Drinks with Your AeroPress Shot
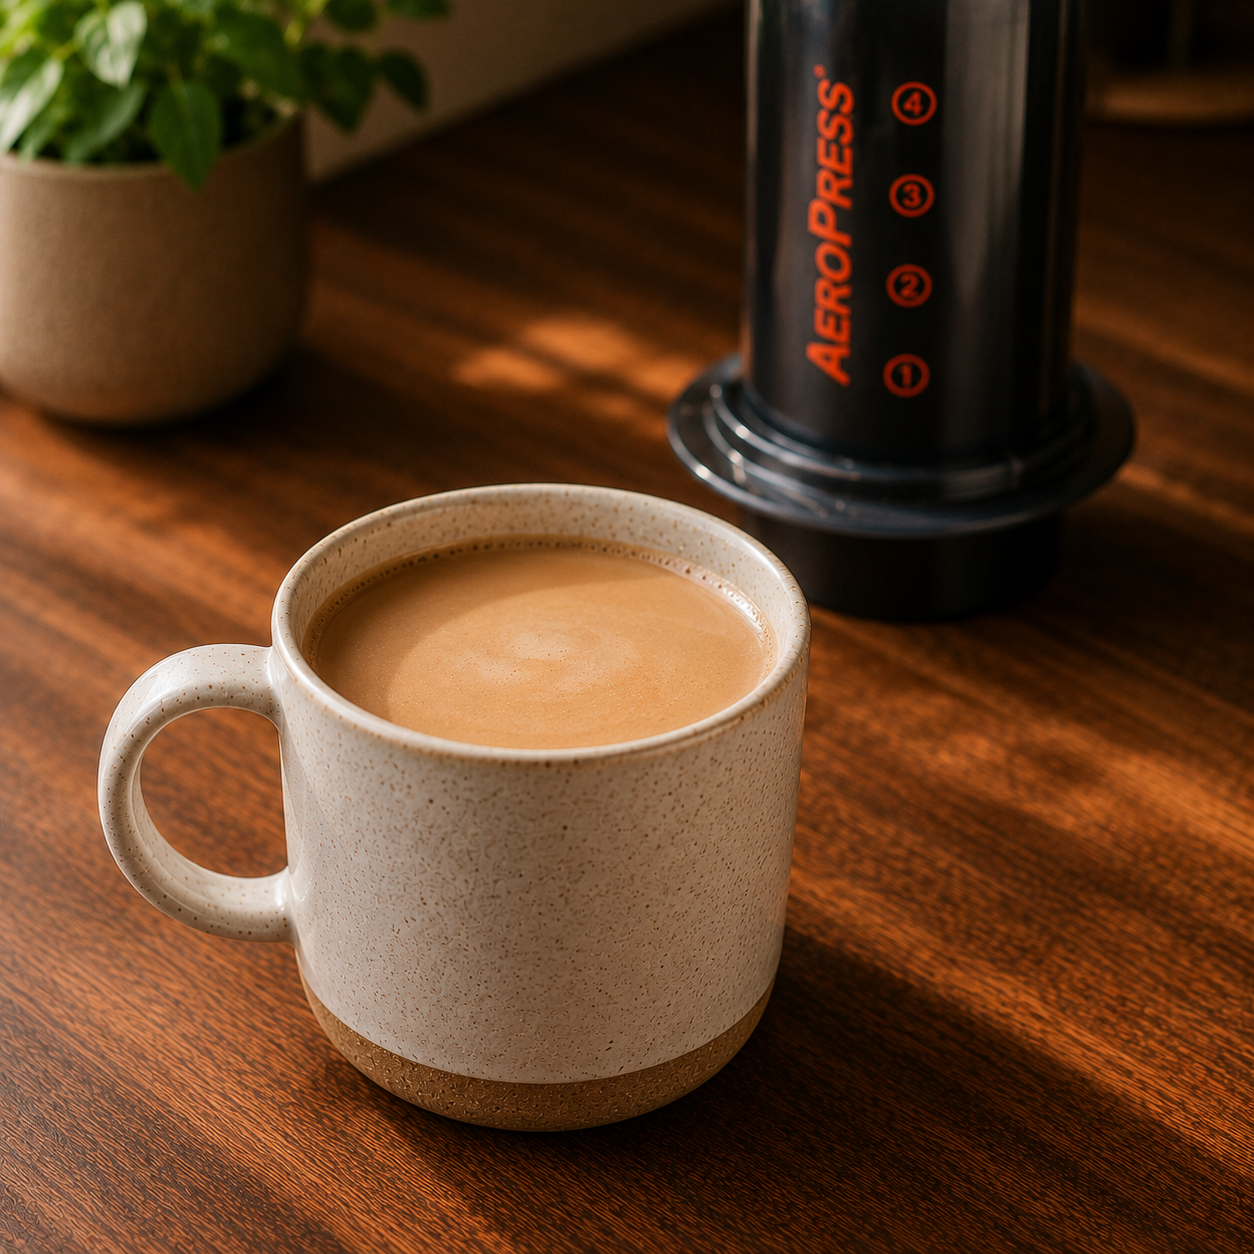
The fun part: once you have 50–60 ml of concentrated AeroPress coffee, you can build almost any espresso drink.
- Americano: Pour the shot into a mug, add 4–6 oz hot water. Done.
- Cortado: Pour the shot into a small glass, add 2 oz of warm steamed (or microwaved) milk.
- Latte: Pour the shot, add 6–8 oz frothed milk. Our milk frothing without a machine guide walks through that part.
- Mocha: Stir 1 tbsp chocolate syrup into the shot, top with steamed milk.
Common Issues and Quick Fixes
| Problem | Likely Cause | Fix |
|---|---|---|
| Watery, weak shot | Grind too coarse or dose too low | Grind finer; try 19 g |
| Bitter, harsh shot | Grind too fine or steep too long | Coarsen one notch; steep 30s. See bitter AeroPress fixes. |
| Press feels impossibly hard | Grind too fine | Coarsen one notch |
| Shot has no body | Paper filter + too short a steep | Try metal filter or steep 45s |
Key Takeaways
- AeroPress can't make true espresso (no 9-bar pressure, no crema), but it makes excellent espresso-style concentrate.
- Use a fine grind, 18 g coffee, 60 g water around 200°F, 30–45 second steep.
- Press firmly and stop at the hiss to avoid pulling out bitter notes.
- Build cortados, lattes, and Americanos from the shot — that's where this method really shines.
For a $40 AeroPress and basic gear, you'll get coffee that genuinely competes with what your local café charges $4 a pour for. If you're still warming up to AeroPress brewing in general, our step-by-step beginner's recipe covers the standard brew first, and the complete AeroPress guide ties everything together.
Disclosure: This article contains affiliate links. If you purchase through our links, we may earn a small commission at no extra cost to you. We only recommend products we genuinely believe are right for beginners. Full disclosure here.
☕ About the Author
Greg Rathbone is the founder of HomeCoffeeBeginner.com. He started this site after realizing most coffee advice online assumes you're already an expert. Every guide here is written for total beginners and tested in his own kitchen — no jargon, no snobbery.
☕ Related AeroPress Guides