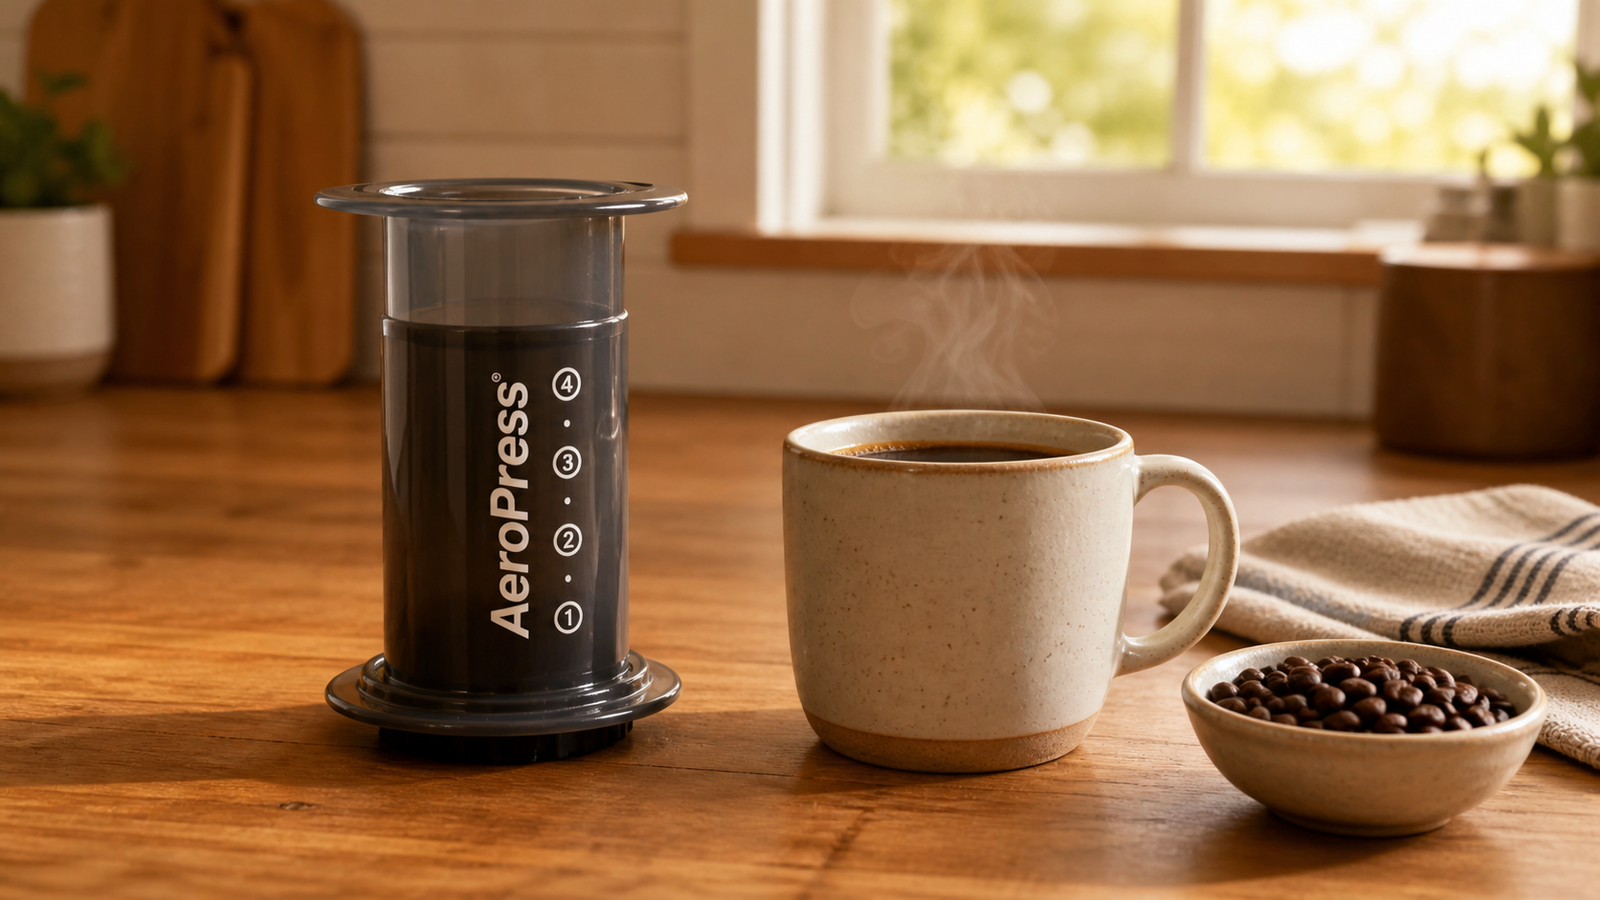
The AeroPress looks a little odd the first time you see one. Two plastic tubes, a tiny paper filter, and a plunger that feels more like a science experiment than a coffee maker. But once you've used it, you'll wonder why anyone bothers with anything more complicated.
An AeroPress brews a smooth, full-bodied cup in about two minutes. It's nearly impossible to break, easy to clean, and forgiving enough that even your first attempt will probably taste pretty good. In this guide, we'll walk you through exactly how to use an AeroPress — from the gear you need, to the grind size and ratio, to a simple step-by-step recipe you can follow on day one.
To use an AeroPress, add a paper filter and rinse it, then add 17 grams of medium-fine ground coffee and 220 grams of water at about 200°F. Stir for 10 seconds, let it steep for 1 minute, then press down slowly for 30 seconds. The whole brew takes under 2 minutes and makes one strong, smooth cup.
What You'll Need
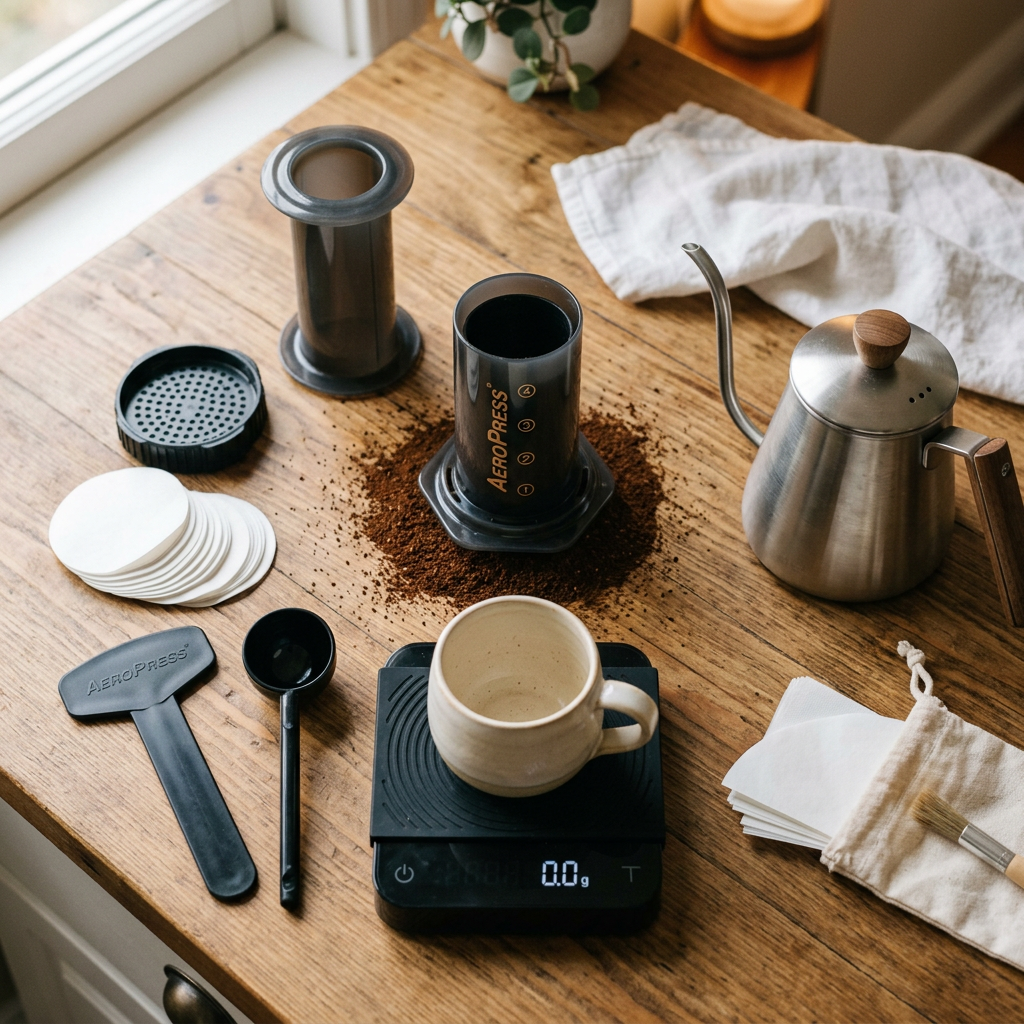
One of the best things about the AeroPress is that the starter kit is almost everything. You don't need a fancy setup — just the brewer, some filters, hot water, and ground coffee.
Here's the short list:
- An AeroPress — the standard AeroPress Original is what we recommend for beginners. It comes with paper filters, a scoop, a stirrer, and a funnel.
- Paper filters — included with the brewer (one box lasts most beginners 6+ months).
- Coffee — about 17 grams (one rounded AeroPress scoop) per cup.
- A kettle — any kettle works. A gooseneck is nice but not required.
- A mug — any sturdy mug that's wider than the bottom of the AeroPress.
- A scale (optional but helpful) — measuring by weight is the single biggest upgrade you can make to your coffee.
Our Pick for Beginners
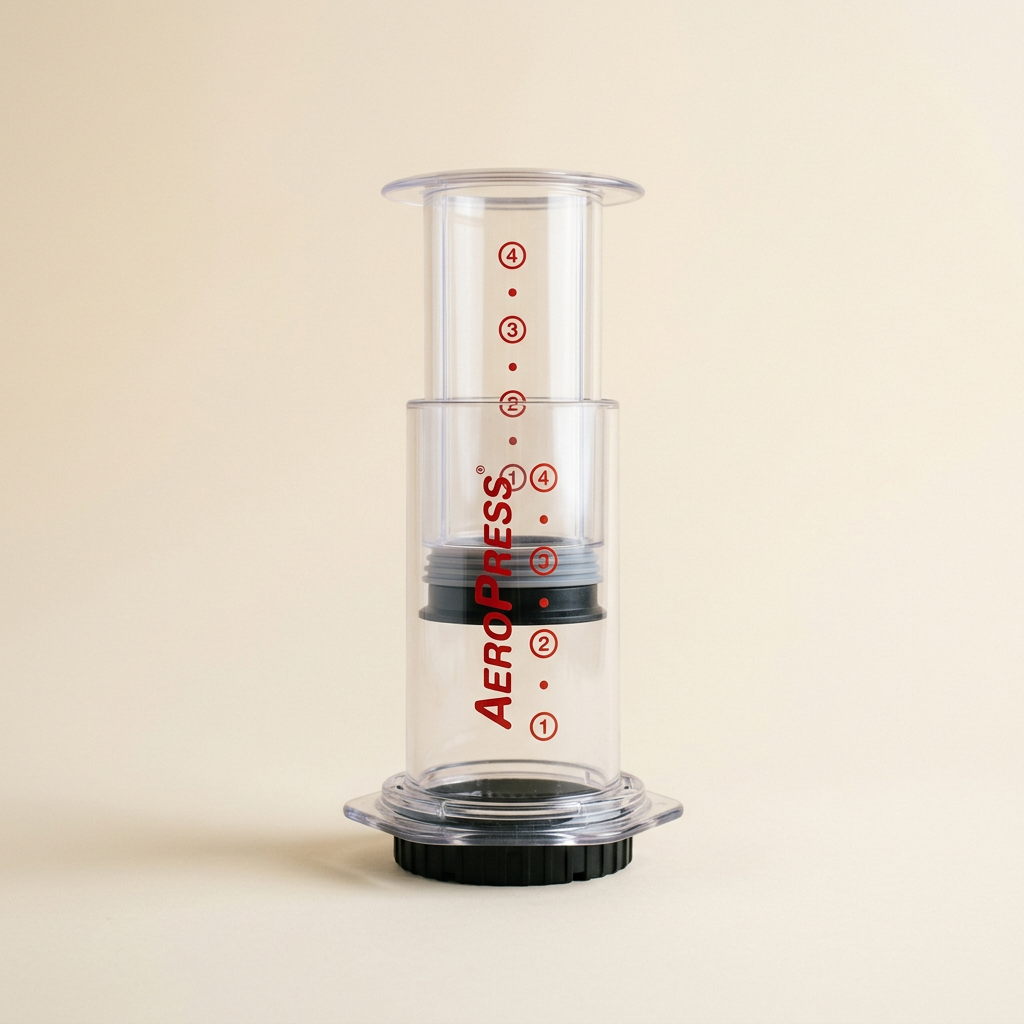
AeroPress Original
The classic AeroPress is durable, dishwasher-safe, and brews a smooth cup in under two minutes. Comes with everything you need to start — filters, scoop, stirrer, and funnel.
Check Price on Amazon →Standard or Inverted? Start With Standard
If you've poked around online, you've probably seen people brewing with an “inverted” AeroPress — flipping the brewer upside down before adding coffee. It looks a little wild, and it does give you more control over steep time. But for beginners, we strongly recommend starting with the standard method.
Here's why: with the standard method, the AeroPress sits upright on your mug the whole time. There's no flipping, no balancing, and no risk of dumping hot water down the front of your shirt. Once you're comfortable with the basic recipe, you can always experiment with the inverted method later.
The standard method does drip a tiny bit while it steeps — that's normal. You'll lose maybe 10–15 grams of water, which barely affects the final cup.
How to Use an AeroPress: Step-by-Step
Here's the full beginner-friendly recipe. Read it through once before you start so you know what's coming. The whole brew, start to finish, takes under three minutes.
Step 1 — Boil your water
Heat about 350 grams (12 ounces) of water to roughly 200°F (93°C). If you don't have a thermometer, bring it to a boil and let it sit for 30 seconds before using.
Step 2 — Place a filter and rinse it
Drop a paper filter into the black filter cap. Run a little hot water through it for two reasons: it removes the papery taste, and it warms up your AeroPress and mug. Pour the rinse water out of your mug before brewing.
Step 3 — Twist the filter cap onto the chamber
Lock the filter cap onto the bottom of the brewing chamber. Set the AeroPress on top of your mug, with the filter cap facing down.
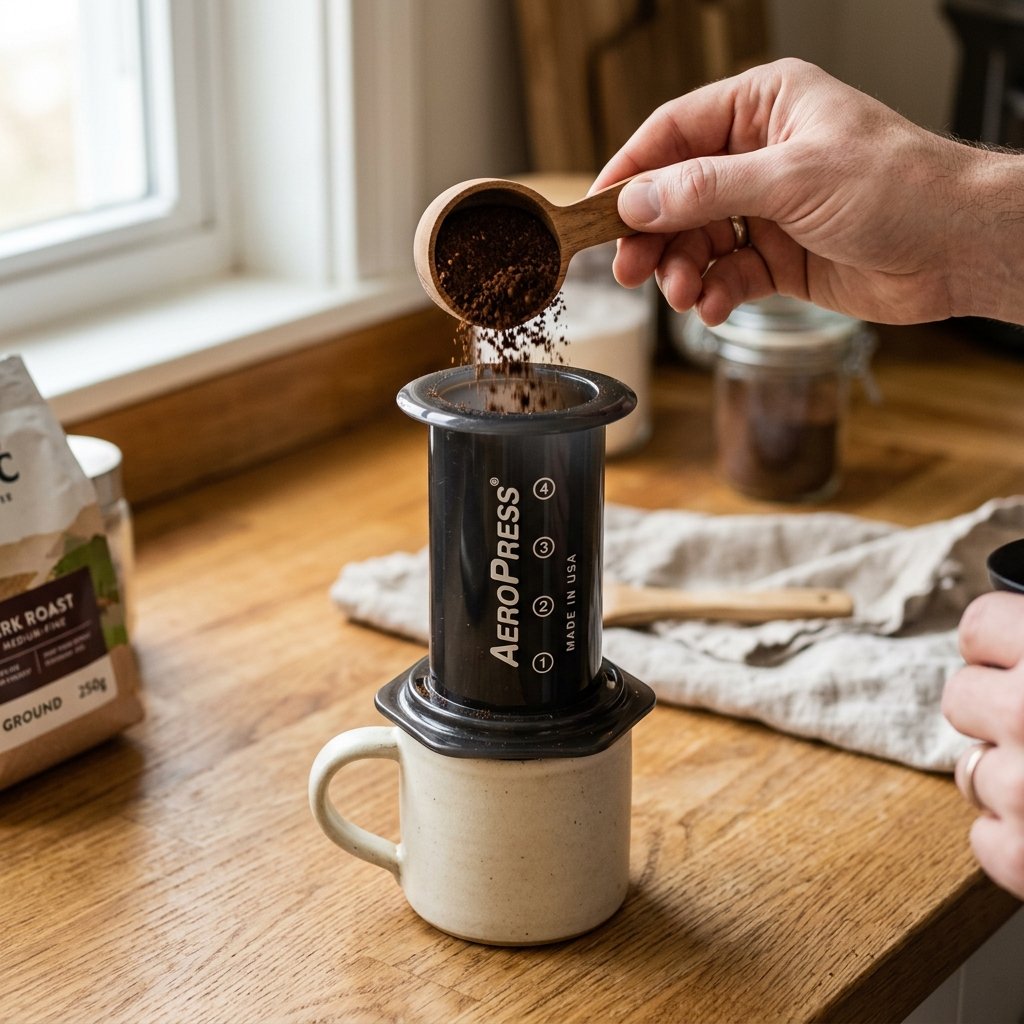
Step 4 — Add coffee
Add 17 grams of medium-fine ground coffee — about one rounded AeroPress scoop. If you're not using a scale yet, the scoop is a great built-in measuring tool. Just don't pack it down.
Step 5 — Start your timer and pour
Start a timer. Pour 220 grams of hot water (about 7.5 oz) into the chamber, aiming to soak all the grounds evenly. Pour quickly — you want all the water in within about 15 seconds.
Step 6 — Stir for 10 seconds
Use the included stirrer (or a regular spoon) to stir gently for about 10 seconds. This makes sure every ground gets fully wet, which leads to a more even, balanced cup.
Step 7 — Insert the plunger and let it steep
Put the plunger on top of the chamber and gently press down just a tiny bit — enough to create a seal. This stops most of the dripping while the coffee steeps.
Let it sit for one minute total from when you started pouring.
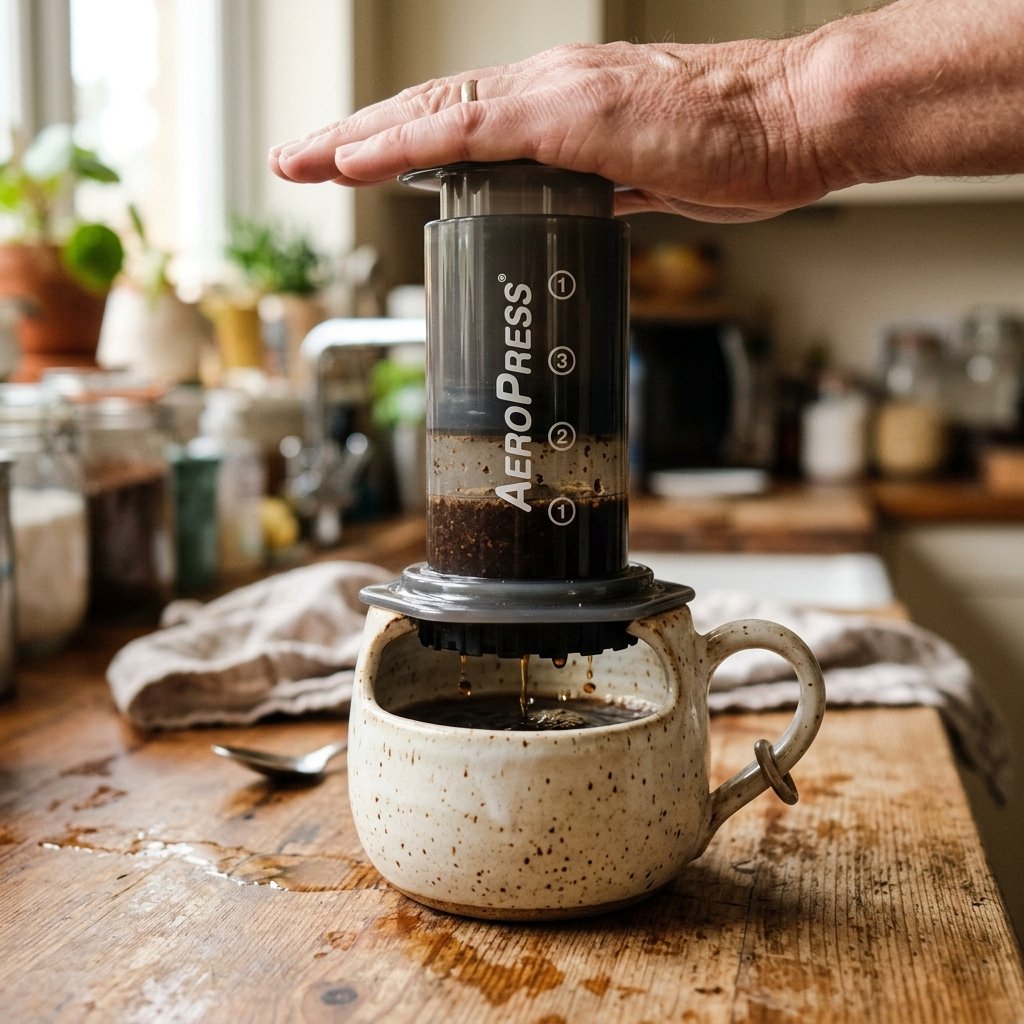
Step 8 — Press slowly
At the 1:00 mark, press the plunger down slowly and steadily. It should take 20–30 seconds. Stop as soon as you hear a hiss — that's air escaping, and it means you've pushed all the coffee through.
Step 9 — Drink it
That's it. You just made a cup of AeroPress coffee. The result is roughly an 8-ounce concentrated brew — strong, smooth, and full-flavored. Some people drink it as-is. Others top it off with 2–4 ounces of hot water to make a longer cup (similar to an Americano), or add steamed milk for a quick cafe-style drink.
The Beginner-Friendly AeroPress Recipe (At a Glance)
Bookmark this card or screenshot it for your morning routine:
| Coffee | 17 grams (1 rounded AeroPress scoop) |
| Water | 220 grams (about 7.5 oz) |
| Ratio | About 1:13 (strong but smooth) |
| Grind Size | Medium-fine (a little finer than drip, coarser than espresso) |
| Water Temperature | 200°F (93°C) |
| Steep Time | 1 minute |
| Press Time | 20–30 seconds |
| Total Brew Time | Under 2 minutes |
That recipe makes one strong cup. If you want a longer drink, brew the same way and dilute with hot water at the end.
Common Beginner Mistakes (and Easy Fixes)
The AeroPress is forgiving, but a few small things can throw off your cup. Here are the most common ones we see beginners run into.
Pressing too hard or too fast is the #1 beginner mistake. If the plunger feels stuck, your grind is too fine. Don't force it — just press slower. The brew should take 20–30 seconds, not 5.
Wrong grind size. Too coarse and your coffee will taste weak and watery. Too fine and the press becomes a workout — and the coffee gets bitter. Aim for medium-fine (think kosher salt). If you're not grinding your own beans yet, ask for “medium-fine, for AeroPress” at the coffee shop, or look for ground coffee labeled for drip.
Skipping the rinse. A new paper filter has a faint cardboard taste. Thirty seconds of hot water through the filter solves it.
Water that's too hot. Boiling water (212°F) right out of the kettle can over-extract and make the coffee taste harsh. Let it rest for 30 seconds before pouring.
Pre-ground coffee that's been sitting around. Coffee starts to lose flavor within a week of being ground. Fresher beans = a better AeroPress cup. If you can swing it, a basic burr grinder is the best upgrade you'll make.
How to Adjust Your Cup
If your first cup tastes “off,” don't toss the AeroPress out the window. The fix is almost always a small adjustment.
- Too weak or watery? Use a slightly finer grind, or add 1–2 more grams of coffee.
- Too bitter or harsh? Use a slightly coarser grind, lower your water temperature by 5°F, or shorten your steep time to 45 seconds.
- Too sour? Your water might not be hot enough. Bump it up toward 200°F and steep a bit longer.
- Plunger is hard to press? Grind is too fine. Coarsen it up a notch.
Change one variable at a time so you know which adjustment did what. The AeroPress is the easiest brewer to learn on because every change shows up clearly in the cup.
Frequently Asked Questions
How much coffee does an AeroPress make?
One brew makes about 8 ounces of strong, concentrated coffee — enough for one full mug, or two smaller espresso-style cups. To make more, brew twice. The AeroPress is a single-serve brewer by design.
Can I use pre-ground coffee?
Yes. Pre-ground coffee labeled for drip or pour-over works fine in an AeroPress, especially when you're starting out. Just keep it sealed and use it within two weeks for the best taste.
How long does an AeroPress last?
A long time. The plastic chamber is dishwasher-safe and built to last. Most owners use the same AeroPress for 5+ years. The rubber seal on the plunger is the only part that wears out, and replacements are cheap.
Do I really need a scale?
You don't need one to start — the included scoop gets you close. But once you have a scale, your cup gets noticeably more consistent. If you're enjoying the AeroPress and want to keep improving, it's a $15 upgrade that pays off every morning.
- The standard method is the safest, simplest way for beginners to use an AeroPress.
- Start with 17g coffee, 220g water at 200°F, medium-fine grind, 1 minute steep, 20–30 second press.
- If your cup tastes off, adjust one variable at a time — usually grind size or water temperature.
- The AeroPress is forgiving, fast, and almost impossible to break — perfect for learning.
Ready to keep going? Once you've nailed this beginner recipe, dig into our complete AeroPress beginner's guide for more recipes, troubleshooting, and ways to upgrade your cup. If you're still deciding whether the AeroPress is right for you, our honest beginner's look at the AeroPress walks through who it's a great fit for and who might be happier with something else.
And if you want to dial in your ratio or grind size, check our beginner guides on coffee-to-water ratios and coffee grind sizes.
Disclosure: This article contains affiliate links. If you purchase through our links, we may earn a small commission at no extra cost to you. We only recommend products we genuinely believe are right for beginners. Full disclosure here.
☕ About the Author
Greg Rathbone is the founder of HomeCoffeeBeginner.com. He started this site after realizing most coffee advice online assumes you're already an expert. Every guide here is written for total beginners and tested in his own kitchen — no jargon, no snobbery.
☕ Related AeroPress Guides