
You can absolutely make a latte without an espresso machine. Brew a small amount of very strong coffee — a moka pot, an AeroPress, or a concentrated French press all work — then froth warm milk in a jar, a French press, or with a $12 handheld frother. Pour the milk over the coffee. That's a latte.
A latte is not a mysterious café creation. It's two things: strong coffee and frothed milk. That's genuinely it.
Cafés use an espresso machine to make the strong coffee part, but the machine is a means to an end — and there are several other ways to get to the same end for a tiny fraction of the cost. If you've been putting off making lattes at home because you assumed you needed a $500 machine, we've got good news for your morning routine.
Here's how to make a latte without an espresso machine, start to finish.
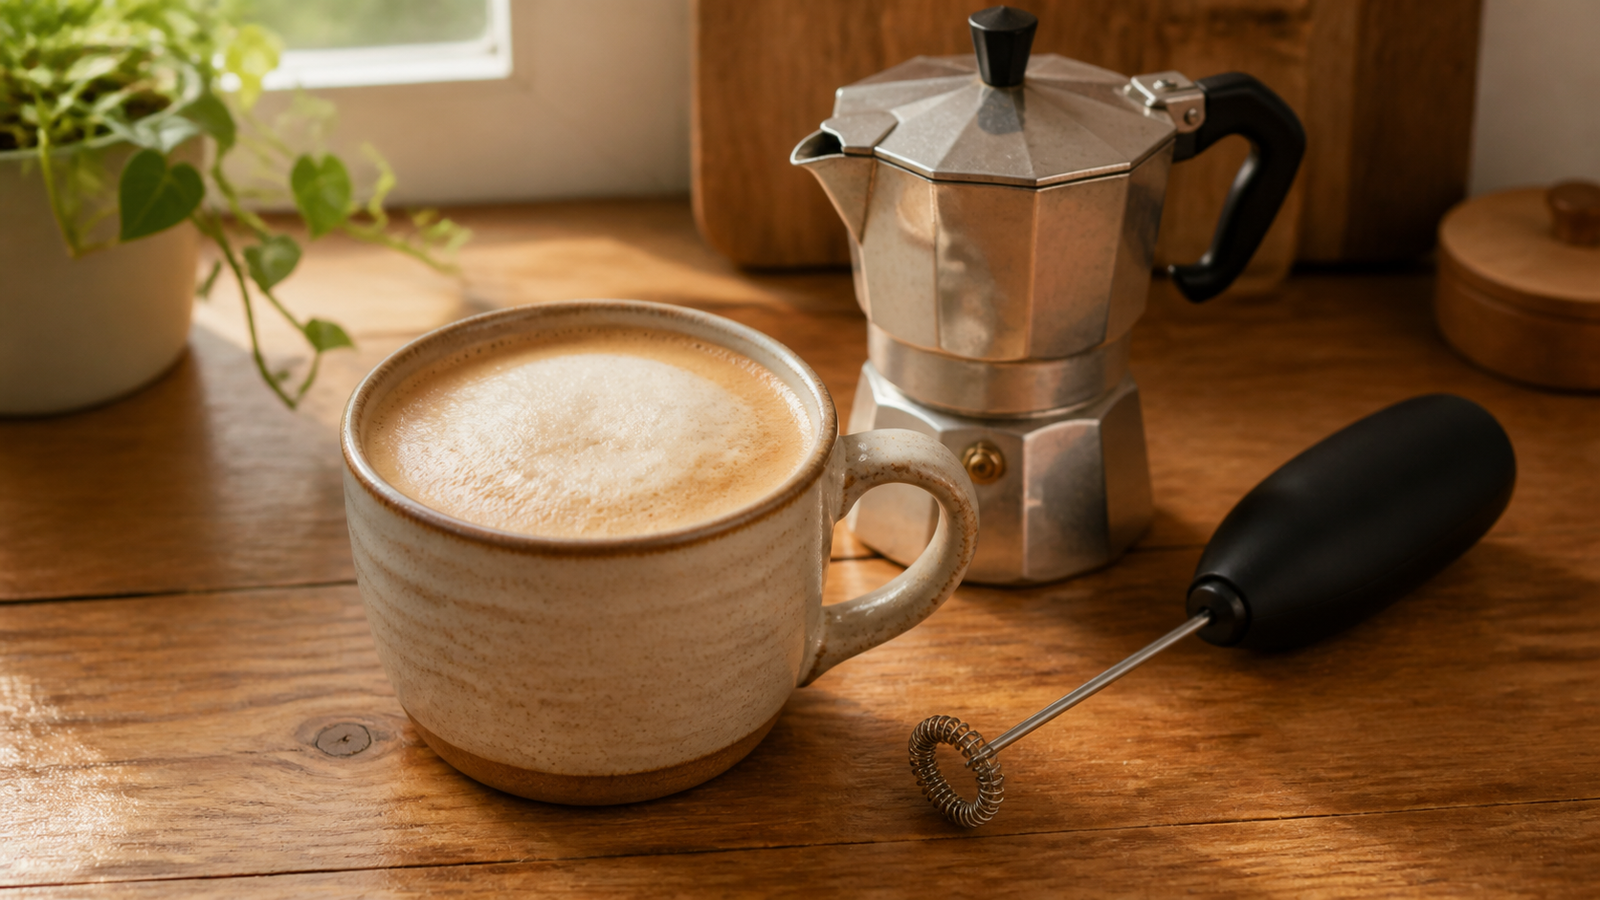
What a Latte Actually Is
Understanding the ratio makes everything else obvious. A café latte is roughly:
- 1 part strong coffee (about 1–2 oz — a double shot of espresso)
- 3–4 parts steamed milk (about 6–8 oz)
- A thin cap of foam on top (about half an inch)
Notice that milk is doing most of the work. That's why the coffee has to be strong — a regular cup of drip coffee drowned in eight ounces of milk just tastes like slightly beige milk. You need a concentrated base that can hold its own.
So the whole job breaks into two parts. Let's take them one at a time.
Part 1: Making a Strong Coffee Base (Three Ways)
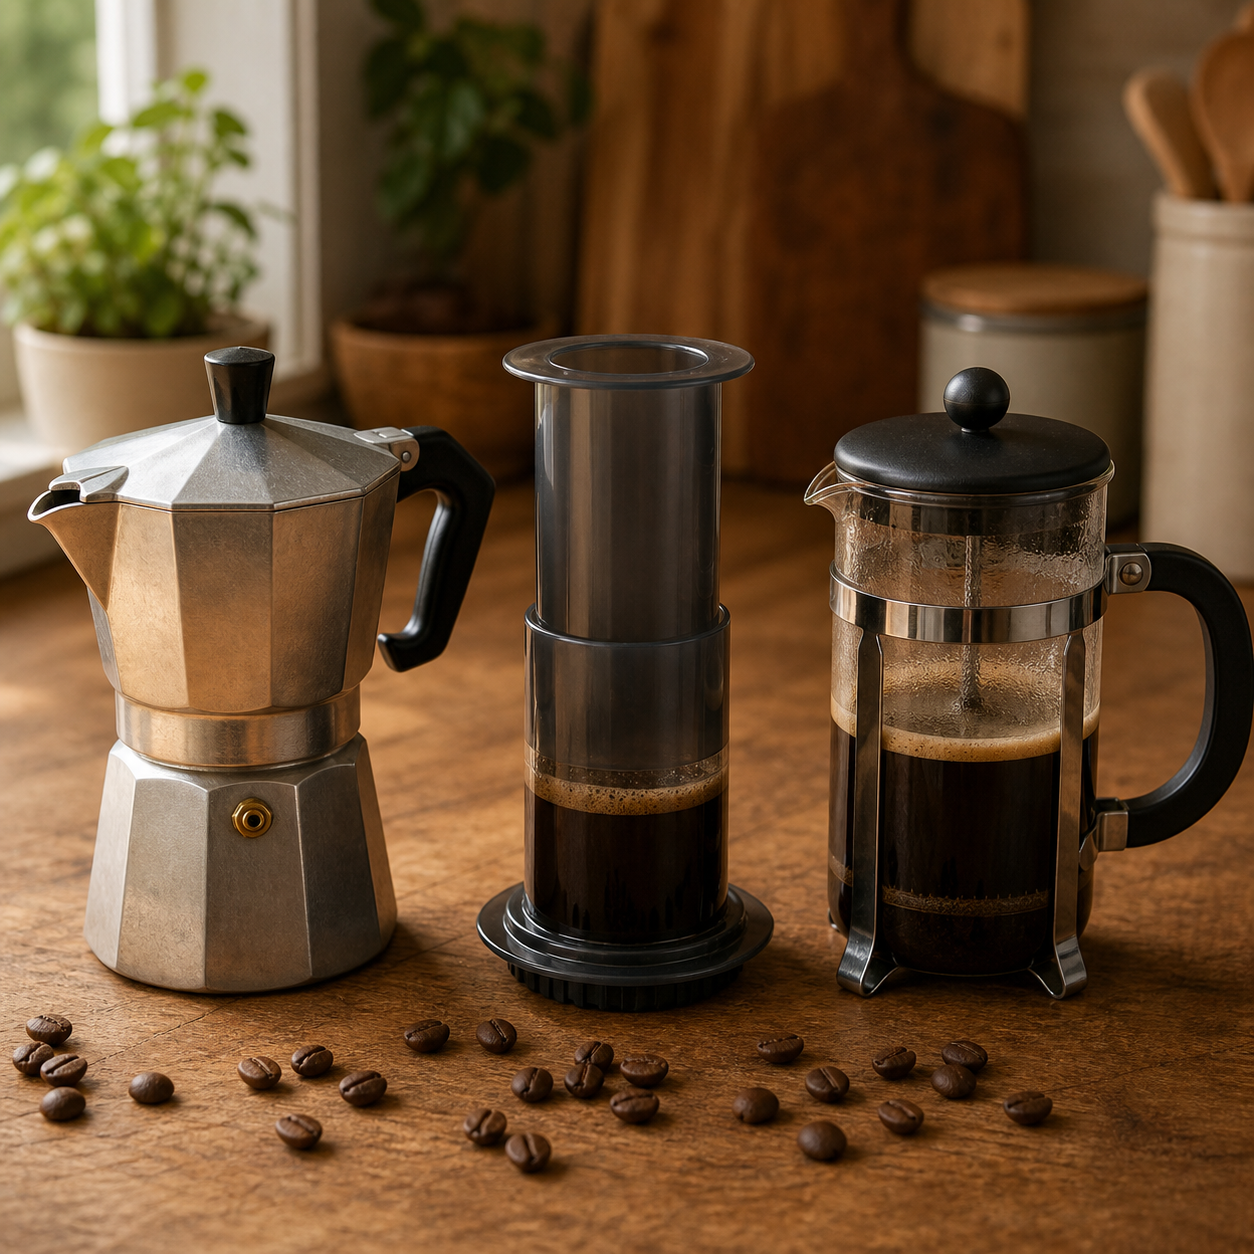
Pick whichever of these you already own — or the one that fits your budget best.
Option A: The Moka Pot (Closest to Real Espresso)
If you want the most espresso-like result without an espresso machine, a moka pot is the answer. This is the little stovetop pot you've seen in Italian kitchens, and it uses steam pressure to push water up through fine coffee grounds — producing a small amount of intense, dark, thick coffee.
It's not technically espresso (there's nowhere near the same pressure), but it's the closest thing you'll get on a stovetop, and it makes a superb latte base. Around 2 ounces of moka pot coffee will carry a full mug of milk without disappearing.
New to it? Start with our complete moka pot beginner's guide.
Option B: The AeroPress (Most Forgiving)
An AeroPress can be pushed into producing a strong, concentrated shot — use a fine grind, a small amount of water, and press firmly. It's forgiving, easy to clean, and cheap. It won't have crema, but for a milk drink you'll barely notice.
We walk through the exact recipe in How to Make Espresso-Style Coffee with an AeroPress.
Option C: Strong French Press or Drip (Use What's on the Counter)
Own neither of the above? You can still do this. The trick is to double the coffee, not the water.
Where you'd normally use a 1:16 coffee-to-water ratio, go to roughly 1:8 — twice as much coffee for the same water. In a French press, that's about 25g of coffee to 200ml of water, steeped four minutes as usual. The result is a dark, punchy brew that stands up to milk.
It won't taste like espresso. It'll taste like a very good café au lait, which is a genuinely lovely drink and nothing to apologize for.
Whatever method you use, brew straight into the mug you'll drink from, and brew less liquid than feels natural. The instinct is to make a normal-size cup of coffee and add milk to it. Resist that. You want 2 ounces of coffee and 6 ounces of milk — not the other way around.
Part 2: Frothing the Milk (Four Ways, No Machine)
This is the part that looks impossible and turns out to be easy. Any of these will get you real, usable foam.
1. The Mason Jar Shake (Zero Equipment)
Pour cold milk into a jar — no more than one-third full, because it's going to double. Screw the lid on tight and shake hard for 30–60 seconds until it's visibly thick and foamy. Take the lid off, microwave for about 30 seconds to set the foam, and pour.
It's the least elegant method and it works remarkably well.
2. The French Press Plunge (Best Foam Quality)
If you own a French press, you own an excellent milk frother. Warm your milk first, pour it in (halfway max), put the lid on, and pump the plunger vigorously for 20–30 seconds. The mesh screen forces air into the milk and produces a thick, velvety microfoam that genuinely rivals a café steam wand.
Wash it well first — leftover coffee oils will taste odd in milk.
3. The Whisk (Works in a Pinch)
Warm milk in a small saucepan over medium-low heat and whisk hard in circles, tilting the pan so the whisk pulls in air. Thirty to sixty seconds. The foam is lighter and dies faster than the other methods, but it absolutely works.
4. The Handheld Frother (Fastest and Most Consistent)
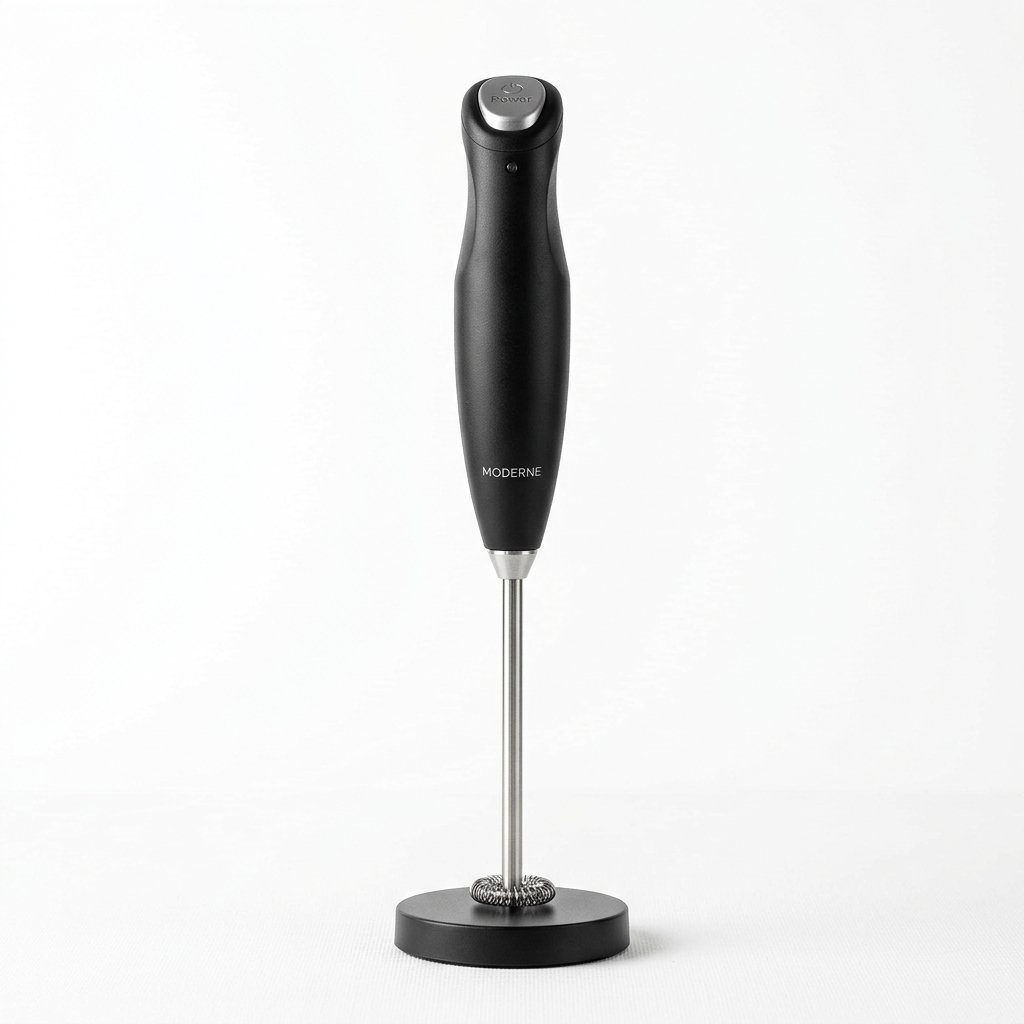
This is what we'd actually recommend if you're making lattes more than once a week. A handheld frother is a little battery-powered wand with a spinning whisk on the end. Warm your milk, submerge the wand, turn it on, move it slowly up and down for 15–20 seconds. Done.
They cost about the price of two café lattes, which is a hard economic argument to lose.
Our Pick for Beginners
Zulay Kitchen Handheld Milk Frother
Battery-powered, easy to rinse, and it froths a mug of milk in about 15 seconds. It costs less than two coffee shop lattes and it's the single cheapest upgrade to your morning we can think of.
All four methods are covered in more detail — with step-by-step photos — in our guide to frothing milk without an espresso machine.
Don't boil the milk. Aim for 140–150°F — steaming and hot to the touch, but not bubbling. Above about 160°F, milk loses its ability to hold foam and starts tasting scorched. If your foam keeps collapsing instantly, overheated milk is the usual culprit.
Putting It Together: Your Latte, Step by Step
- Brew 2 oz of strong coffee straight into your mug (moka pot, AeroPress, or a 1:8 French press).
- Warm 6 oz of milk to 140–150°F — about 45 seconds in the microwave, or a couple of minutes on the stove.
- Froth it with your chosen method until it's roughly doubled in volume and looks smooth, not bubbly.
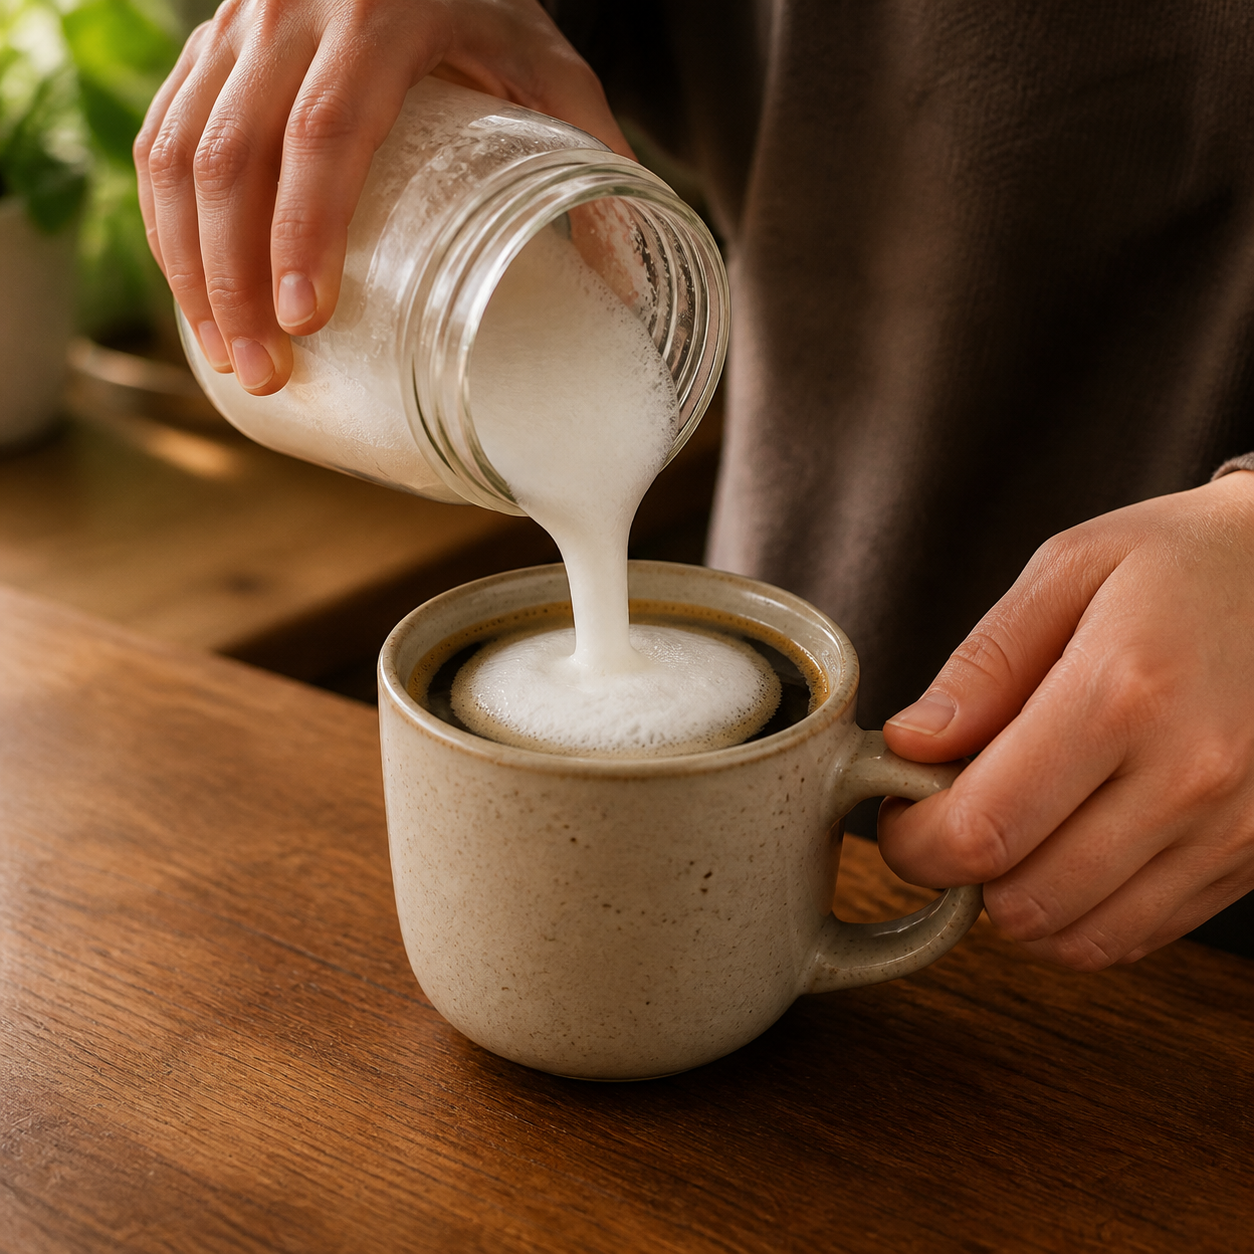
- Hold the foam back with a spoon and pour the liquid milk into the coffee first. Stir gently.
- Spoon the foam on top. Half an inch is plenty.
- Optional: a pump of vanilla syrup, a dusting of cinnamon, or nothing at all.
Which Milk Froths Best?
| Milk | Foam Quality | Notes |
|---|---|---|
| Whole milk | Best — rich and creamy | The fat is what makes it velvety. Start here. |
| 2% | Very good | Lighter foam, more of it. A fine everyday choice. |
| Oat milk (barista edition) | Excellent | The best dairy-free option by a wide margin. |
| Almond milk | Okay | Foams, but it's thin and collapses faster. |
| Skim milk | Big foam, no body | Lots of bubbles, very little creaminess. |
- A latte is just strong coffee plus frothed milk — roughly 1 part coffee to 3–4 parts milk.
- For the coffee base: a moka pot is closest to espresso, an AeroPress is most forgiving, and a 1:8 French press works with gear you already own.
- For the milk: shake it in a jar, pump it in a French press, whisk it, or use a $12 handheld frother.
- Heat milk to 140–150°F. Don't boil it — hot milk won't hold foam and tastes scorched.
- Whole milk froths richest; barista-edition oat milk is the best dairy-free option.
The Bottom Line
You do not need an espresso machine to drink a good latte at home. You need a way to make coffee strong and a way to make milk foamy — and there's a version of each that fits basically any kitchen and any budget.
Start with what you have. Shake milk in a jar, brew a strong French press, and see what you think. If you fall in love with it, then think about upgrading — and when you do, our honest guide to espresso without a machine and our complete espresso guide will be waiting.
Disclosure: This article contains affiliate links. If you purchase through our links, we may earn a small commission at no extra cost to you. We only recommend products we genuinely believe are right for beginners. Full disclosure here.