
Making espresso at home sounds intimidating. There's the hissing machine, the little metal basket, the talk of “bars of pressure” and “dialing in a shot” — it can feel like a hobby that requires a barista certificate and a second mortgage. It isn't. If you can make a piece of toast, you can learn to pull a decent shot of espresso at home. This is your complete beginner's starting point, and we'll walk through the whole journey together, one plain-English step at a time.
By the end of this guide you'll understand what espresso actually is, what gear you genuinely need (and what you can skip), the handful of variables that control every shot, a simple recipe for your very first pull, the mistakes to avoid, and how to turn your espresso into the lattes and cappuccinos you're really after. We'll also help you figure out which path makes sense for you — a real machine, or a cheaper stovetop or manual route that gets you most of the way there.
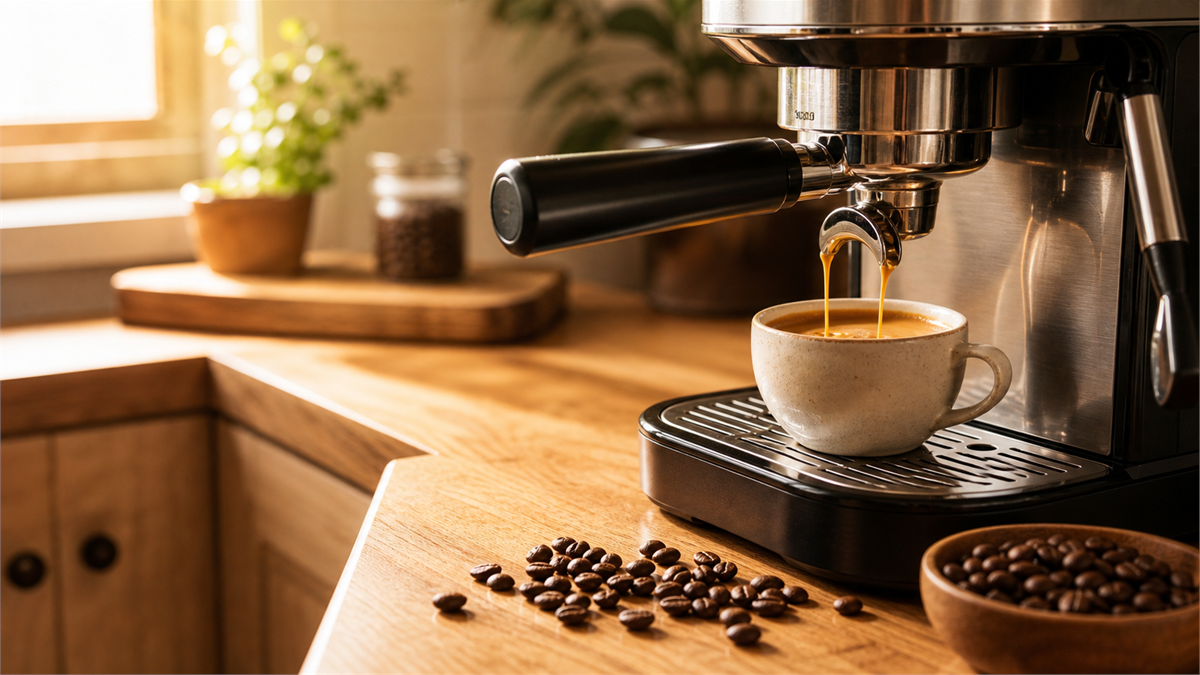
To make espresso at home, you force hot water (around 200°F) through finely ground coffee at about 9 bars of pressure for 25–30 seconds. A typical beginner recipe: 18 g of fine ground coffee in, about 36 g of espresso out. You'll need an espresso machine, a good grinder, fresh beans, and a scale. A moka pot or AeroPress can get you espresso-style coffee for far less.
Table of Contents
This guide is the hub of our espresso section. Use the links below to jump around, and follow the deeper links out to the specific guides as you're ready.
- What Espresso Actually Is
- What You Need to Make Espresso at Home
- The Espresso Variables (Dialing In, Made Simple)
- Your First Shot: A Simple Beginner Recipe
- Common Beginner Mistakes (and Easy Fixes)
- Milk Drinks: Lattes and Cappuccinos at Home
- Which Path Is Right for You?
Go deeper in the espresso cluster:
- Best Beginner Espresso Machines Under $500 — our gear roundup and buying picks
- Manual vs Semi-Automatic vs Automatic Espresso Machines — which type of machine to buy
- Can You Make Espresso Without an Espresso Machine? — the cheaper, no-machine paths
- Best Grind Size for Espresso (And Why It's So Fine) (coming soon)
- How to Pull a Good Espresso Shot (Beginner Checklist) (coming soon)
What Espresso Actually Is
Let's clear up the biggest misconception first: espresso is not a type of bean or a roast level. You'll see bags labeled “espresso roast,” but that's just a (usually darker) roast chosen because it tastes good pulled as a shot. You can make espresso from almost any coffee. Espresso is a brewing method — a way of making coffee, defined by pressure.
Here's the whole idea in one sentence: espresso is what you get when you push hot water through a tightly packed puck of very finely ground coffee, under high pressure, very quickly. That pressure is the magic ingredient. Regular drip coffee and pour-over rely on gravity to pull water through the grounds. Espresso uses a pump (or a lever, or steam) to force it through — and that changes everything about the cup.
The 9-bar rule
The number you'll hear over and over is 9 bars of pressure. A “bar” is roughly the air pressure at sea level, so 9 bars is about nine times normal atmospheric pressure — a serious amount of force packed into a little metal basket. Nine bars became the industry reference point decades ago, and it's still the standard most home machines are built around. Some modern techniques experiment with lower pressures, but for a beginner, 9 bars is the target you can trust.
That pressure does two things gravity brewing can't. First, it extracts the coffee fast — a whole shot happens in about 25 to 30 seconds. Second, it emulsifies the coffee's natural oils into a thick, syrupy liquid instead of a thin, watery one. That's why espresso is so concentrated and intense compared to a mug of drip.
What is crema?
Crema is the thin, golden-brown foam that sits on top of a fresh espresso shot. It forms when high pressure forces carbon dioxide (trapped in fresh coffee) to emulsify with the coffee's oils. A good layer of crema is one of the signs of a well-pulled shot from fresh beans — and it's something you basically can't get without real pressure. That's why a moka pot or AeroPress makes “espresso-style” coffee but not true crema-topped espresso. (More on those paths below.)
Crema is a sign of freshness and pressure, not necessarily of a great-tasting shot. Stale beans can produce almost no crema even from a perfect machine, and very dark, oily beans can produce loads of crema that still tastes flat. Judge your espresso by taste first, crema second.
If the words “extraction,” “sour,” and “bitter” are already swimming around, don't worry — it all comes from the same simple idea. For the full plain-English breakdown of how water pulls flavor out of coffee, see our guide to what coffee extraction is and why it matters. Everything in espresso is just extraction happening very fast, under pressure.
What You Need to Make Espresso at Home
Here's the honest gear list for real, machine-made espresso. You don't need all of it to be fancy — you need it to be functional. We'll flag what matters most.
1. An espresso machine
This is the big one. An espresso machine's job is to heat water and drive it through the coffee at that 9-bar pressure. Machines range wildly — from around $100 entry-level units up to several thousand dollars — and they come in different types (manual, semi-automatic, automatic) that change how much the machine does for you versus how much you do by hand. That choice matters enough that we gave it its own guide: manual vs semi-automatic vs automatic espresso machines. For a shortlist of specific beginner-friendly machines that won't break the bank, head to our roundup of the best beginner espresso machines under $500.
2. A good grinder (don't skip this)
If you buy one thing right, make it the grinder. Espresso lives and dies by grind — it needs a very fine, very consistent grind, finer than almost any other brewing method. A cheap blade grinder chops beans into an uneven mix of powder and chunks, which makes espresso nearly impossible to dial in. You want a burr grinder, and ideally one capable of grinding fine enough for espresso (many budget grinders can't quite get there).
Many excellent beginner grinders — the ones we recommend for drip and French press — can't grind fine enough for true espresso. Before you buy, check that the grinder specifically supports espresso. Our beginner grinder roundup calls out which ones can and can't handle espresso.
3. Fresh beans
Espresso rewards freshness more than any other brew method — that CO2 that makes crema fades fast. Buy whole beans with a visible roast date and try to use them within a few weeks of roasting. A medium to medium-dark roast is the friendliest starting point for beginners because it's forgiving and tastes “espresso-like” right away. You can absolutely branch into lighter, fruitier beans later once you're comfortable dialing in.
4. A scale
A small kitchen scale that reads in grams (ideally to 0.1 g) is the single cheapest upgrade that will make your espresso consistent. Espresso is all about ratios, and you can't hit a ratio you're not measuring. A basic scale costs about the same as two coffee-shop lattes and pays for itself in better shots.
5. A tamper
A tamper is the little puck-shaped tool you use to compress the grounds into a firm, even bed before brewing. Most machines come with a cheap plastic one; a slightly better metal tamper that matches your basket size makes even tamping easier. This is a low-priority upgrade — the one that comes in the box will get you started.
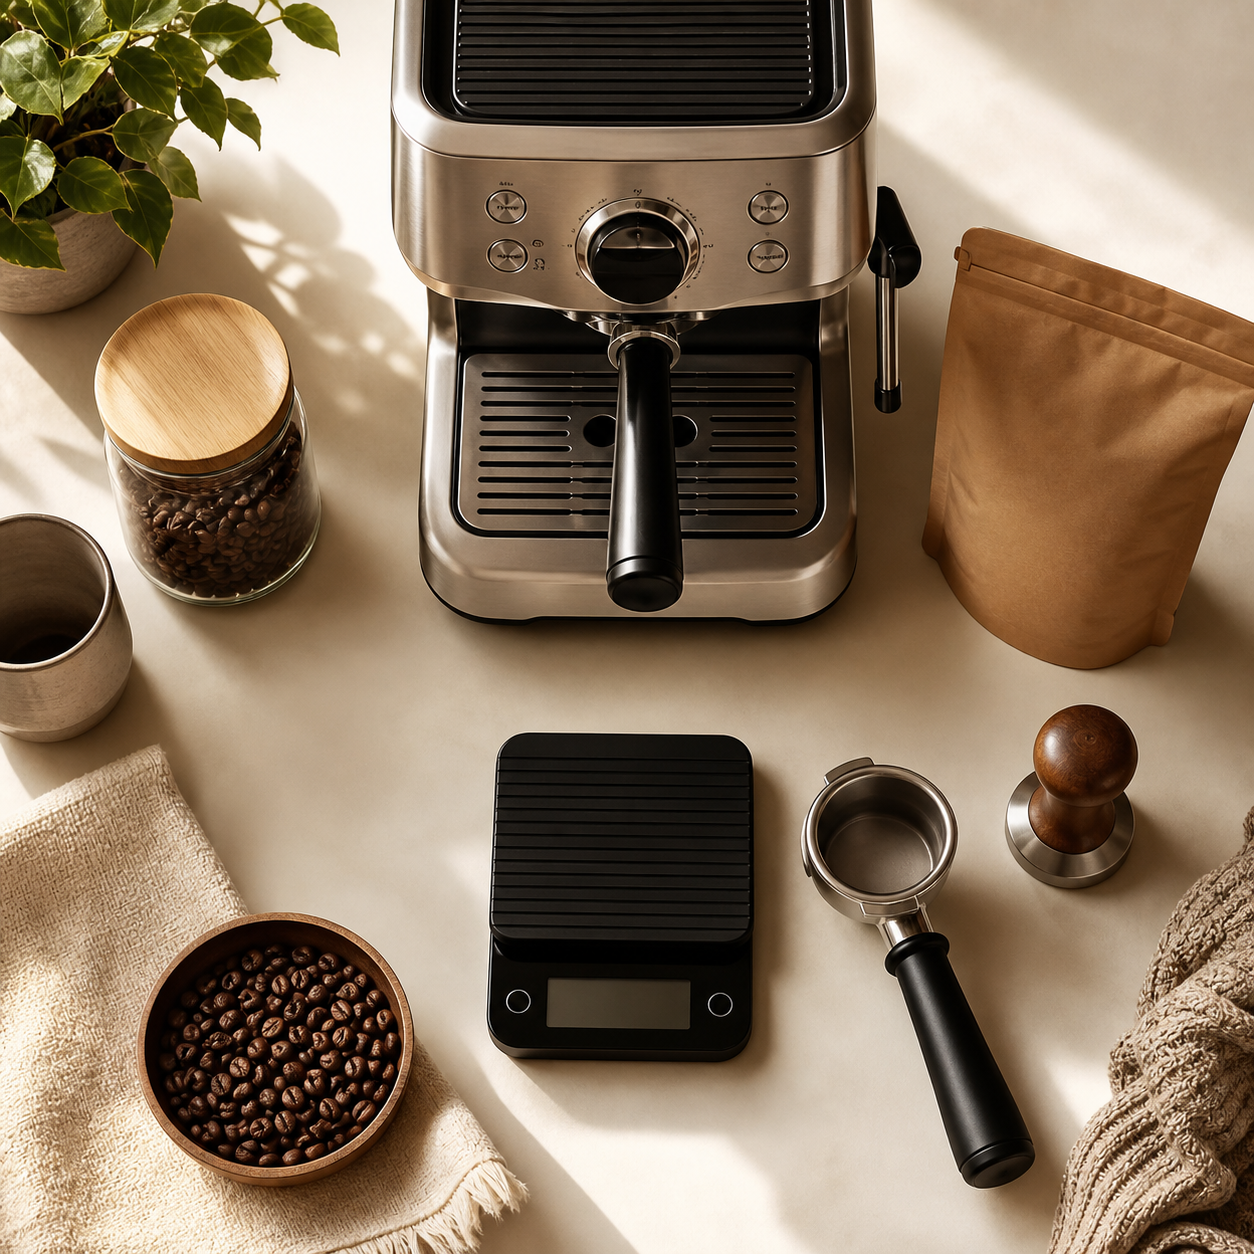
The short version: machine, grinder, fresh beans, scale, tamper. If your budget is tight, spend on the grinder and beans before anything else — a great machine with a bad grinder makes bad espresso, but a modest machine with a good grinder can make you genuinely happy.
The Espresso Variables (Dialing In, Made Simple)
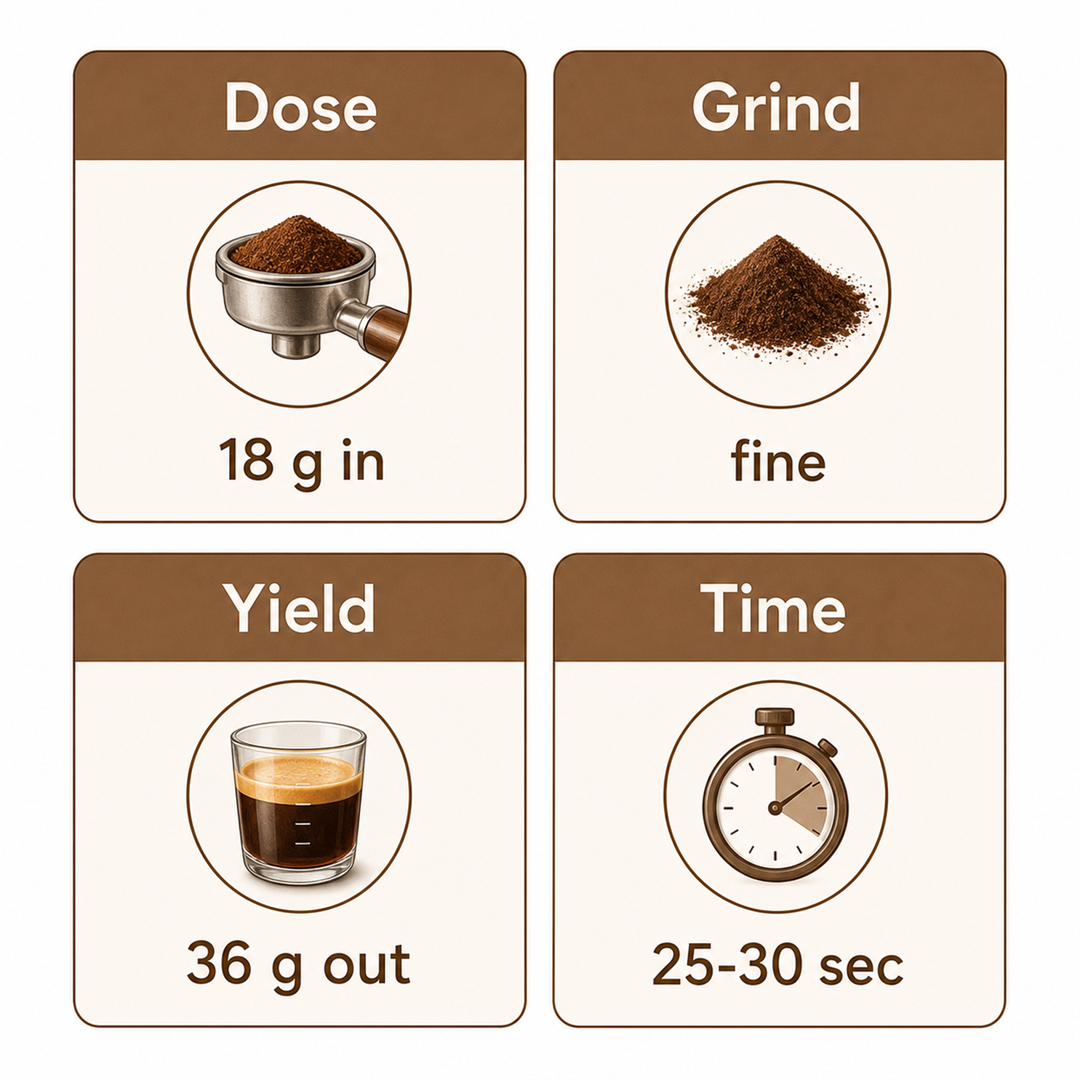
“Dialing in” is the phrase you'll hear for the process of adjusting your setup until the shot tastes right. It sounds mysterious, but it comes down to just four numbers. Once you understand these, you understand espresso.
1. Dose — how much coffee goes in
The dose is the weight of dry ground coffee you put in the basket, measured in grams. Most beginner setups use a “double” basket, and a common starting dose is around 18 grams. Consistency matters more than the exact number: weigh your dose every time so you're changing one variable at a time.
2. Grind — how fine the coffee is
Grind size is your main steering wheel. Finer grind slows the water down (more resistance), coarser grind speeds it up (less resistance). This is the setting you'll adjust most often to fix a shot. If you want the full picture of grind sizes across every brew method, our coffee grind sizes guide lays it all out — espresso sits at the very fine end of the scale.
3. Yield — how much espresso comes out
The yield (or “output”) is the weight of liquid espresso in the cup. The relationship between dose and yield is your brew ratio. The classic beginner target is a 1:2 ratio — so 18 grams in, about 36 grams out. That's the ratio most home baristas start with because it produces a balanced, forgiving shot.
4. Time — how long the shot takes
Time is your feedback gauge. A standard shot at a 1:2 ratio should take roughly 25 to 30 seconds from the moment you start the pump. Time isn't something you set directly — it's the result of your grind, dose, and how hard you tamped. You read the time to know whether to adjust.
There's also a fifth quiet variable: water temperature, which for espresso sits around 195–205°F (about 90–96°C). Most machines handle this for you, so beginners rarely need to touch it. Slightly lower temperatures suit darker roasts; slightly higher suits lighter ones.
Here's the whole dial-in logic in two lines. Shot ran too fast and tastes sour and thin? Grind finer. Shot ran too slow (or stalled) and tastes bitter and harsh? Grind coarser. Change one thing, pull again, taste. You'll usually find your sweet spot within three or four shots.
Your First Shot: A Simple Beginner Recipe
Here's a starting recipe that works on most home machines. Treat it as a home base, not gospel — you'll adjust from here.
| Variable | Starting Point |
|---|---|
| Dose (coffee in) | 18 g, fresh, medium roast |
| Grind | Fine (like powdered sugar/table salt, adjust from there) |
| Yield (espresso out) | ~36 g (a 1:2 ratio) |
| Time | 25–30 seconds |
| Water temp | ~200°F (machine usually handles this) |
- Warm up the machine. Turn it on and give it 10–15 minutes to fully heat — the group head and portafilter need to be hot, not just the water. Run a blank shot of water through to warm the portafilter.
- Grind and dose. Grind 18 g of fresh beans straight into your portafilter basket. Weigh it. If you're a little over or under, that's fine for now — just note it.
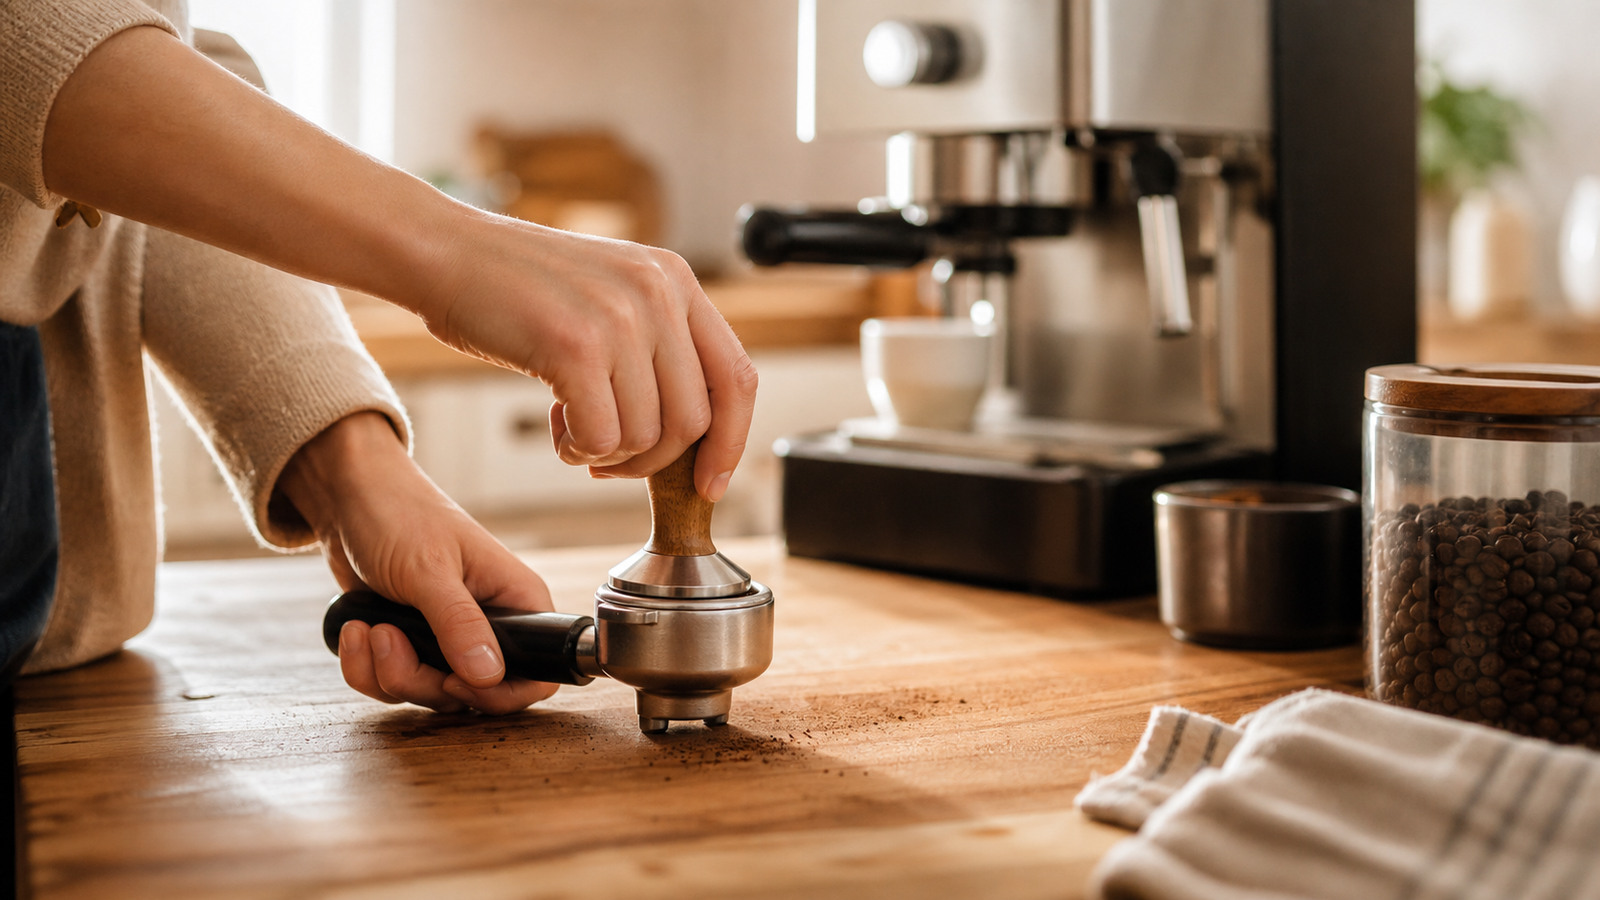
- Distribute and tamp. Tap and level the grounds so they're even across the basket, then press straight down with the tamper using firm, level pressure. Even is more important than hard. A tilted tamp makes a lopsided shot.
- Lock in and place your cup. Twist the portafilter into the machine and set your cup (on the scale, ideally) underneath. Zero the scale.
- Pull the shot and watch. Start the pump and start a timer. The espresso should start dripping after a few seconds, then flow in a thin, honey-colored stream. Stop when you reach about 36 g in the cup.
- Read the result and taste. Note the time. Around 25–30 seconds and a balanced, sweet-ish taste means you nailed it. Too fast and sour? Grind finer next time. Too slow and bitter? Grind coarser. Adjust one notch and pull again.
Your first few shots will probably be off. That's completely normal — every home barista dumps a few shots down the drain while dialing in a new bag of beans. It's not failure, it's the process. Keep your dose and ratio fixed, move only your grind, and you'll converge fast.
Common Beginner Mistakes (and Easy Fixes)
Almost every rough first espresso comes down to one of these. Knowing them ahead of time saves you a lot of frustration.
- Using a blade grinder (or pre-ground coffee). Espresso needs a fine, uniform grind you can adjust. Blade grinders and generic pre-ground coffee can't deliver it. Fix: a burr grinder that grinds fine enough for espresso.
- Not weighing anything. Eyeballing the dose and yield makes every shot a mystery. Fix: a $15 gram scale. This one change fixes more shots than any other.
- Stale beans. Old, unfresh coffee gives you flat espresso and almost no crema no matter how good your technique is. Fix: fresh beans with a roast date, used within a few weeks.
- Not warming up the machine. A cold portafilter and group head pull a cold, sour shot. Fix: 10–15 minutes of warm-up and a blank flush before your first pull.
- Uneven or crooked tamping. A tilted, lumpy puck lets water “channel” through the weak spots, giving a gushing, watery, bitter shot. Fix: level the grounds first, then tamp straight down with even pressure.
- Changing five things at once. When you adjust grind and dose and tamp all together, you can't tell what helped. Fix: change one variable at a time.
If your shot “gushes” out fast and pale, or sprays sideways, you're seeing channeling — water blasting through a weak spot in the puck instead of soaking through evenly. It's almost always a prep problem (uneven distribution or tamp), not a broken machine. Re-level, re-tamp, and try again before you blame the gear.
Milk Drinks: Lattes and Cappuccinos at Home
Here's a secret: most people who want to “make espresso at home” actually want to make lattes at home. The good news is that once you can pull a shot, the milk drinks are easy. They're all just espresso plus milk in different proportions.
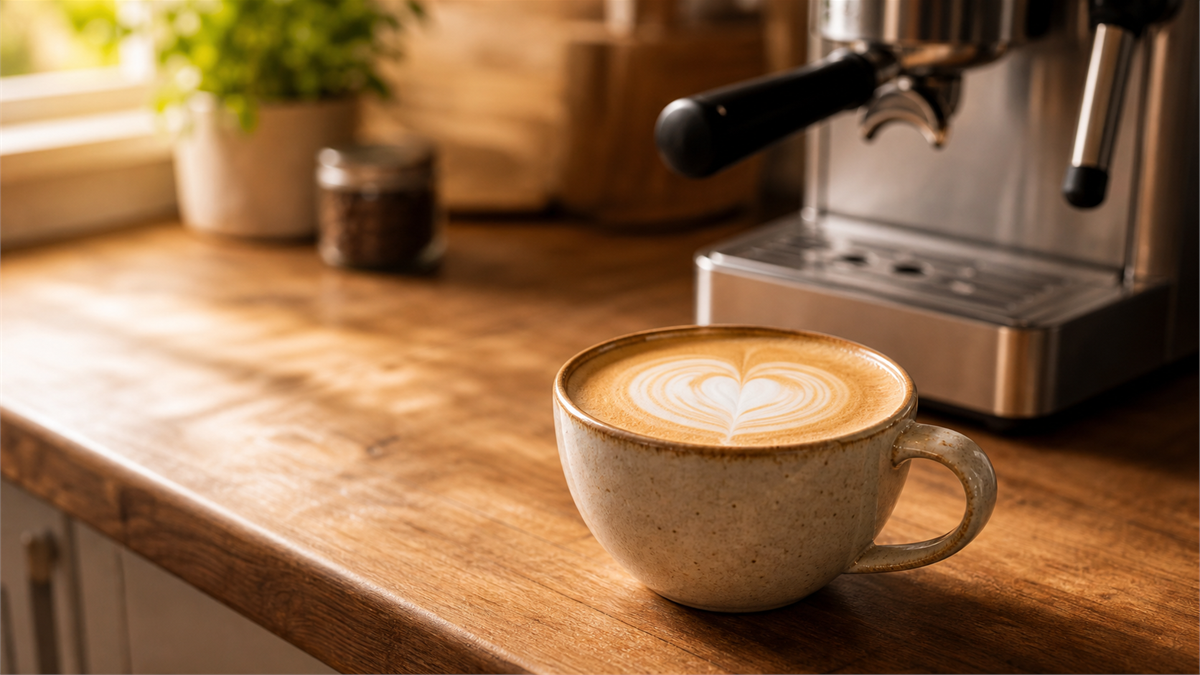
- Latte: One or two shots of espresso plus a lot of steamed milk (roughly 6–8 oz) and a thin layer of foam on top. Creamy and mild — the crowd-pleaser.
- Cappuccino: The same espresso, but with less milk and a thick, airy cap of foam — the classic “equal parts espresso, steamed milk, foam” drink. Stronger coffee flavor than a latte.
- Cortado: A shot with just a small splash of steamed milk (about 1:1). For when you want to soften the espresso without drowning it.
- Americano: A shot topped with hot water. Not a milk drink at all, but the easiest way to turn espresso into a full mug of black coffee.
Many espresso machines include a steam wand for frothing milk, and learning to steam is its own fun little skill. But you do not need a steam wand to make great milk drinks. A cheap handheld frother, a French press, or even a jar you shake will get you creamy foam. We walk through every no-machine method in how to froth milk without an espresso machine — it pairs perfectly with a home espresso setup.
Which Path Is Right for You?
Here's the most important section for a beginner, because “make espresso at home” doesn't have to mean “buy an espresso machine.” There are three realistic paths, and the right one depends on your budget and how much you care about true, crema-topped espresso.
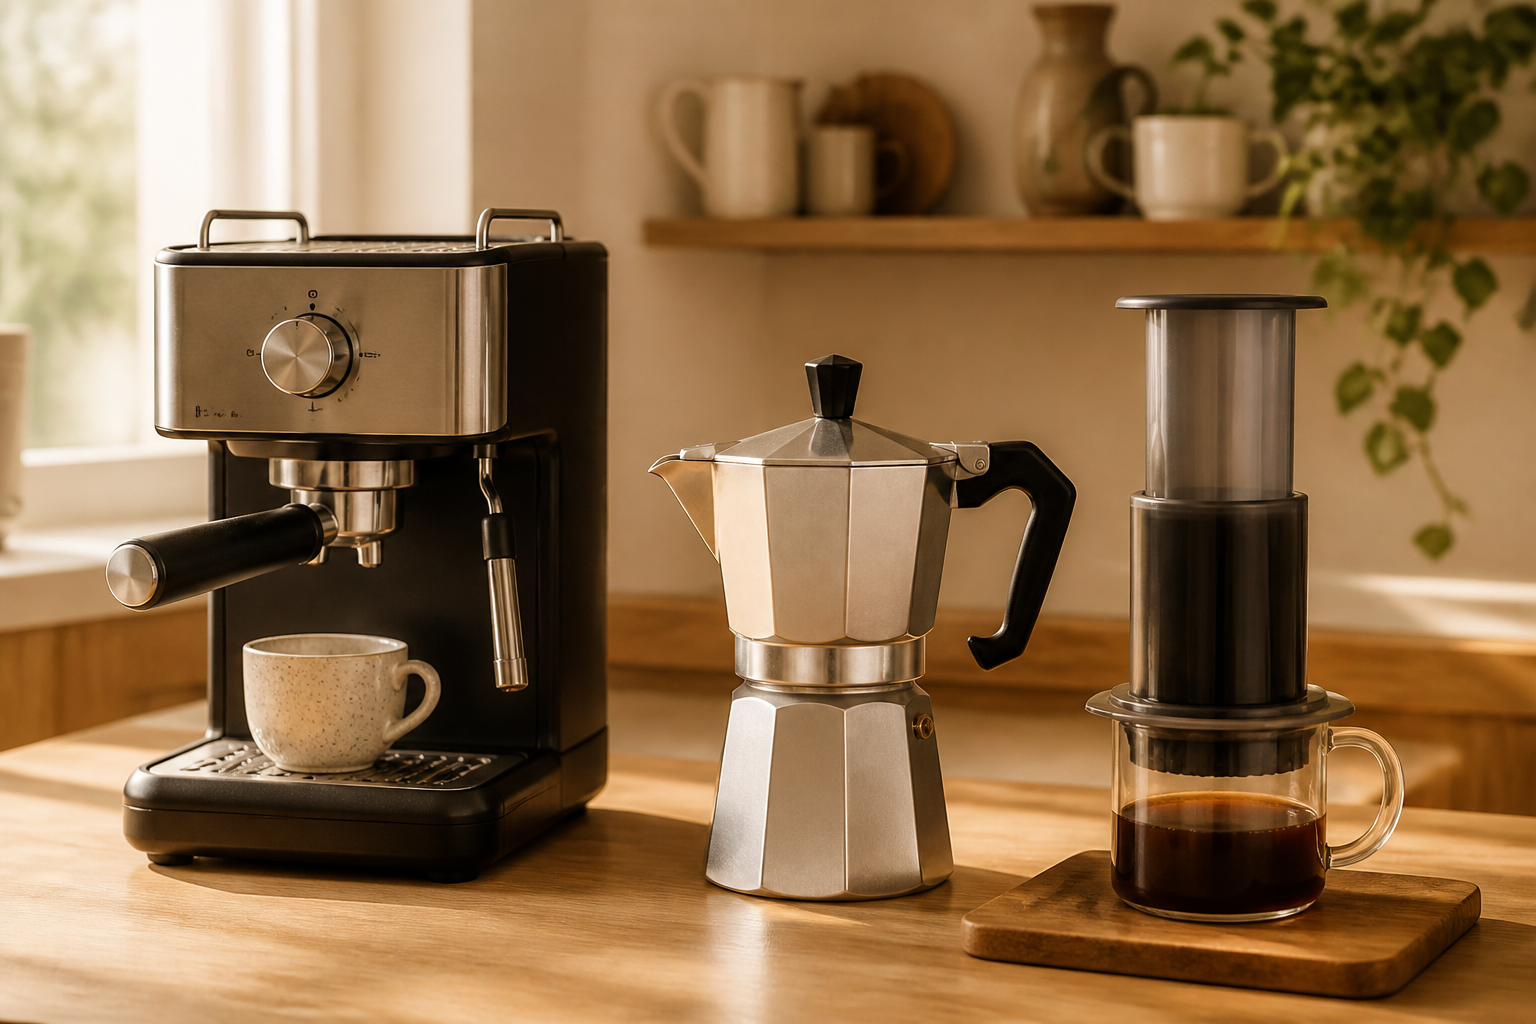
Path 1: A real espresso machine
Best if: you want true espresso — real 9-bar pressure, real crema, real latte art potential — and you're ready to invest and tinker a bit. This is the only path that makes genuine espresso. Entry-level home machines start around $100–$300, and you'll want to budget for a good grinder too. If this is you, start with our best beginner espresso machines under $500 roundup, then decide which style suits you in manual vs semi-automatic vs automatic.
Path 2: A moka pot
Best if: you want strong, espresso-style coffee for about $30 with almost no learning curve. A moka pot brews on your stovetop using gentle steam pressure (around 1.5 bars, not 9), so it isn't technically espresso — but it makes a bold, concentrated cup that's a fantastic base for lattes and cappuccinos. It's the best value entry point into strong home coffee, full stop. Start with our complete moka pot beginner's guide, and if you're wondering how close it really gets, read is moka pot coffee really espresso?
Path 3: An AeroPress
Best if: you already own an AeroPress (or want one $40 gadget that does a lot) and want espresso-style concentrate for milk drinks. Pressing hard by hand generates a couple of bars of pressure — not 9, so no true crema — but enough for a small, intense shot that shines in cortados and lattes. Our step-by-step guide covers it: how to make espresso-style coffee with an AeroPress.
Not sure between the no-machine options? We compare all the routes side by side in can you make espresso without an espresso machine? — the honest guide to how close each cheaper path really gets.
| Espresso Machine | Moka Pot | AeroPress | |
|---|---|---|---|
| Pressure | ~9 bar | ~1.5 bar | ~1–2 bar |
| True espresso? | Yes | No (espresso-style) | No (espresso-style) |
| Crema | Real crema | Brief foam only | Little to none |
| Starter cost | ~$100–$500+ | ~$30 | ~$40 |
| Learning curve | Moderate | Very easy | Easy |
- Espresso is a brewing method defined by pressure — about 9 bars forcing hot water through fine grounds in 25–30 seconds — not a bean or a roast.
- To make real espresso at home you need a machine, a good burr grinder that grinds fine enough, fresh beans, and a scale. Spend on the grinder and beans first.
- Every shot comes down to four numbers: dose, grind, yield, and time. A 1:2 ratio (18 g in, ~36 g out) is the beginner starting point.
- Dial in by changing one thing at a time: sour and fast → grind finer; bitter and slow → grind coarser.
- No machine? A moka pot (~$30) or AeroPress (~$40) makes excellent espresso-style coffee — perfect for lattes.
Espresso at home has a bit of a reputation, but strip away the jargon and it's just fresh coffee, ground fine, pushed through with pressure. Start with whichever path fits your budget, keep your first shots simple, and change one variable at a time. Before long you'll be pulling shots and building lattes that genuinely rival your local café — for a fraction of the price, in your pajamas. When you're ready to buy gear, our beginner espresso machine roundup is the next stop.
☕ About the Author
Greg Rathbone is the founder of HomeCoffeeBeginner.com. He started this site after realizing most coffee advice online assumes you're already an expert. Every guide here is written for total beginners and tested in his own kitchen — no jargon, no snobbery.